Replacing the exterior temperature sensor
The HVAC air intake on the Golf is equipped with only a ‘simple’ temperature sensor, while the more expensive models have a combined temperature AND humidity sensor instead. This gives the auto HVAC system another sensor input to work with, so it is definitely an improvement (right?).
The sensor you will need is 4H0 907 658 D. I bought index D, but
eventually received index C. I do not know what is the difference, but it
works just fine.
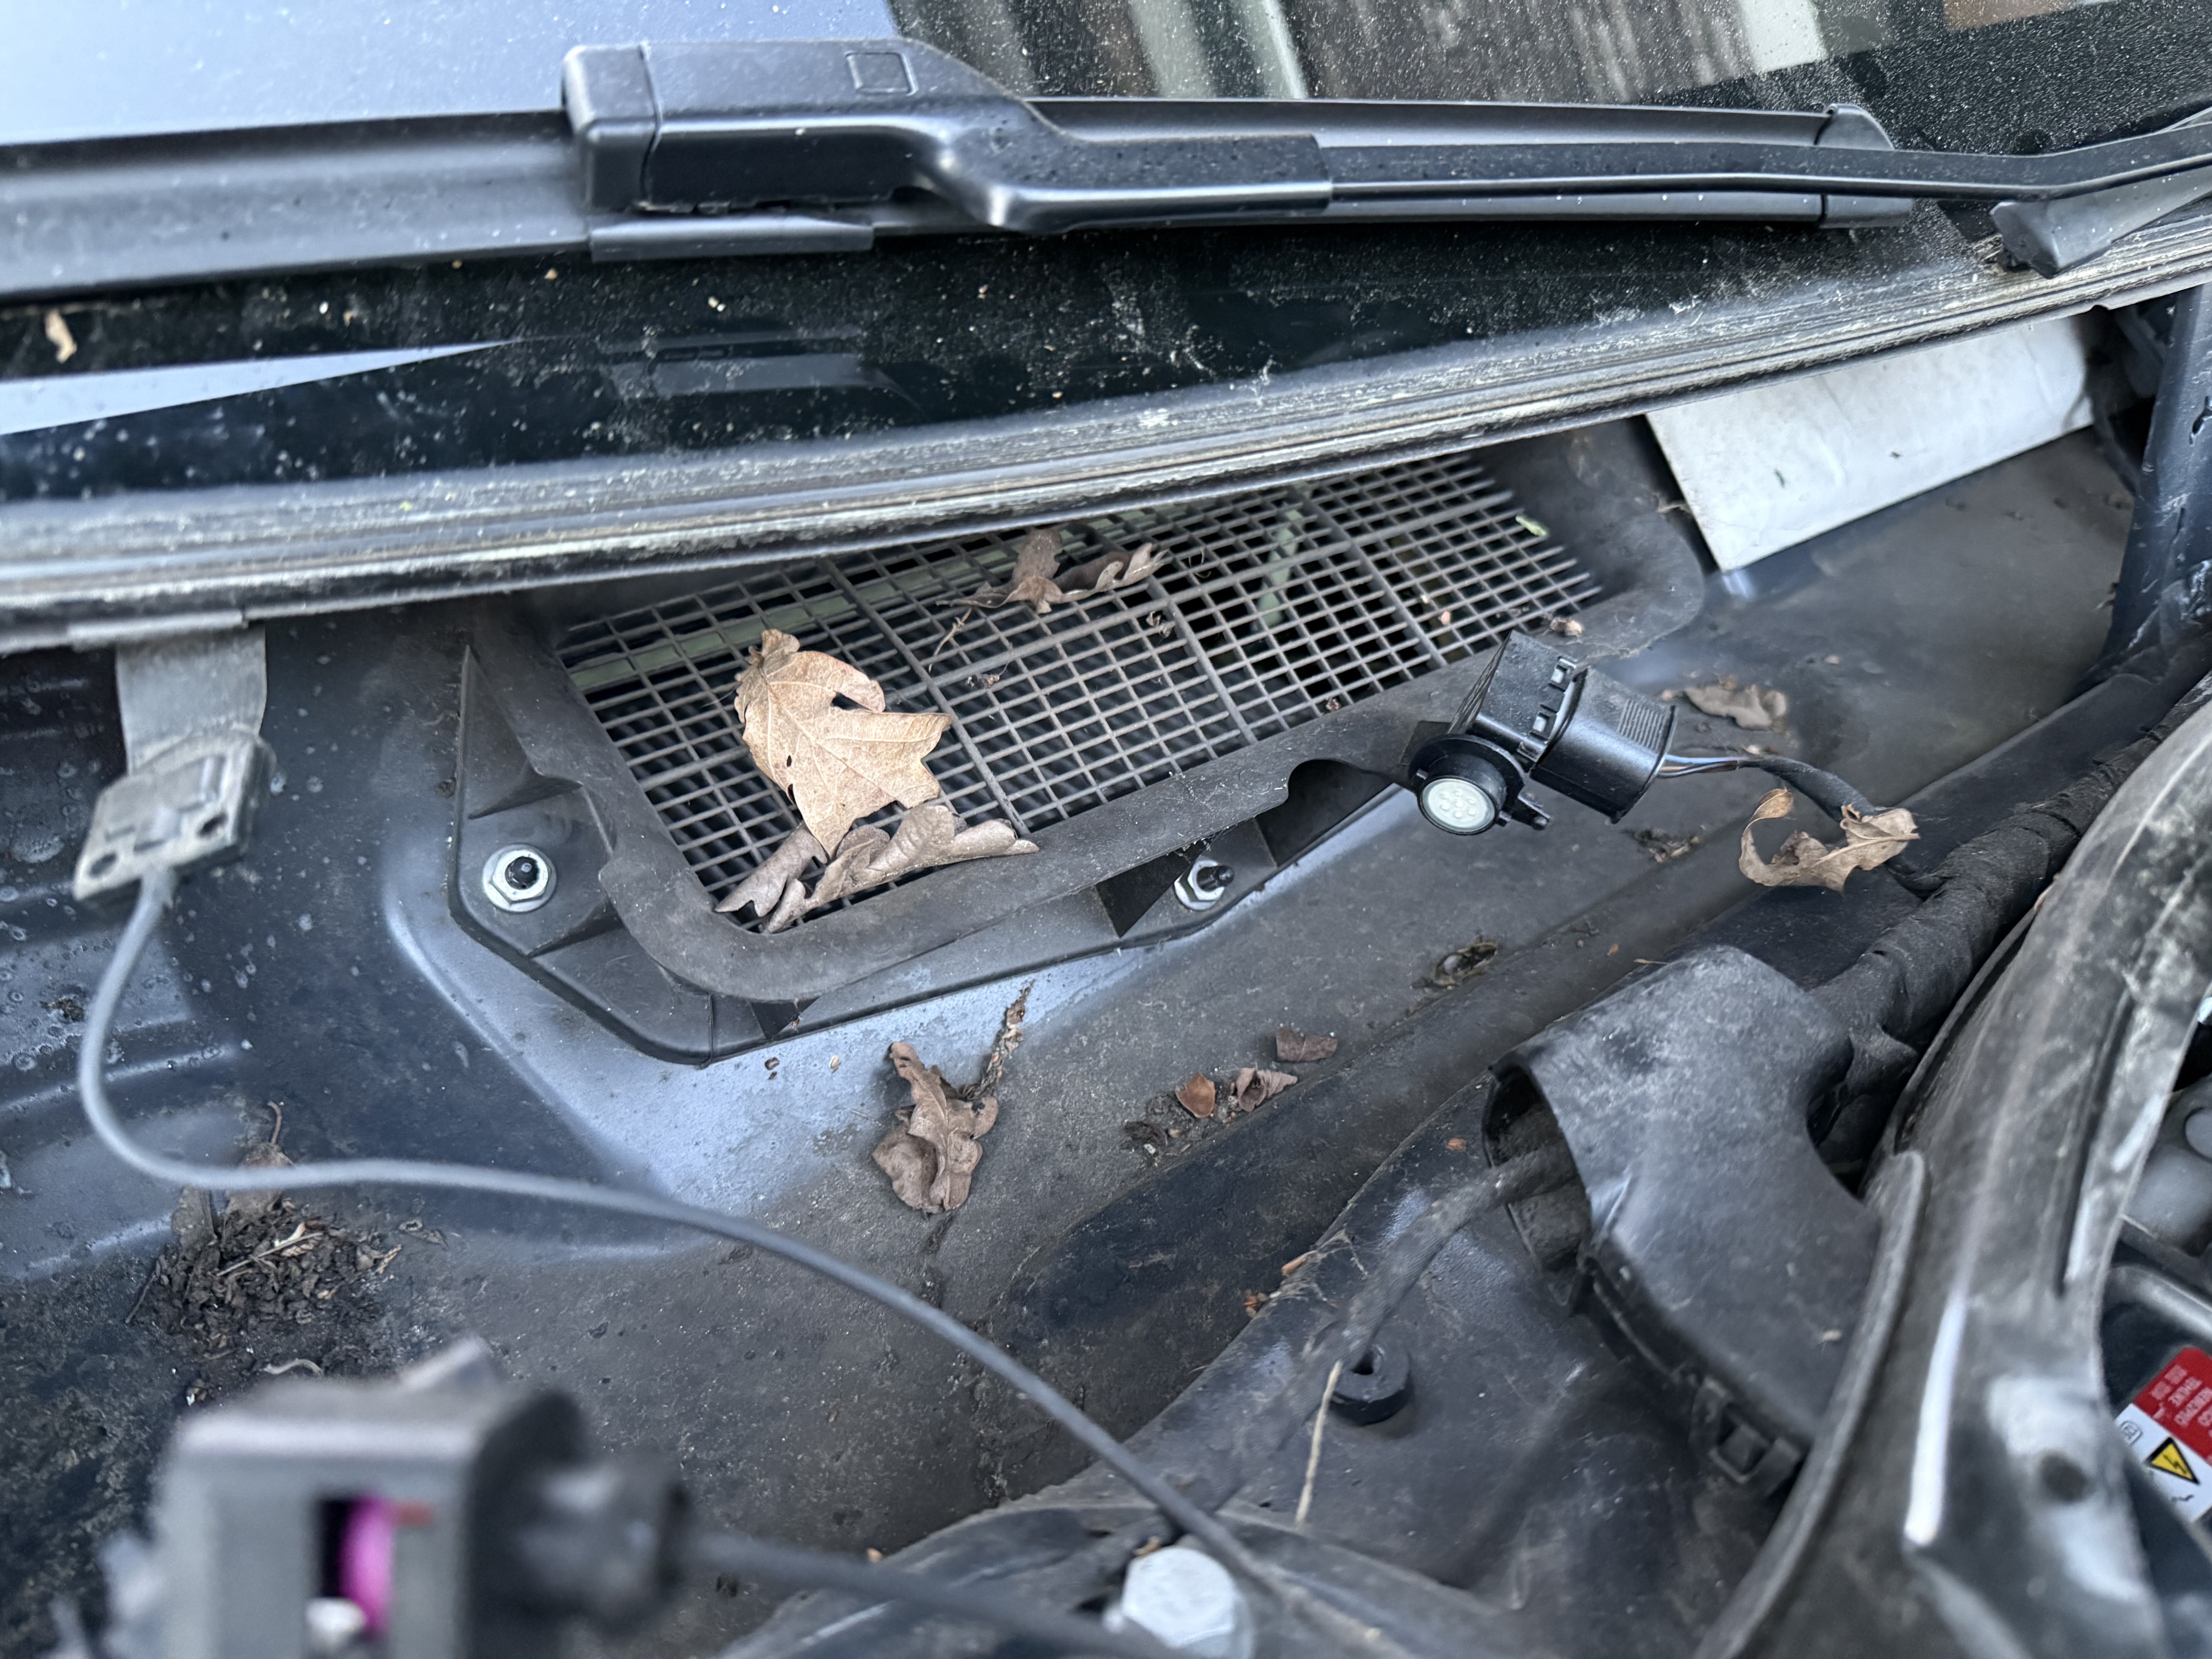
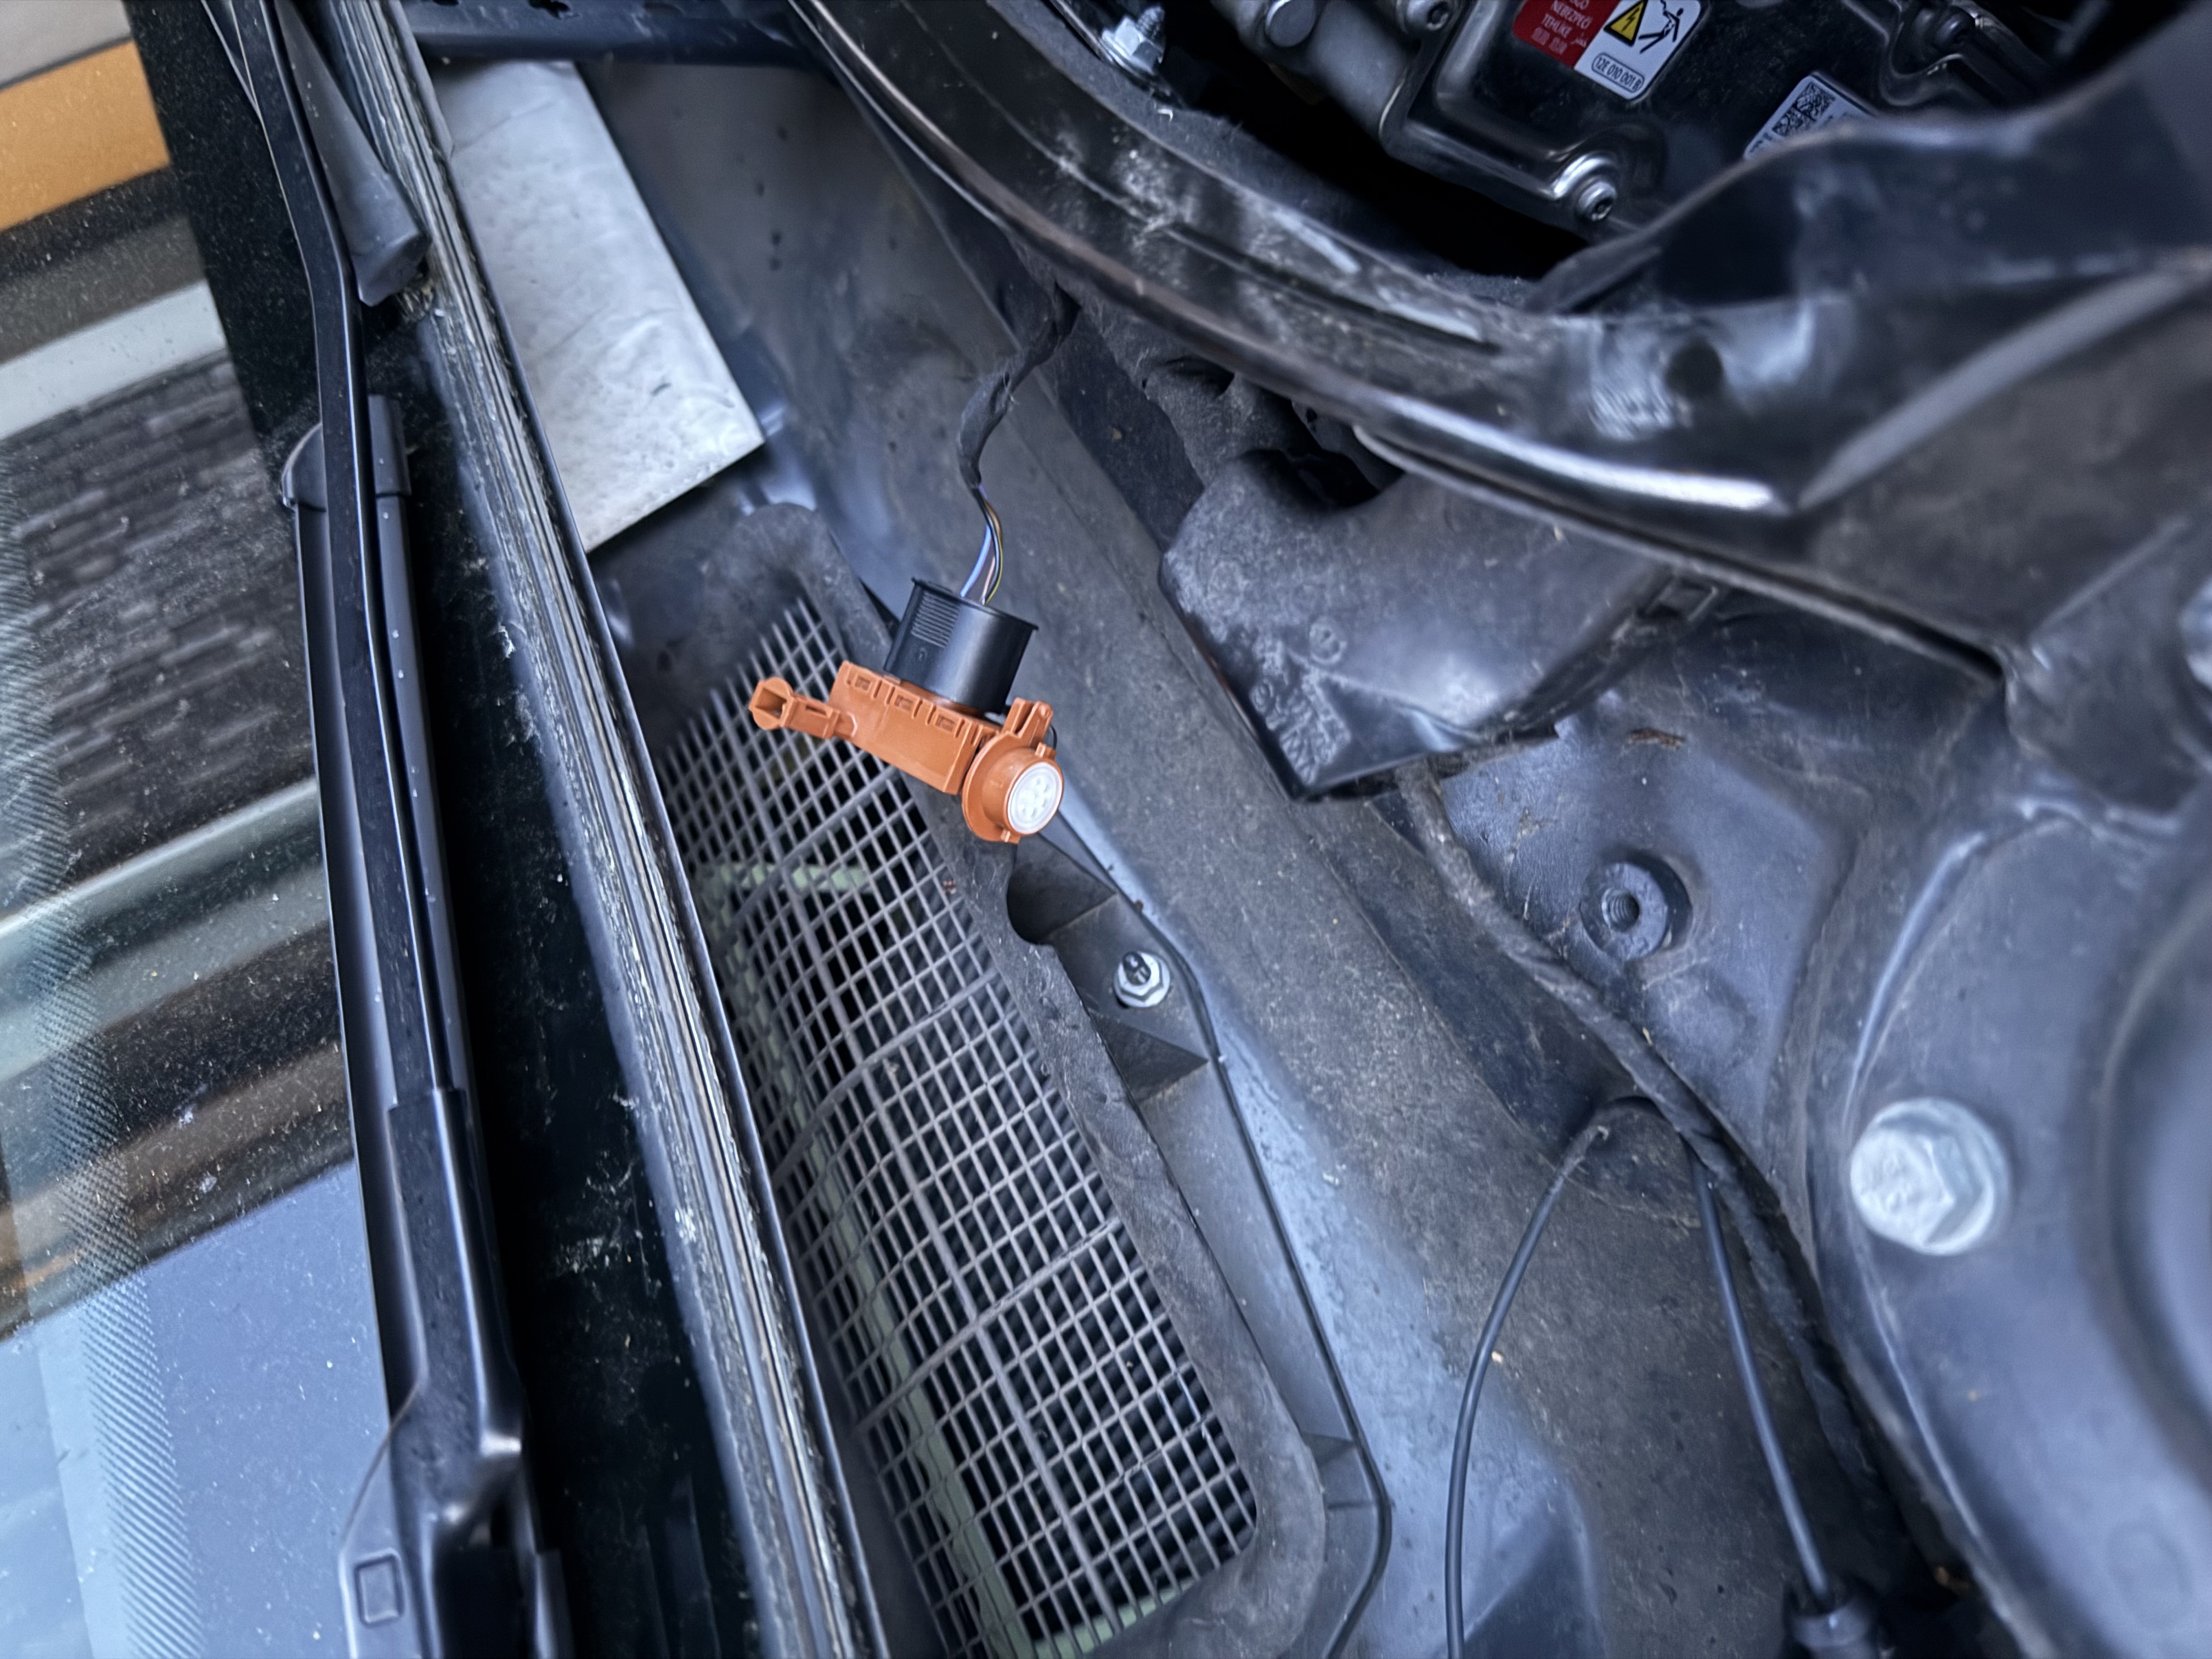
The HVAC air intake is installed on the right side of the vehicle, below the wind screen. After removing some trim pieces carefully, I was able to access it while simultaneously cleaning it. The sensor with the white circle is the sensor that I replaced.
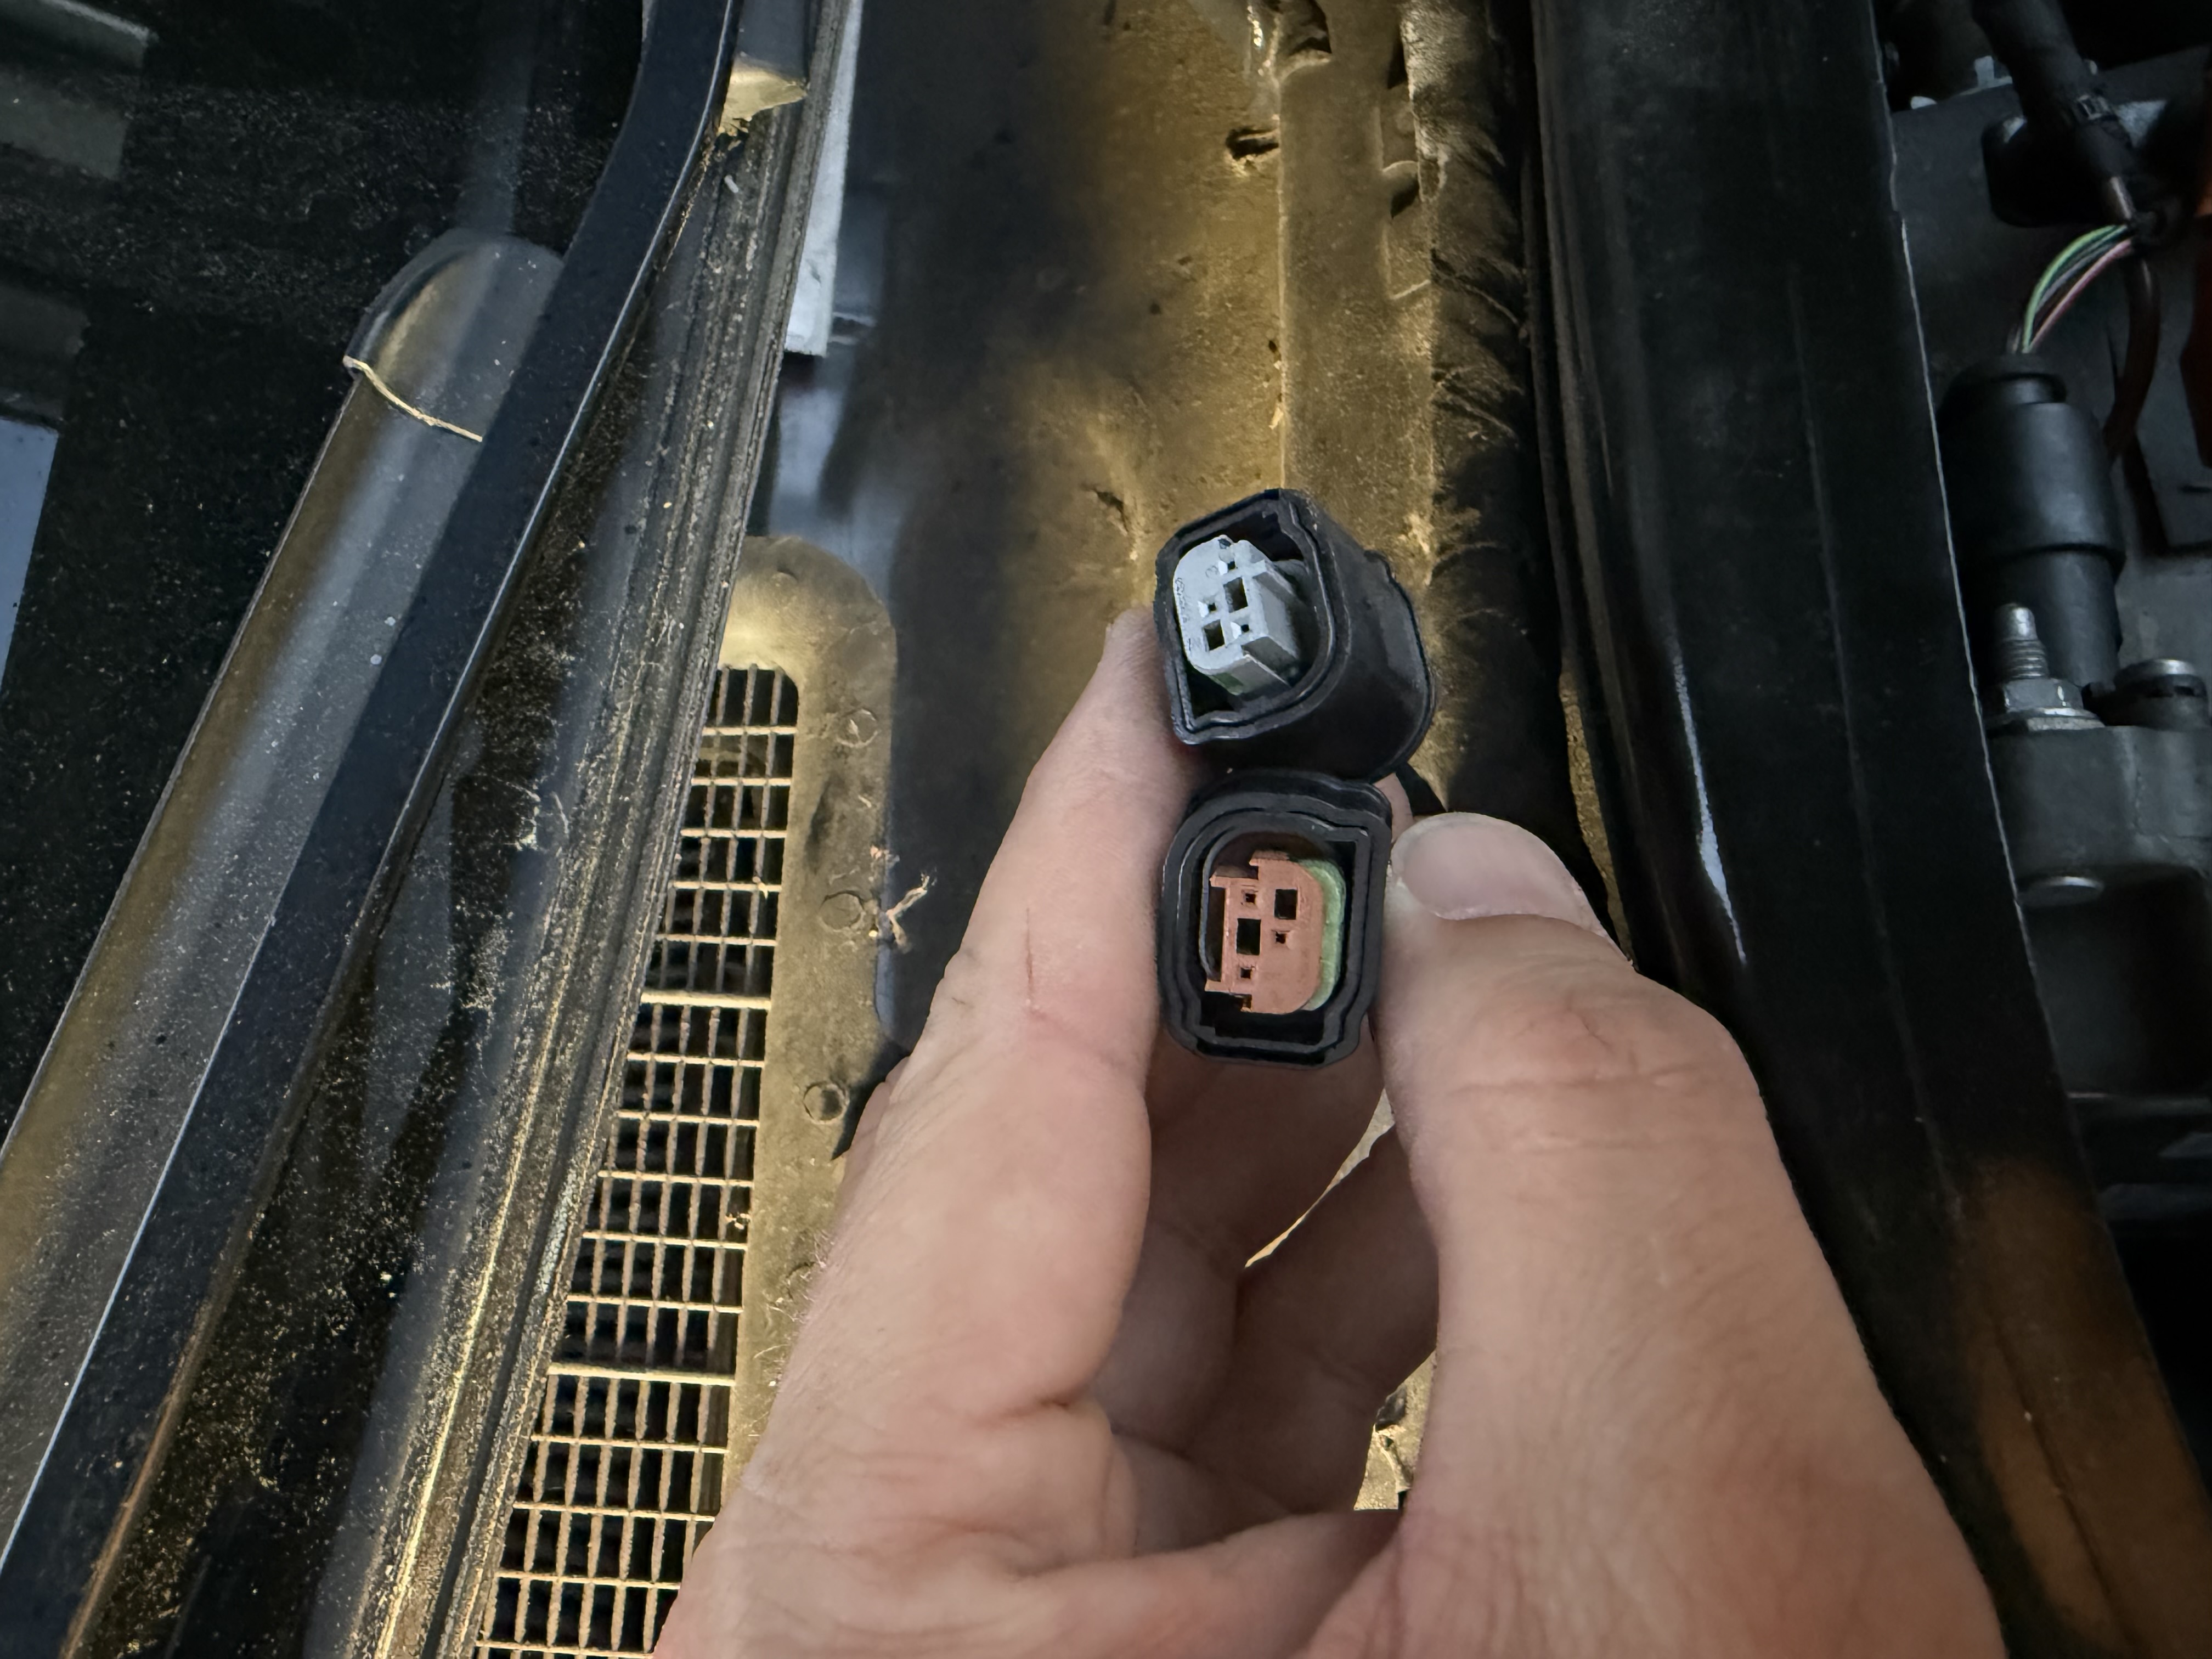
The new sensor fits the same mounting position, but requires a different
connector. While you can cut a bit from the old connector, I bought a new one.
The part number for the new connector is 4G0 972 883. You can easily transfer
the pins from the old connector to the new one. You first need to unlock a
latch, then extract the pins using a removal tool and install them in the new
connector. The pinout remains the same:
- T3ag/1 -> 12 V (black)
- T3ag/2 -> Ground (brown)
- T3ag/3 -> LIN bus (purple)
After installation, it needs to be coded using VCDS. I have found two sources that code it both a bit different. I went with the first one.
- Go to module 08-Auto HVAC.
- Go to coding.
- Change byte 9, bit 4-5 to
Humidity sensor: exterior,installed. - Change byte 14, bit 2-3 to
04 Window condensation exterior reduction at high humidity, Close via characteristic curve. - Go to adaptions.
- Chang the value of
MAS06564-Window condensation exterior reduction at high humiditytoMatching coding(this was already the case).
The final long coding is 0002220020011001051500020010142B.
Once installed, VCDS will list the sensor as a sub-system (G935):
Address 08: Auto HVAC (J255)       Labels:| 5G0-907-044.clb
   Part No SW: 5GE 907 044 AN    HW: 5GE 907 044 AN
   Component: Climatronic   H04 1702
   Revision: 00001K01
   Coding: 0002220020011001051500020010142B
   Shop #: WSC 00029 028 00029
   ASAM Dataset: EV_ACClimaBHBVW37X 006145
   ROD: EV_ACClimaBHBVW37X_006_VW37.rod
   VCID: 0849983D12B0C59AC7A-805C

   Fresh air blower control module (front):

   Air quality sensor:

   Humidity sensor: exterior:
   Subsystem 3 - Part No SW: 4H0 907 658 C    HW: 4H0 907 658 C
   Component: G935 MuFu  H06 0012
   Serial number: C26A1D2600PAG0MUFU04

No fault code found.
You can check if it works using the ‘advanced measuring values’ option in VCDS. Search for ‘exterior’ and check the options related to humidity.

According to this source, you can test the sensor using butane gas. Once it measures it, you can see/hear the circulation shutter closing. Not sure what this has to do with ‘humidity’, but at least something happened when I performed this test.
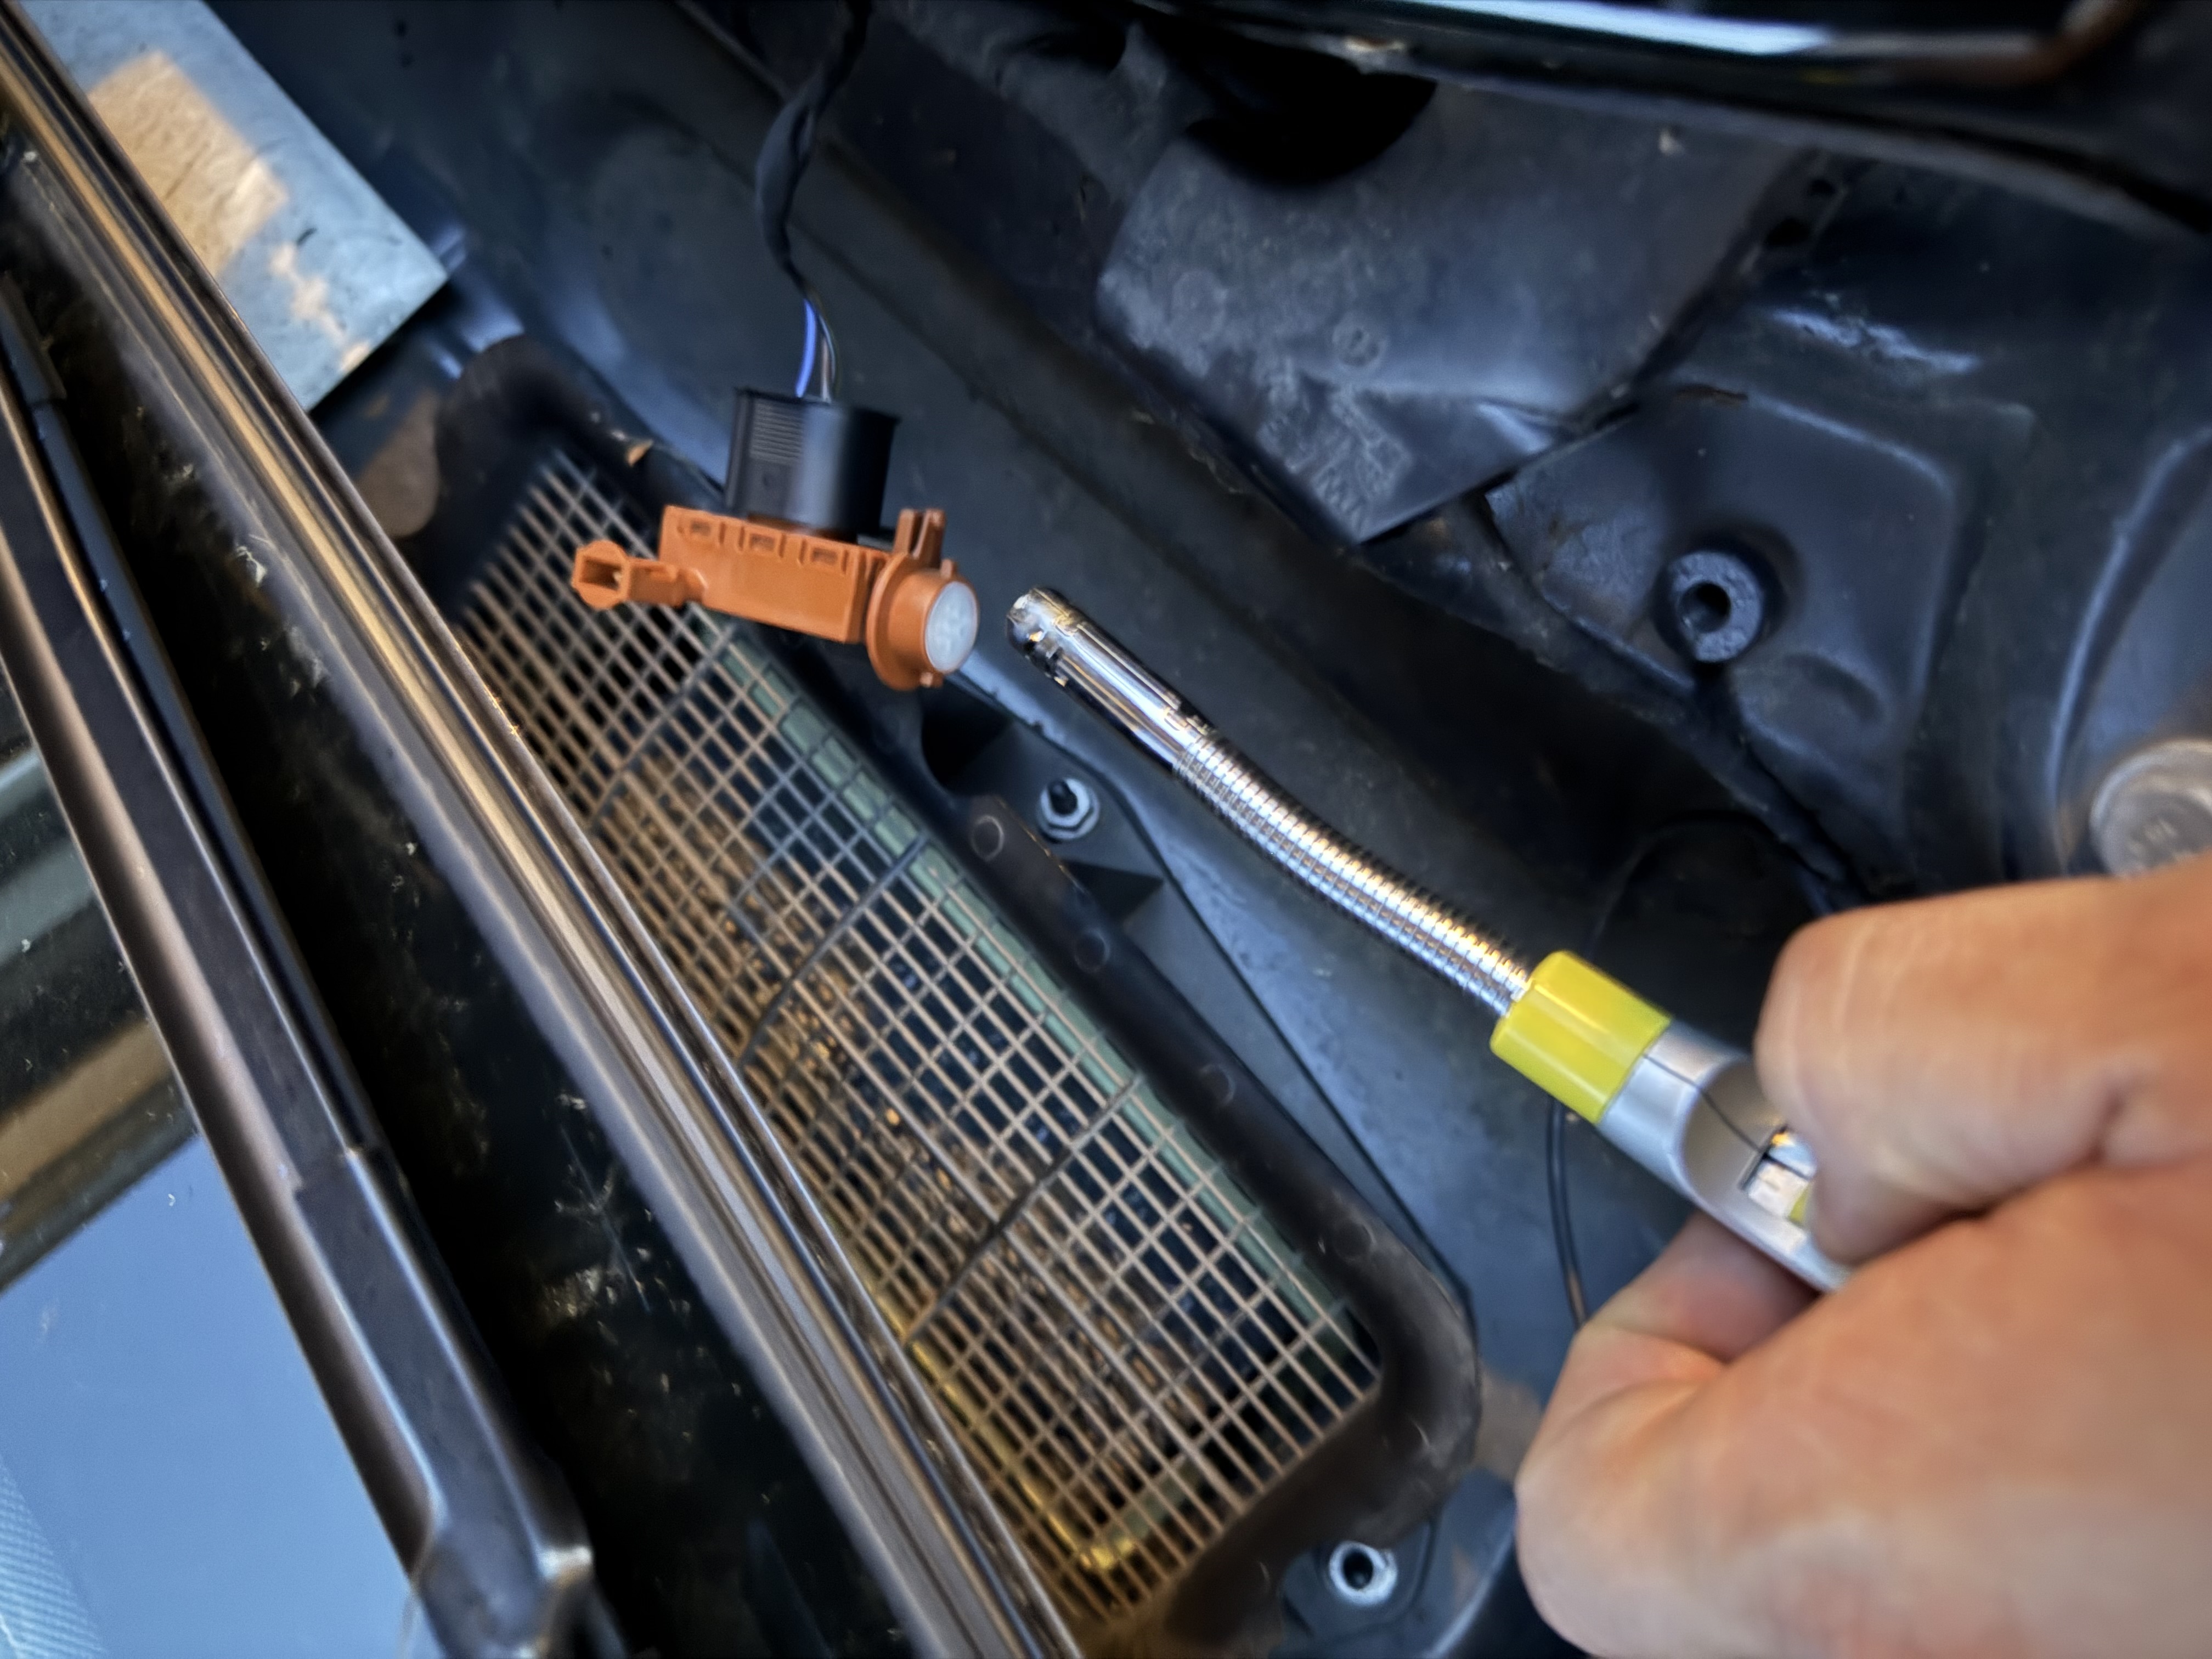
Be careful when putting the trim pieces back. The new sensor is taller, and if you put too much force on the trim piece that goes on top, you could break it. Just make sure that there is enough clearance and it does not rattle against the trim piece.
This is a mod I did because I could. I probably won’t notice it during normal driving.