Replacing the rubber grommet
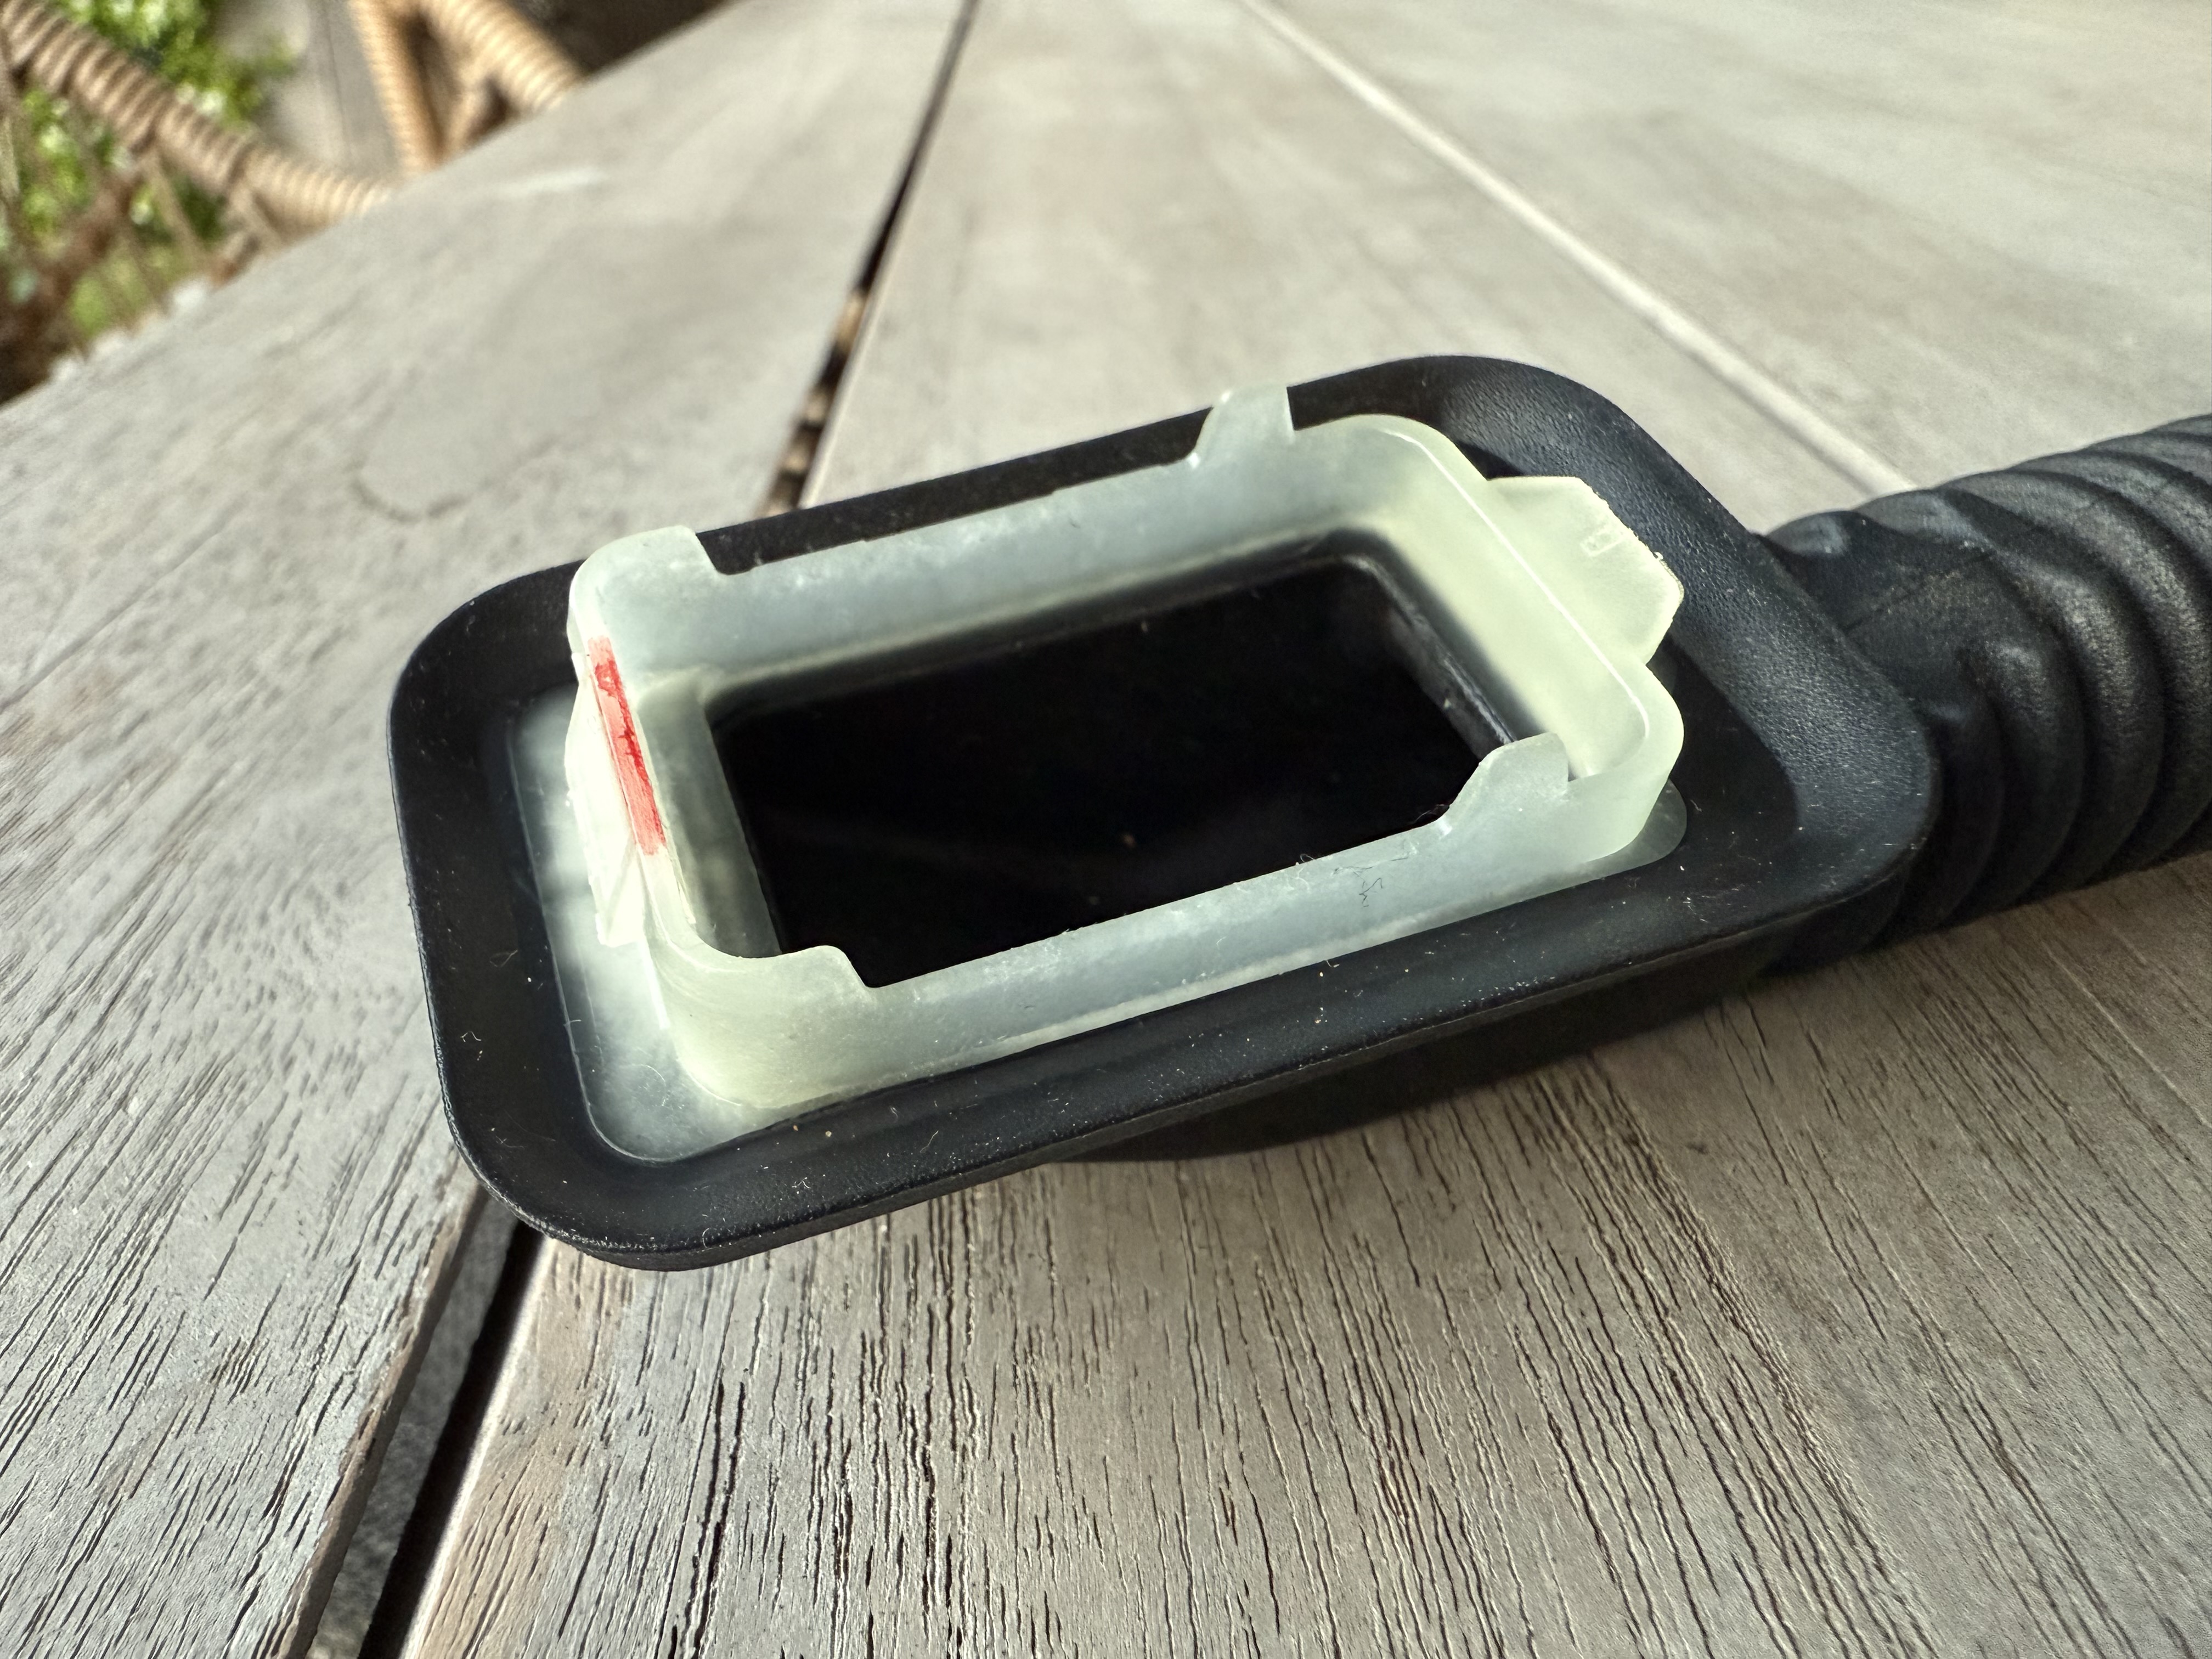
When I ran additional wires for the high-line camera, I ran the CAN bus wires via the left rubber grommet that connects the trunk lid to the body. The hard plastic part of the grommet hooks on one side to the chassis, and the other clips. It is that part that can be bent easily, which results in too little clamping force to seal the rubber grommet to the chassis. Of course, I bent it too much, which resulted in an improper seal.
I was aware of these grommets being fragile. I already decided to only
remove the part on the trunk side when I ran additional wires, so I would
maintain water tightness on the roof side. But after some rain I did notice a
lot of rain drops around the trunk side as well, so I figured it was time to
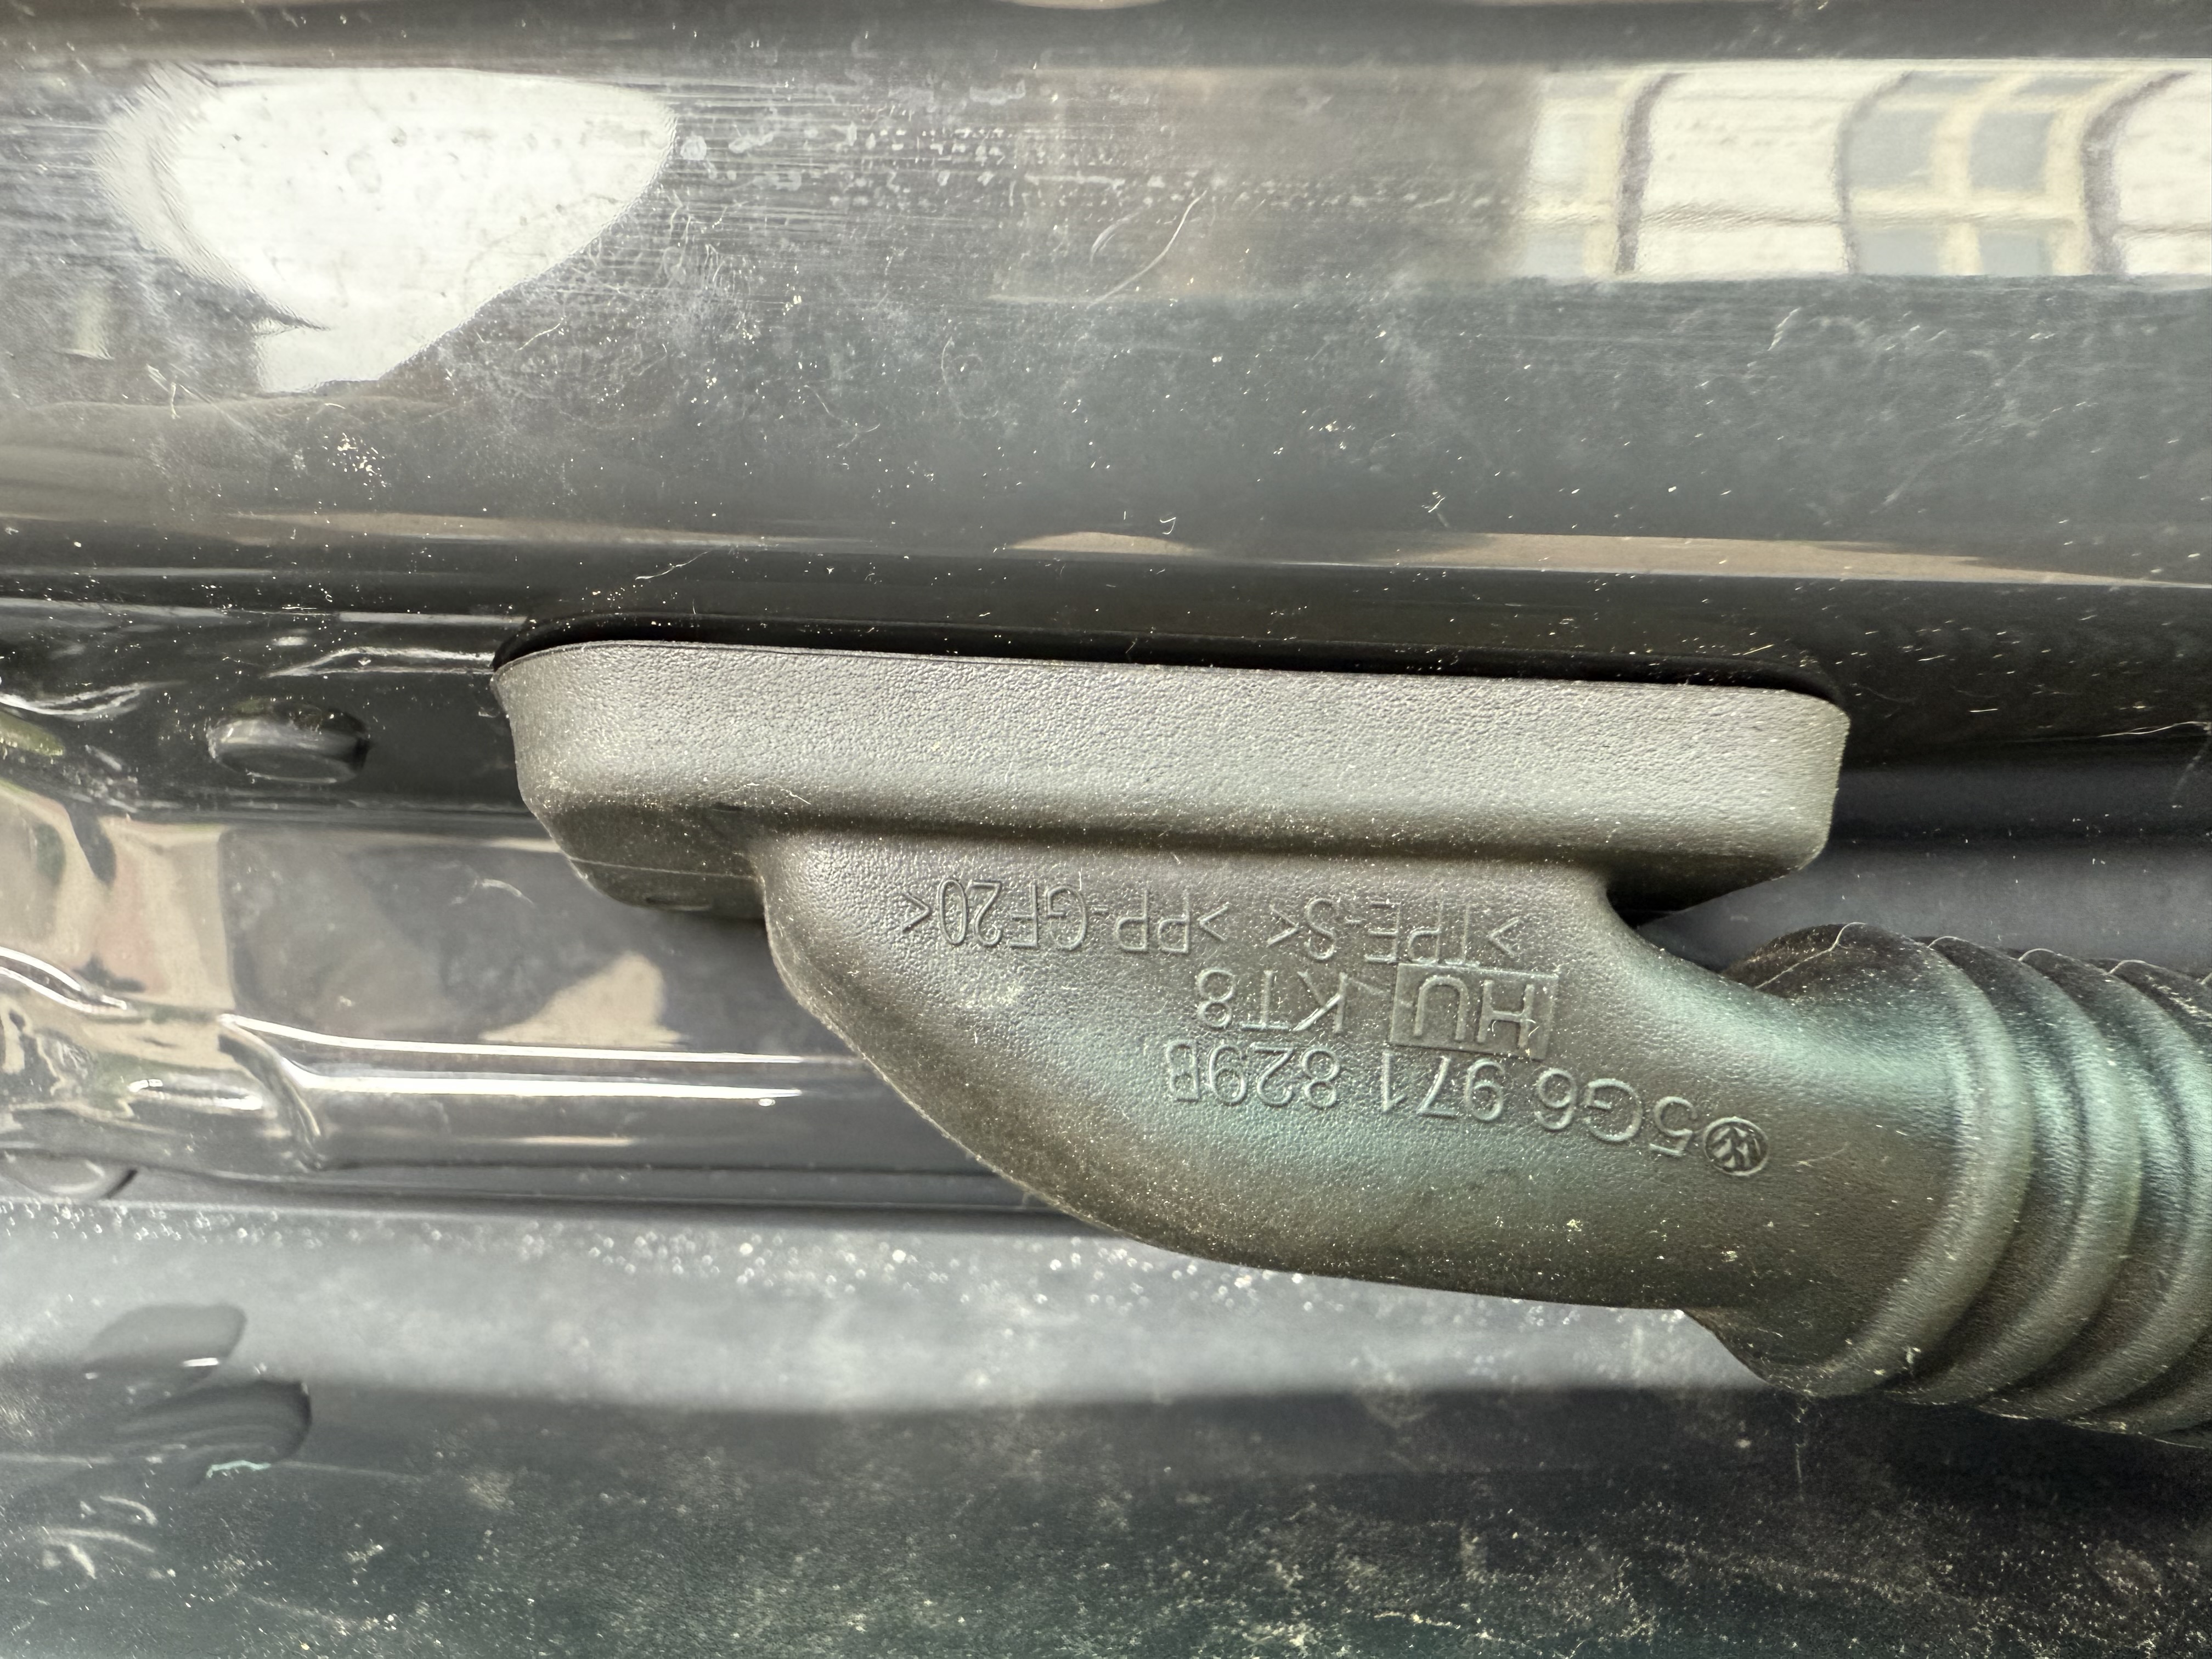
replace that one. I ordered a new grommet (plus a spare) of AliExpress with
part number 5G6 971 829 B for only a couple of euros. The only difference
with the original one is that it states ‘CN instead of ‘HU’, which probably
means it is made in China instead of Hungary.
Replacing the grommet is a bit tedious. I found a video of Deutsche Auto Parts explaing the process, in which they stated that you can disassemble the connectors and pull it though the grommet. However, that definitely did not work out for me, so I had to de-pin the connectors keeping track of which pin goes where (they are all white on the other car side).
Then there is also the two wires for the third brake light and the CAN bus wire I installed for the high-line camera. You need to remove the third brake light to remove the connector, but according to another YouTube video, it is prone to breaking when you remove it. To prevent making things worse, I decided to cut the wire and repair it afterwards. I did the same for the CAN bus wire.
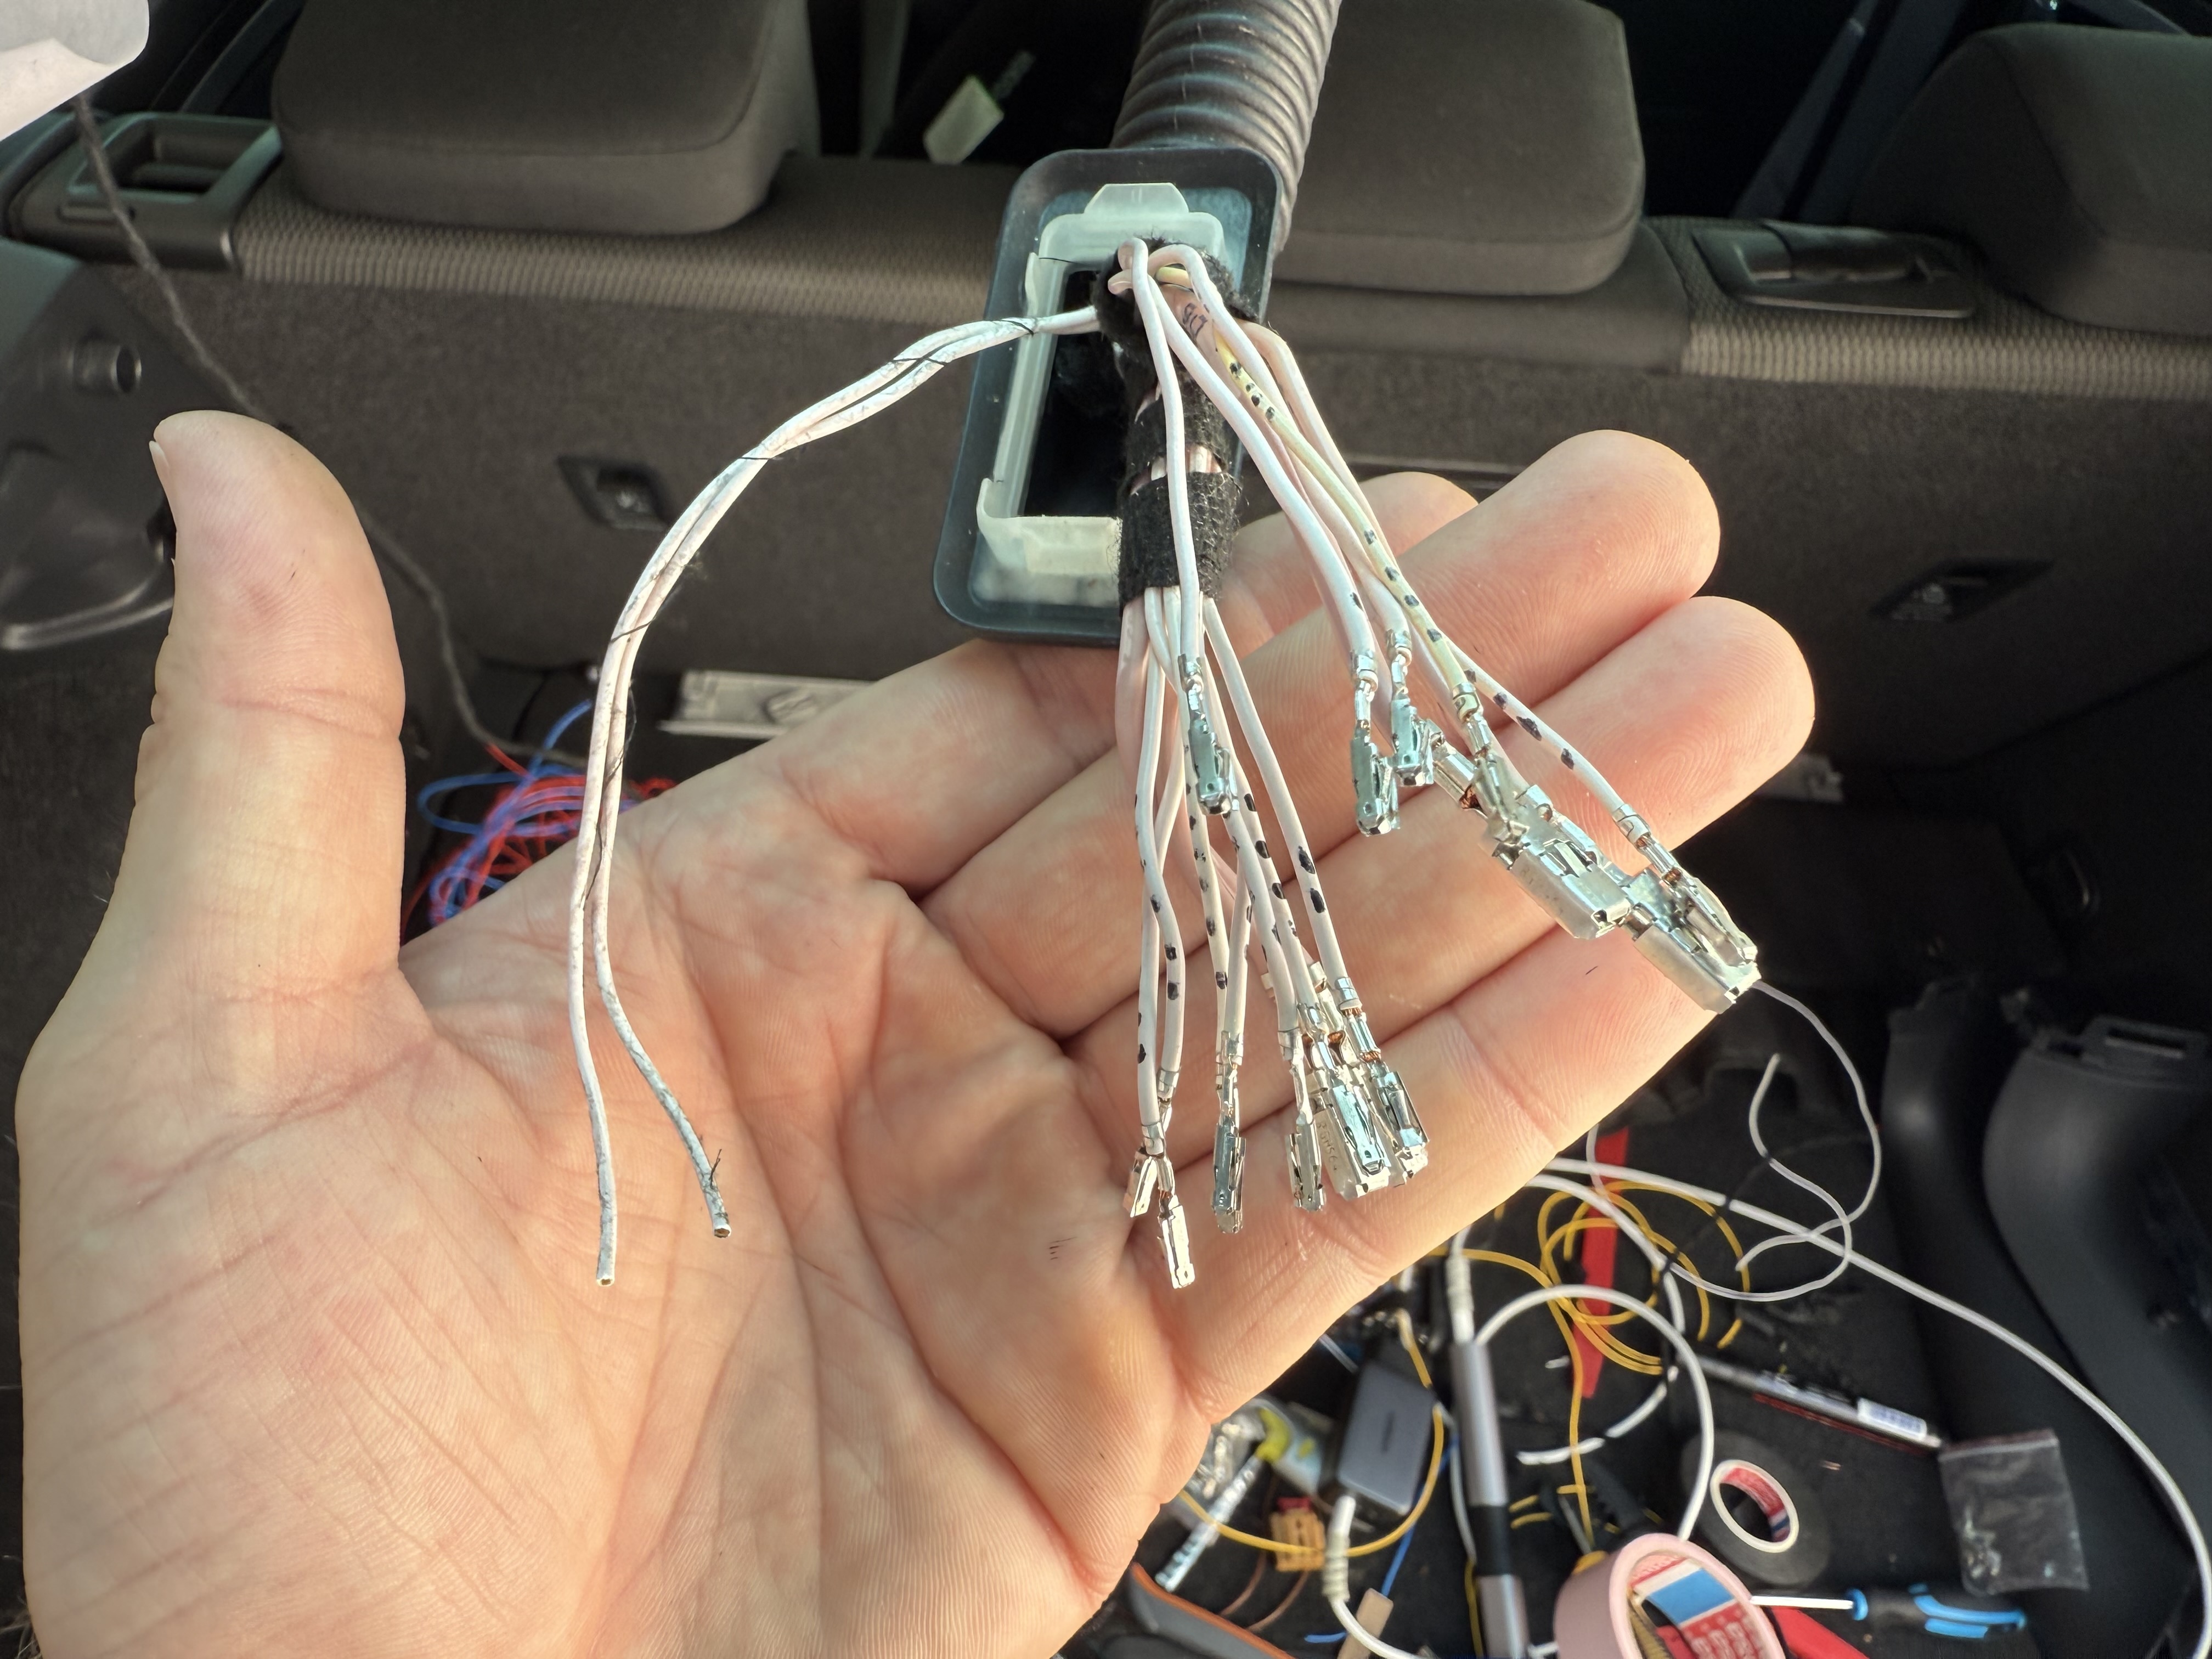
After de-pinning, I could pull the wires through the grommet, install the new one and carefully pull the wires back through. I used a bit of tape to bundle the wires together, so I could pull them through the grommet more easily. Then I re-pinned the connectors and tested if everything still worked. Since I am planning to install dynamic tail lights coming days, I did not yet re-attach the grommet to the chassis because I know I will have to run additional wires through it.