Installing dynamic tail lights (part 3)
Well, this escalated quickly. From ‘idea’ to ‘execution’ in less than a month.
This week I had some time off, and during a heat wave in The Netherlands, I
decided it was the proper time to install the dynamic tail lights. I already
had the retrofit kit with part number 5G1 052 200 C and the replacement
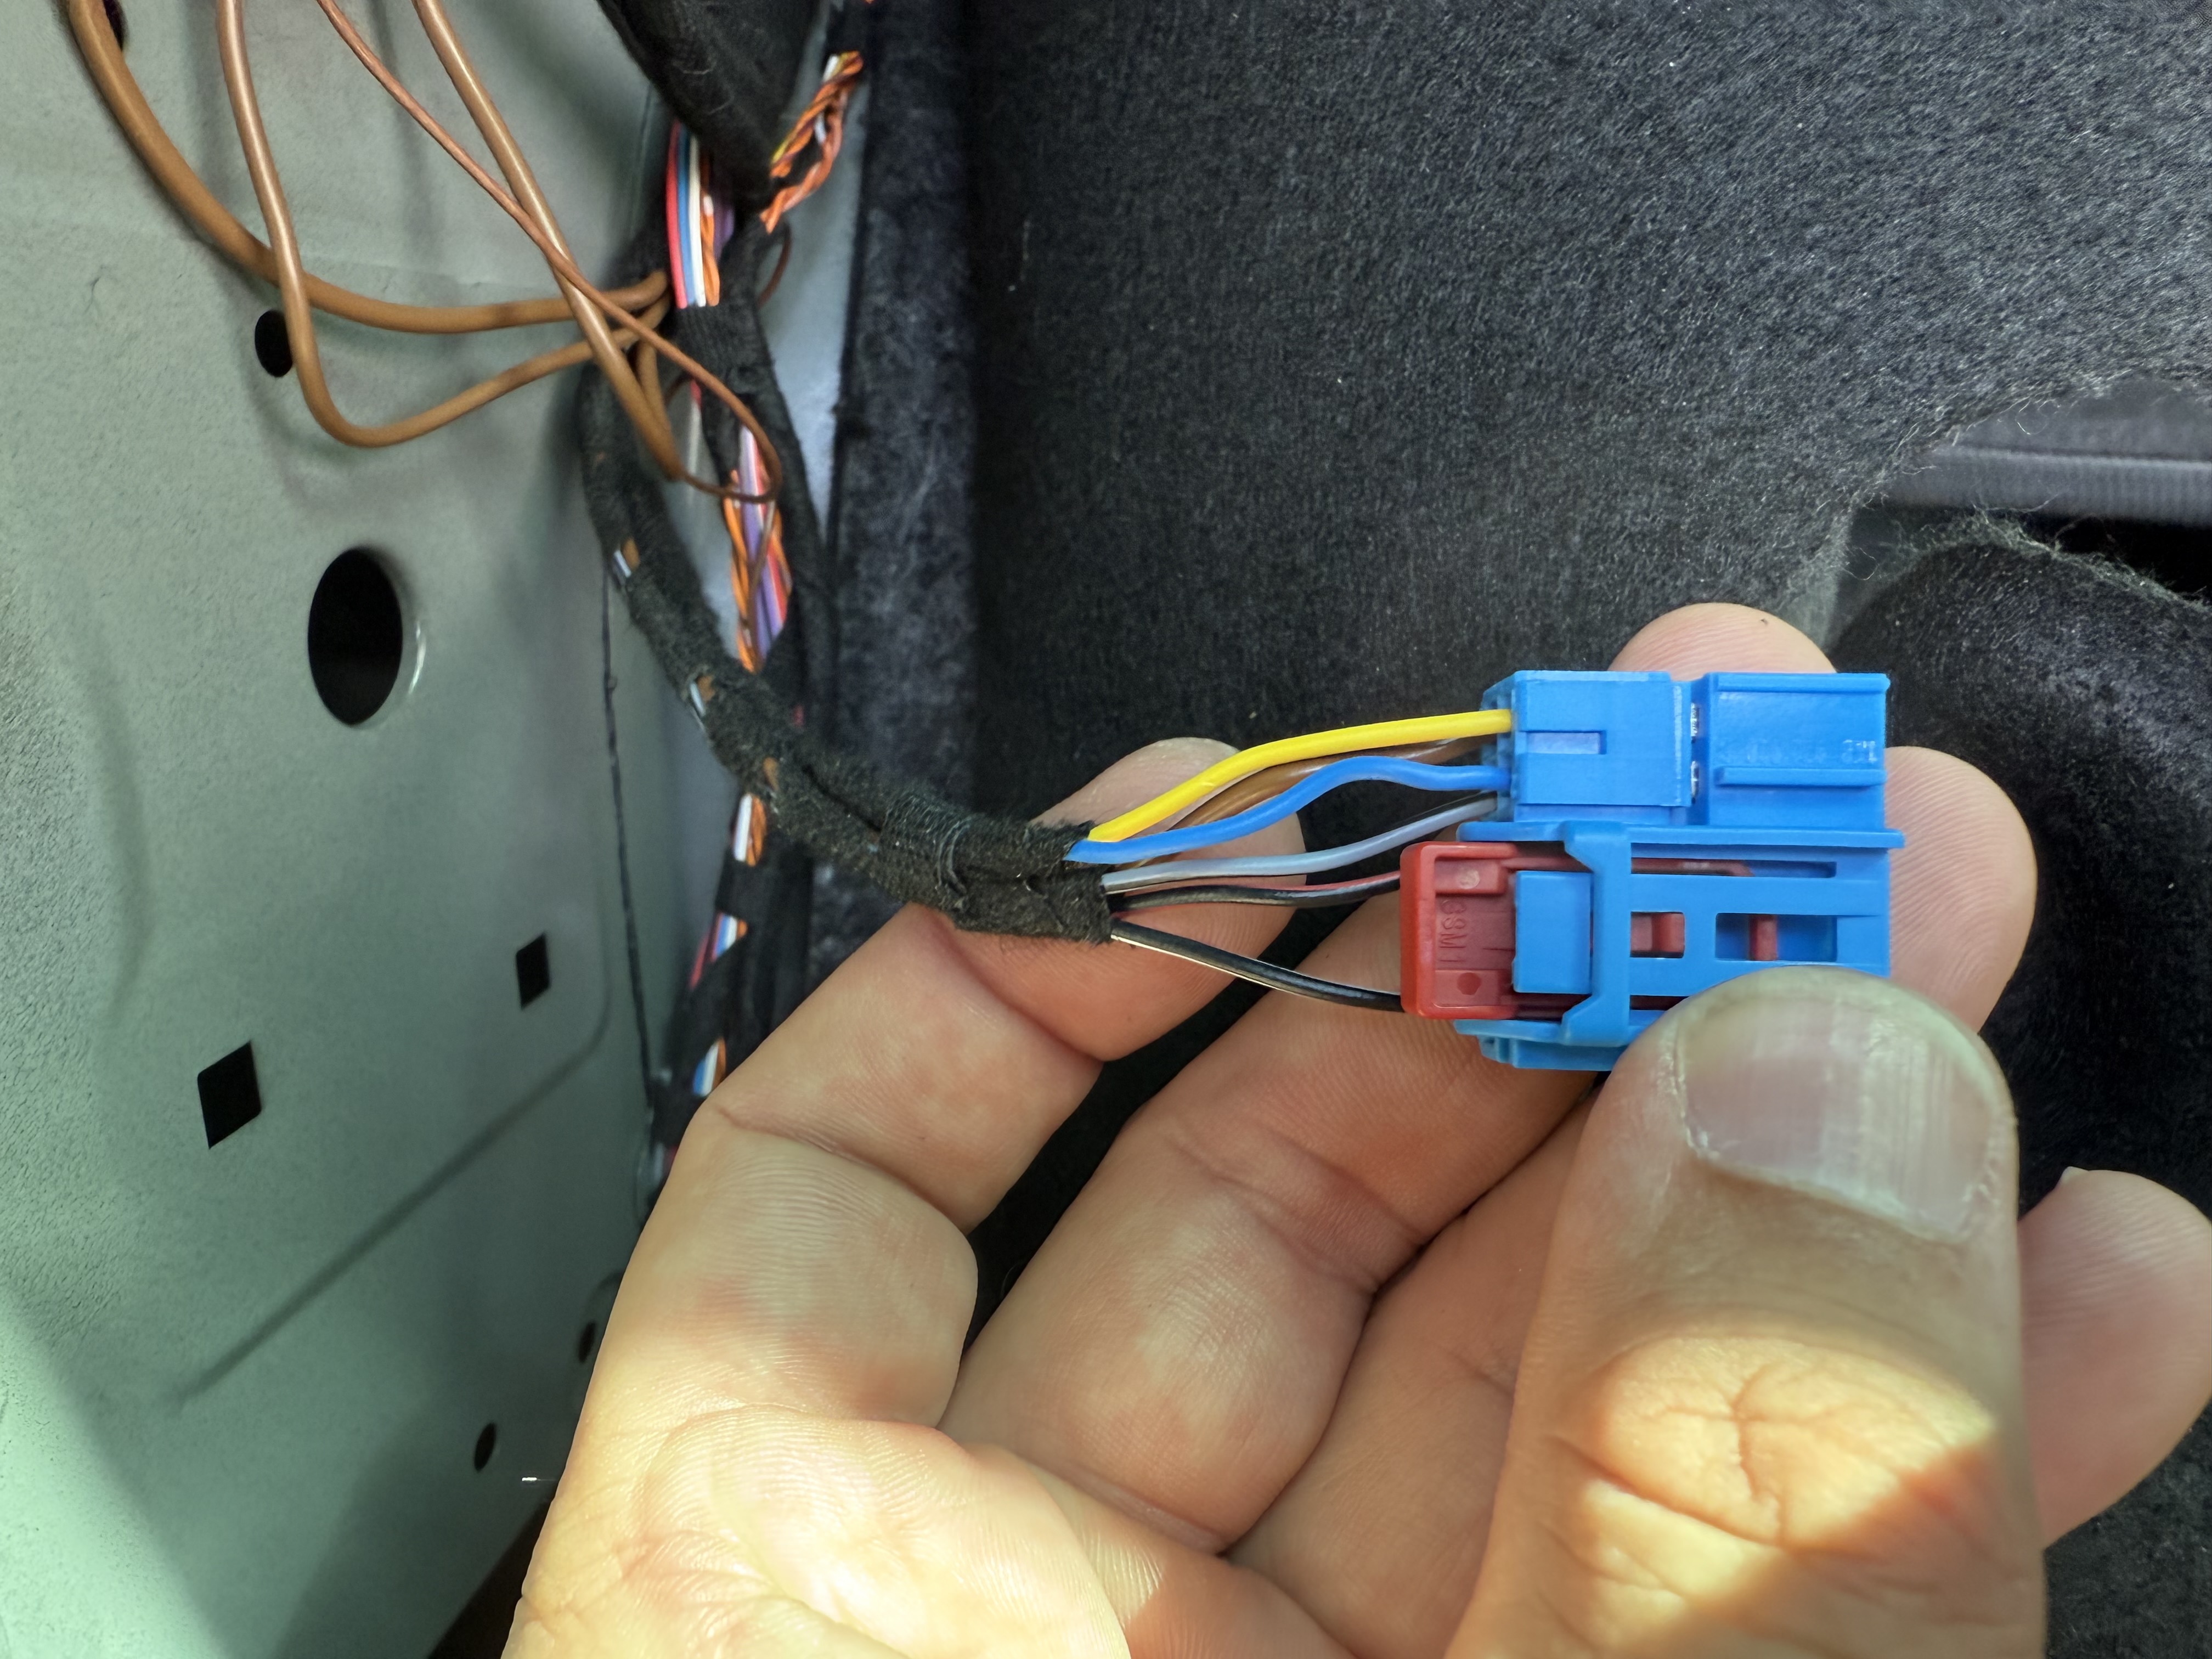
connectors with part number 1K8 972 928 B just arrived. It turns out that
these are almost the same connectors as the old ones, they are just keyed
differently. You could probably cut away the keying on the old ones if you
really wanted.

The retrofit kit came with an additional wiring loom. Part of this loom ensures that the inner and outer tail lights are connected to each other (so the turn signal fills the whole light). But there was also a wire that goes back to the body control module (BCM) which I did not understand at first. I decided to not use the additional wiring loom, and create one myself:
- The existing loom does not not respect the trunk coupling point. This makes it impossible to replace such as the rubber grommet (which I already did).
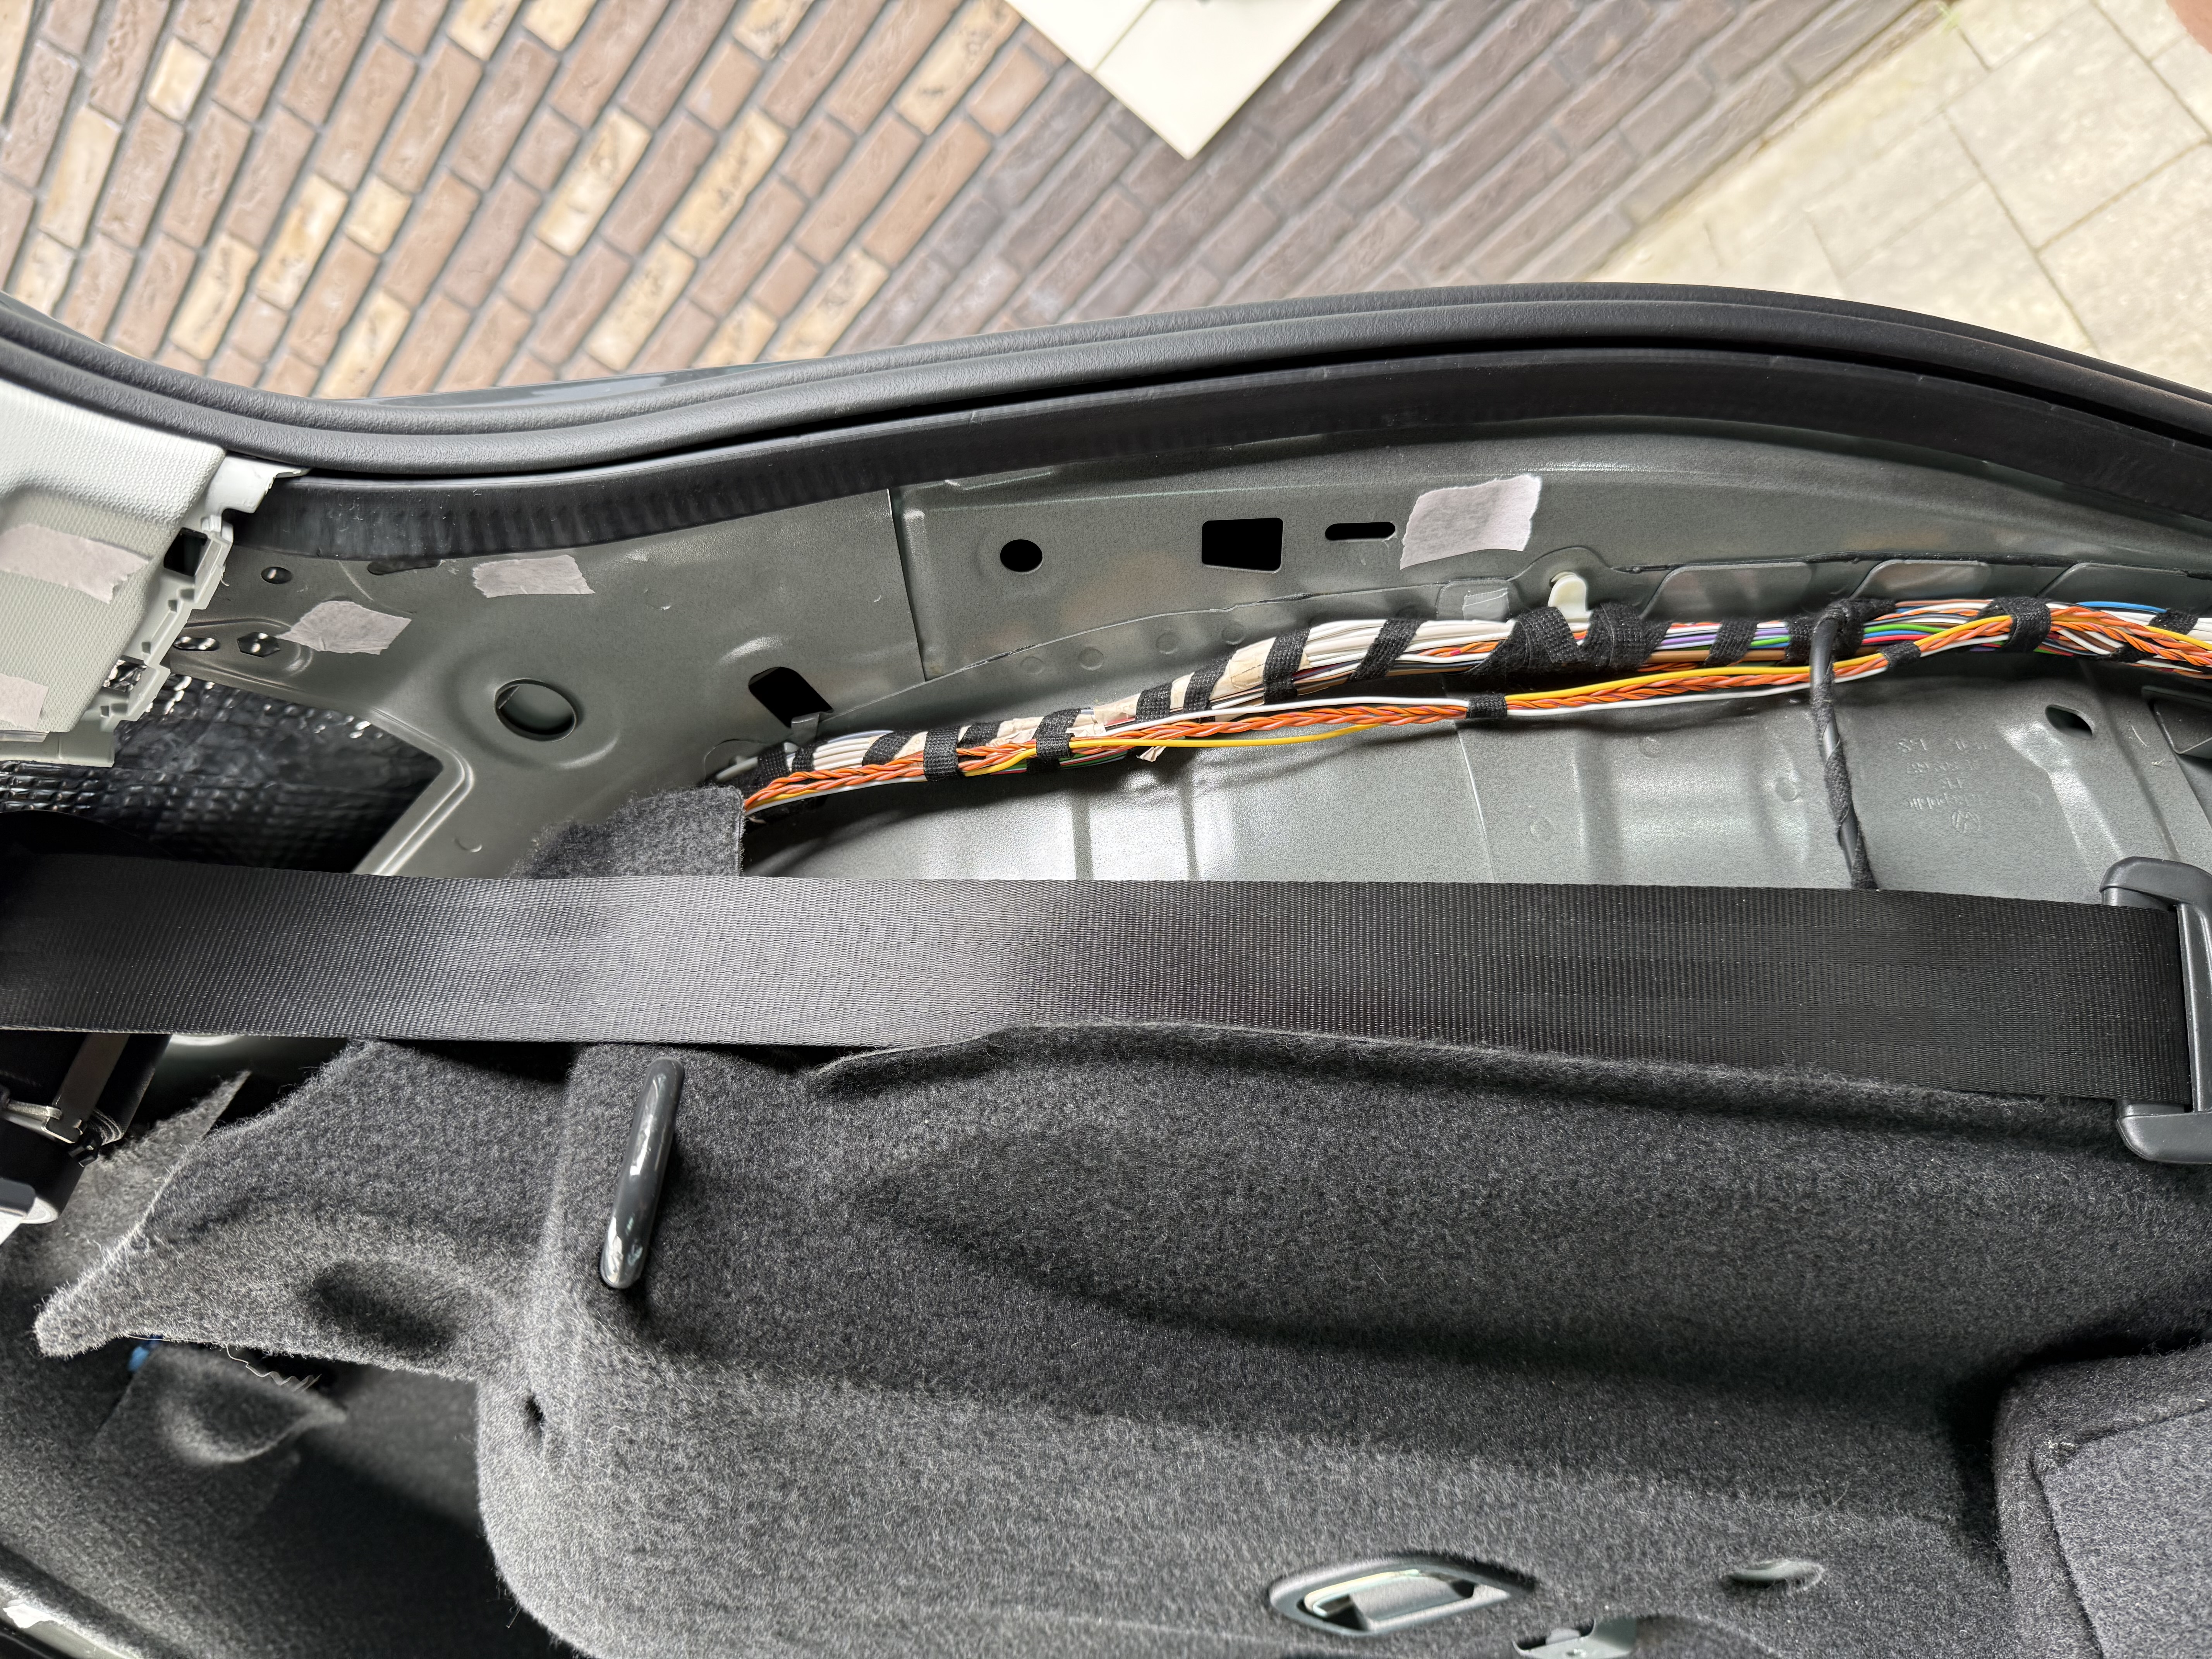
- I wanted to combine the wires with the wires for the high-line camera and the TPMS. Not only does this looks better, some parts of the car have little room for additional wires (especially the trunk), so I had to combine them in a space-efficient way.
Usign the wiring diagrams for the dynamic tail lights, I figured out how the addition wires in the trunk lid connect to the coupling point. I did stick with the colors of the original wiring loom. Blue connects the left tail lights, white the right tail lights and yellow runs from each tail light to the BCM.
T10d is the black connector of the coupling point, T10l is the brown connector.
- T10d/5 -> left outer tail light (blue)
- T10l/1 -> T73c/6 on the BCM (yellow)
- T10l/4 -> right outer tail light (white)
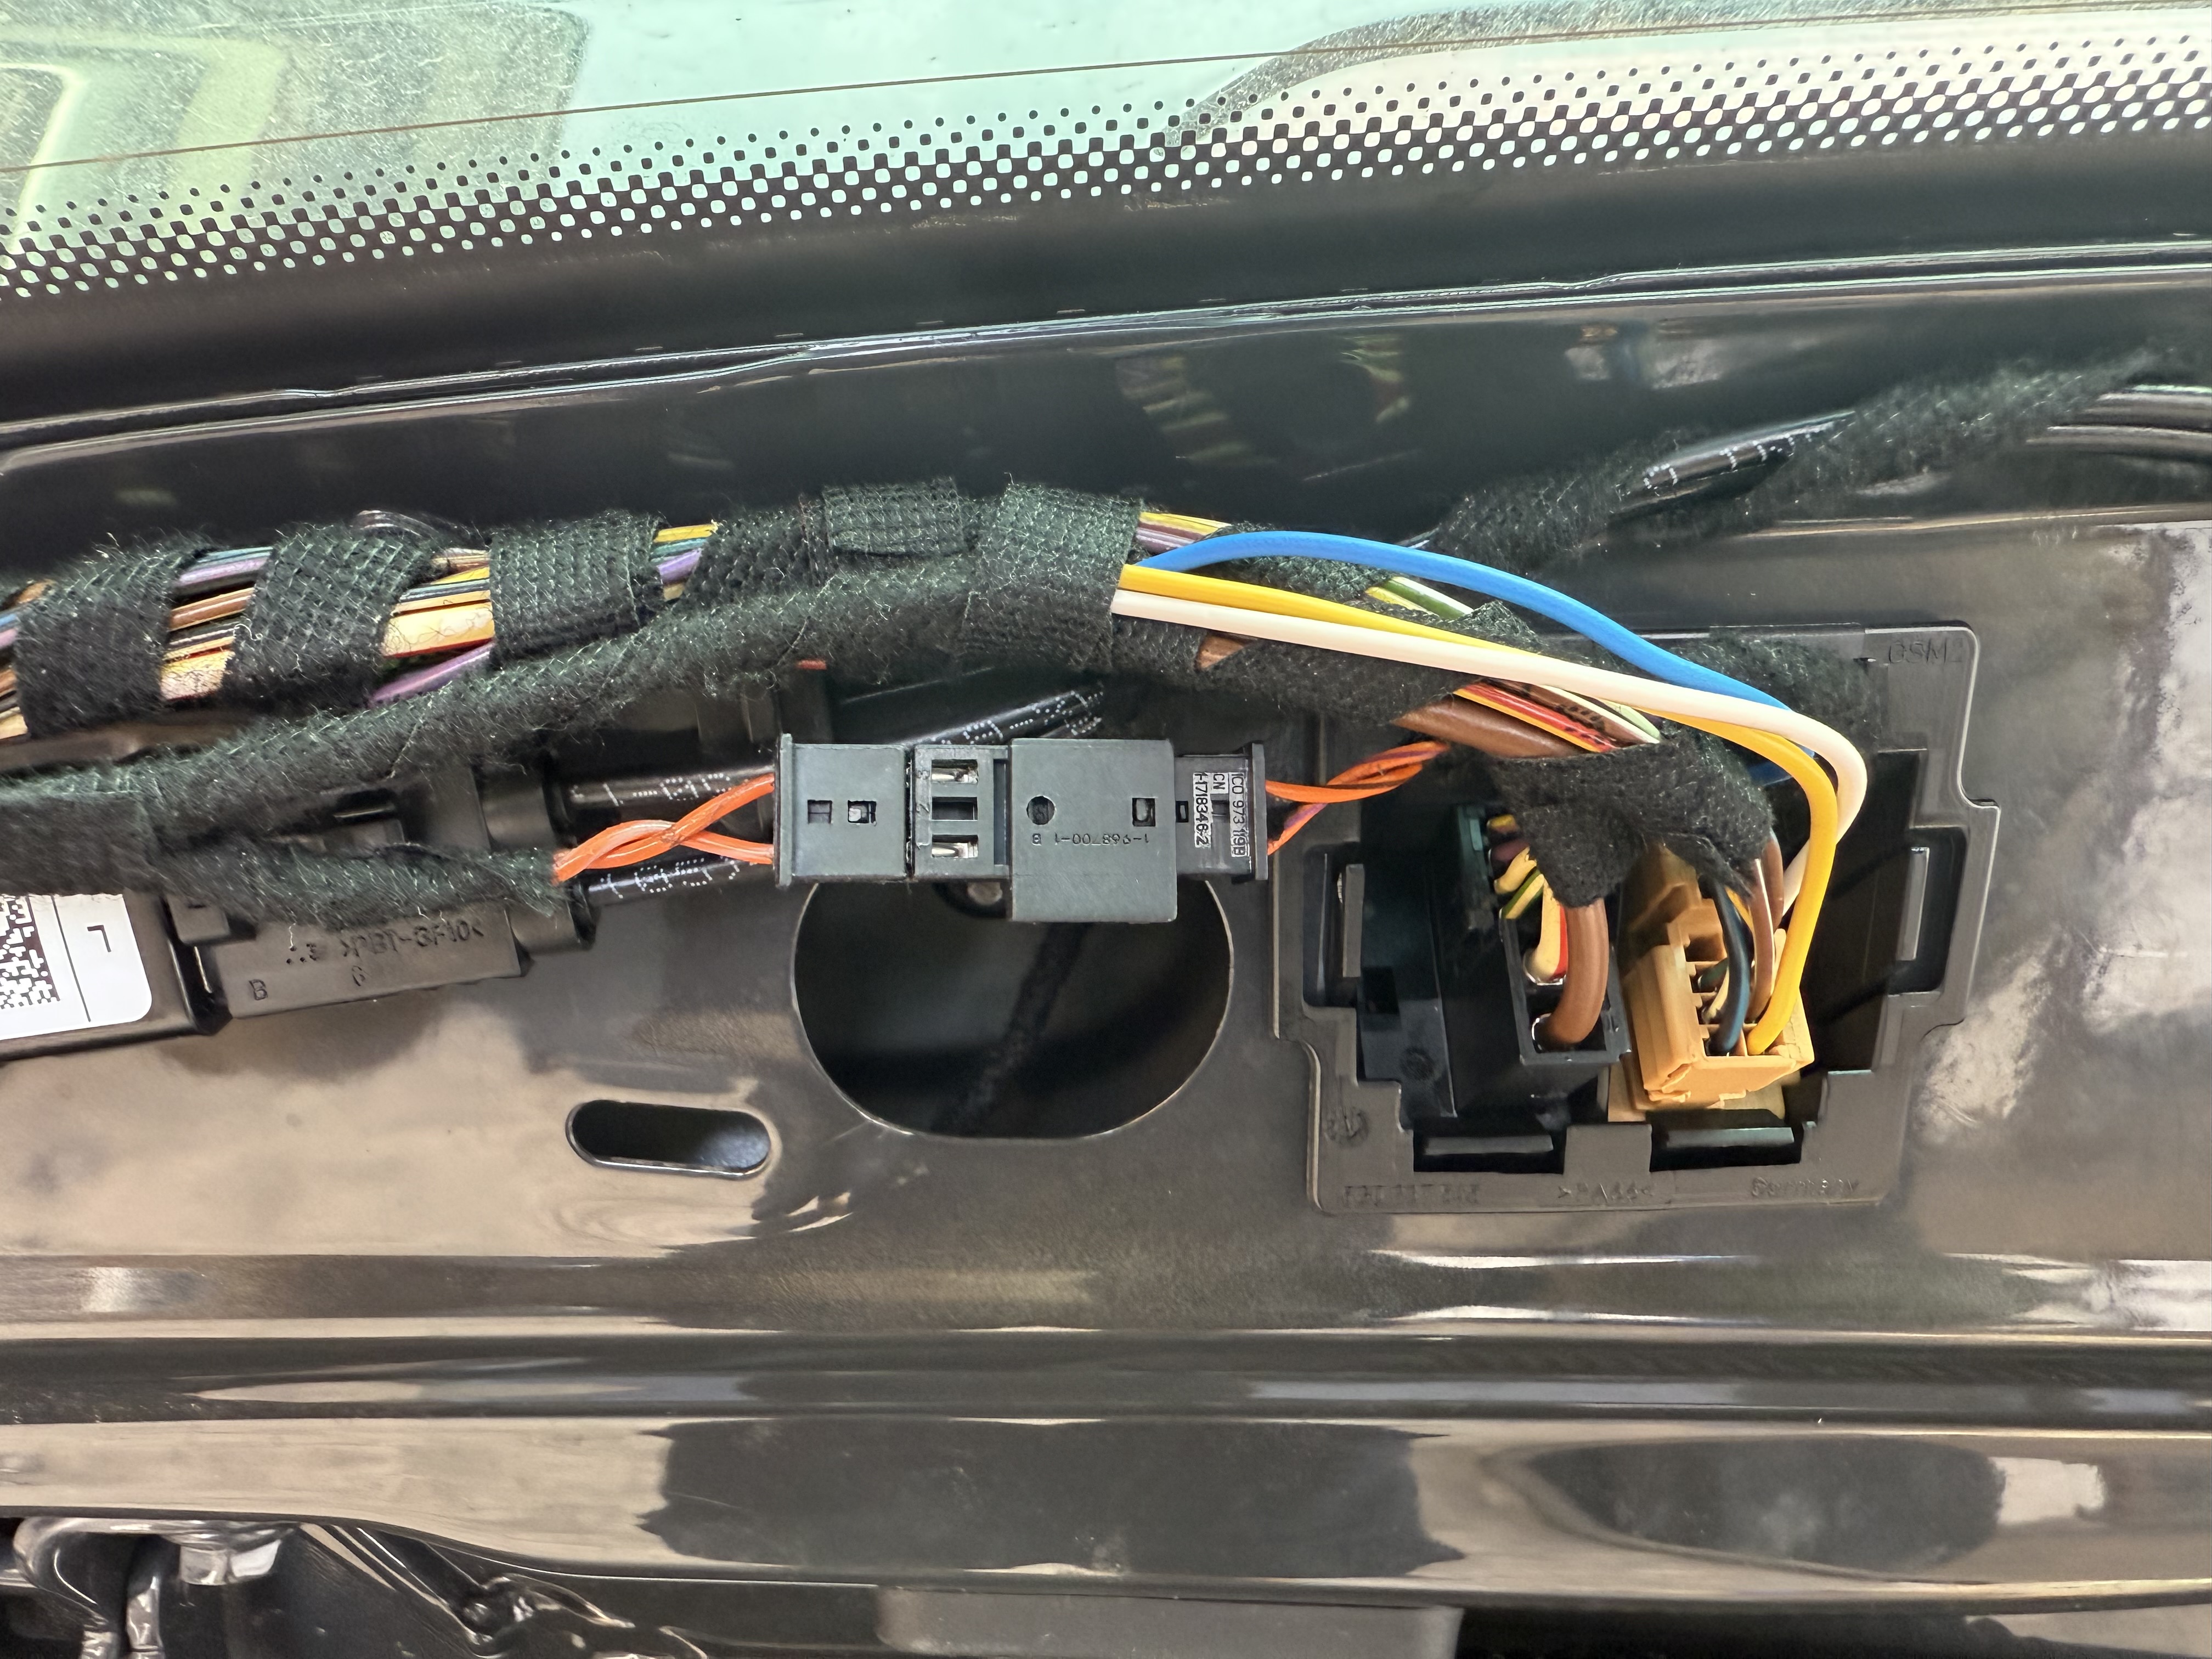
From both sides of the coupling point, I ran the wires to the tail lights. I made sure to splice the yellow wire at convenient places and hide the splices in the wiring looms. The yellow wire ran from the left side (close to the tail light) to the front of the car, which meant I had to remove all the panels again. Apart from the trim that goes over the trunk lock, I did not break any clips this time.
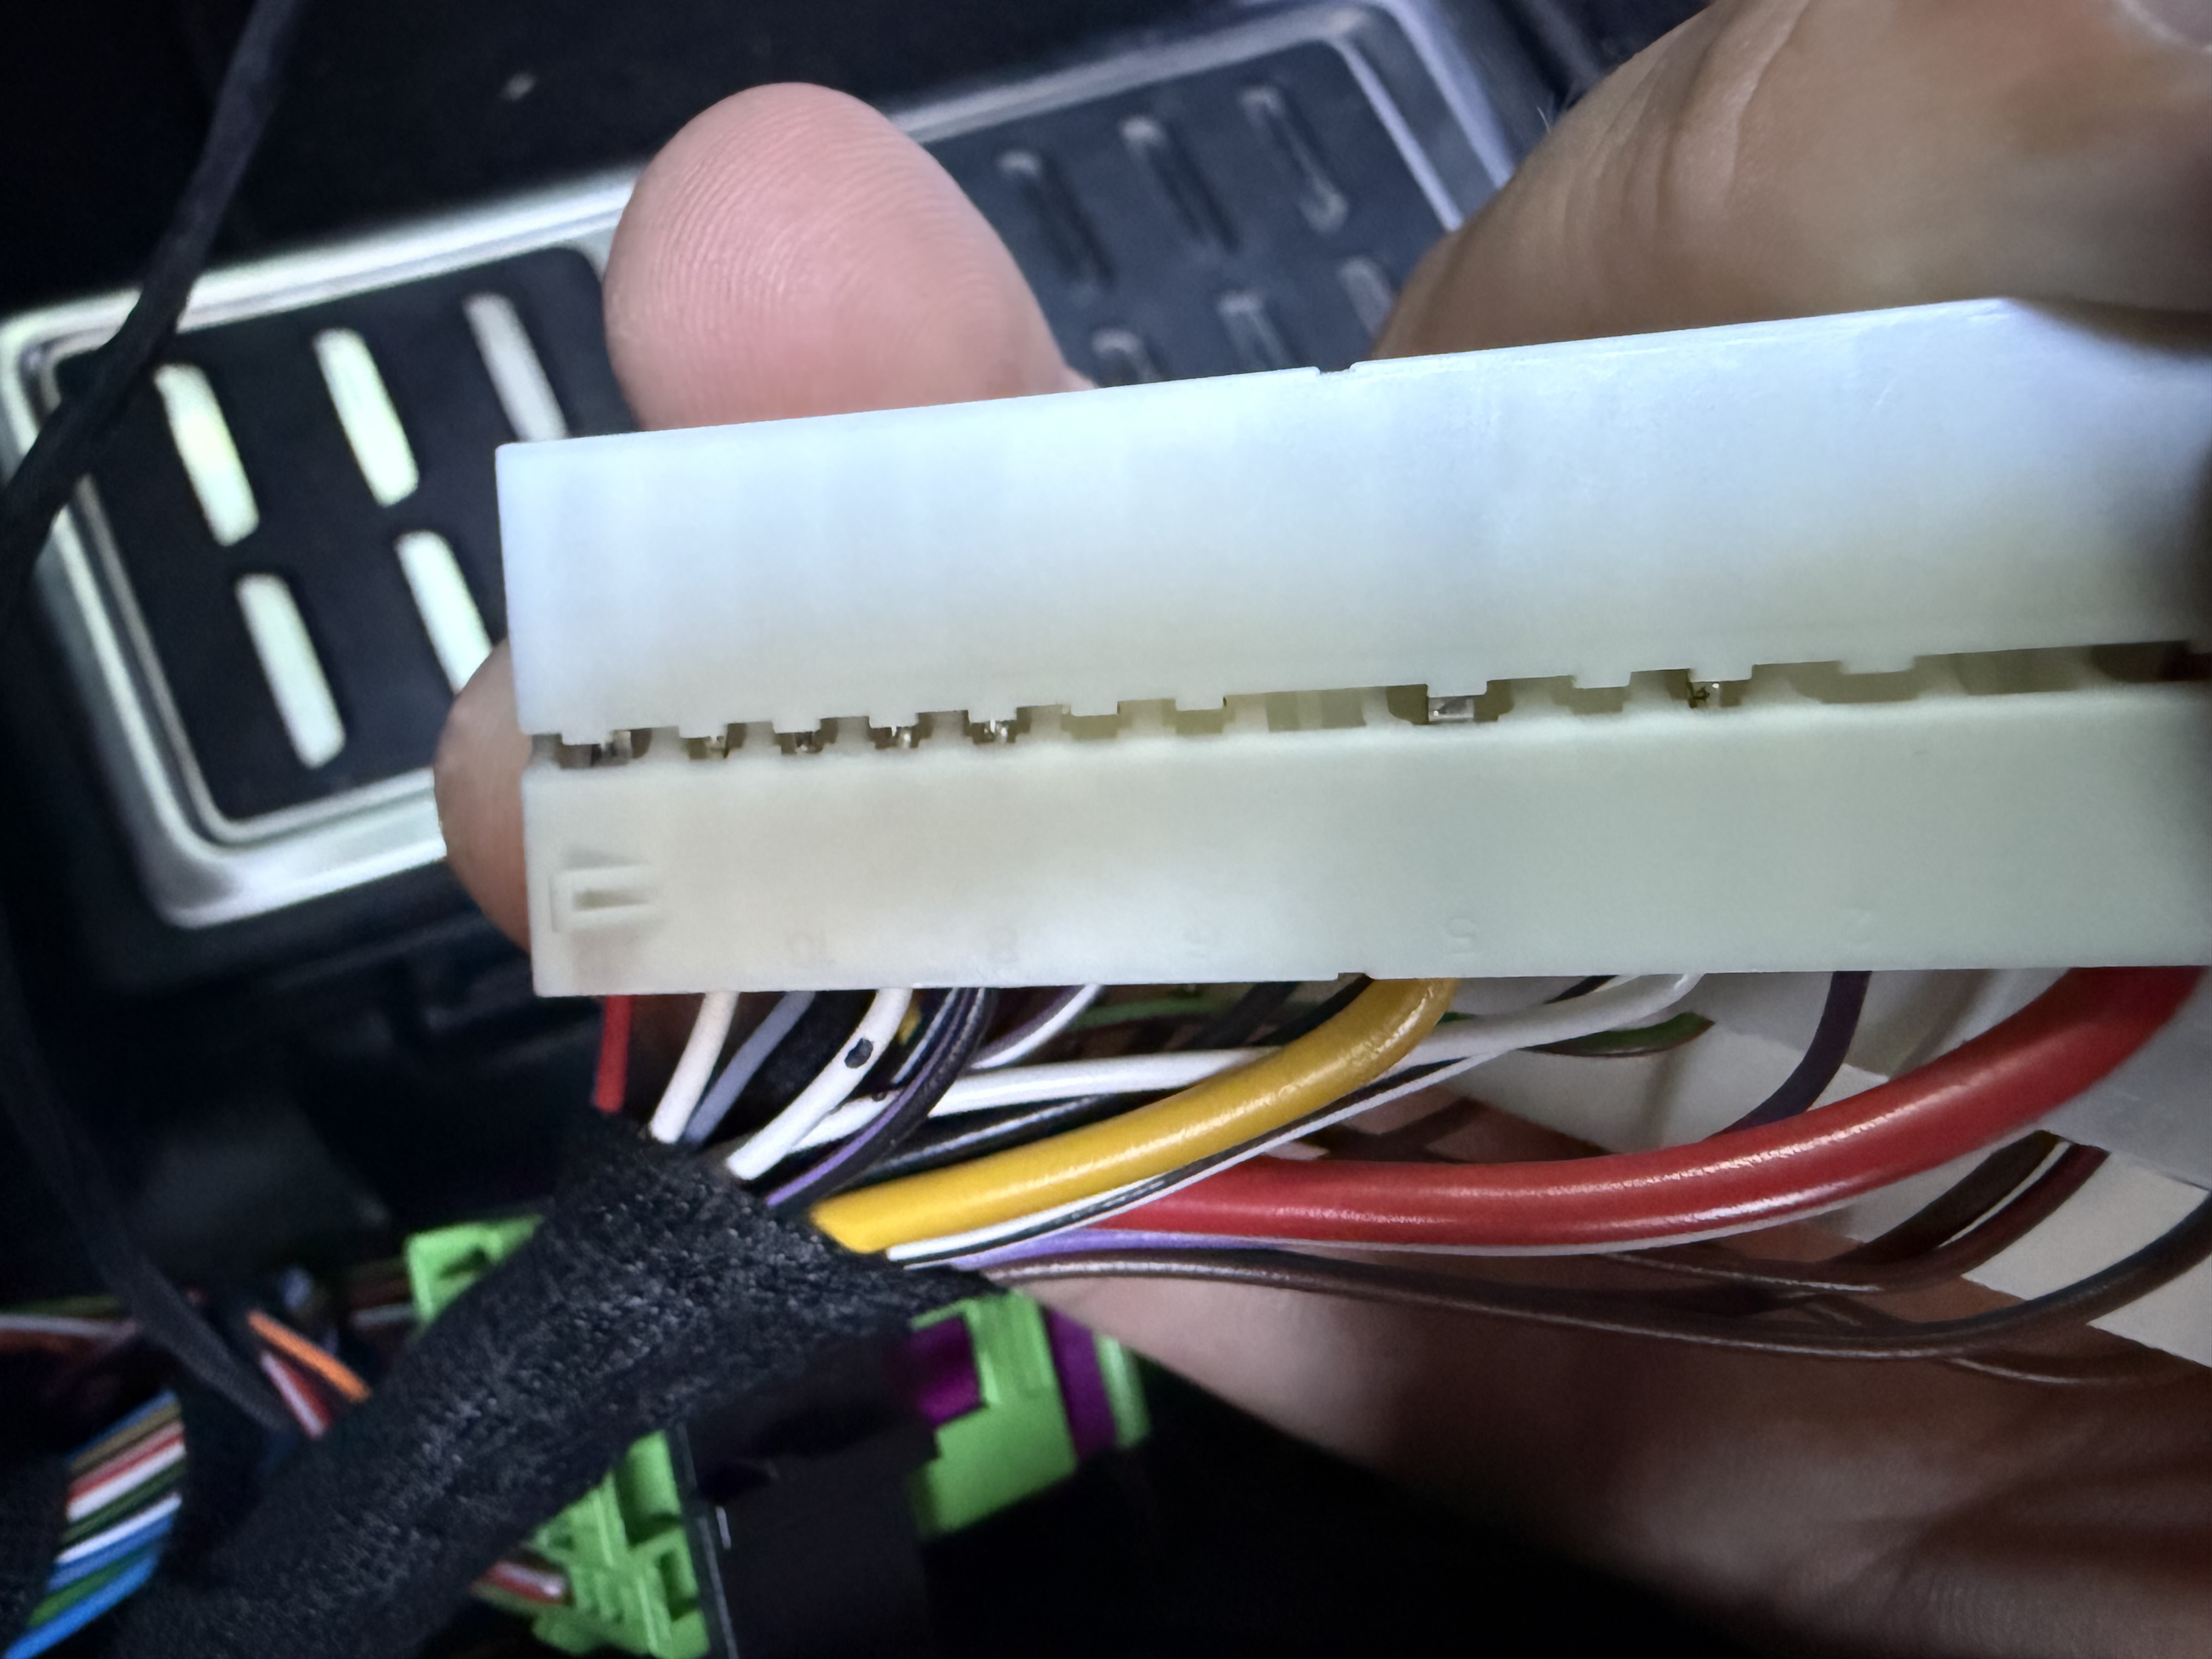
After all wires were installed and properly secured to the exisitng wiring looms, it was time to repin the connectors. This was not that hard using a pin removal tool. I made sure to slightly bend the locking tabs outwards, because they can be bent inwards when you remove them from the connector using a pin removal tool.
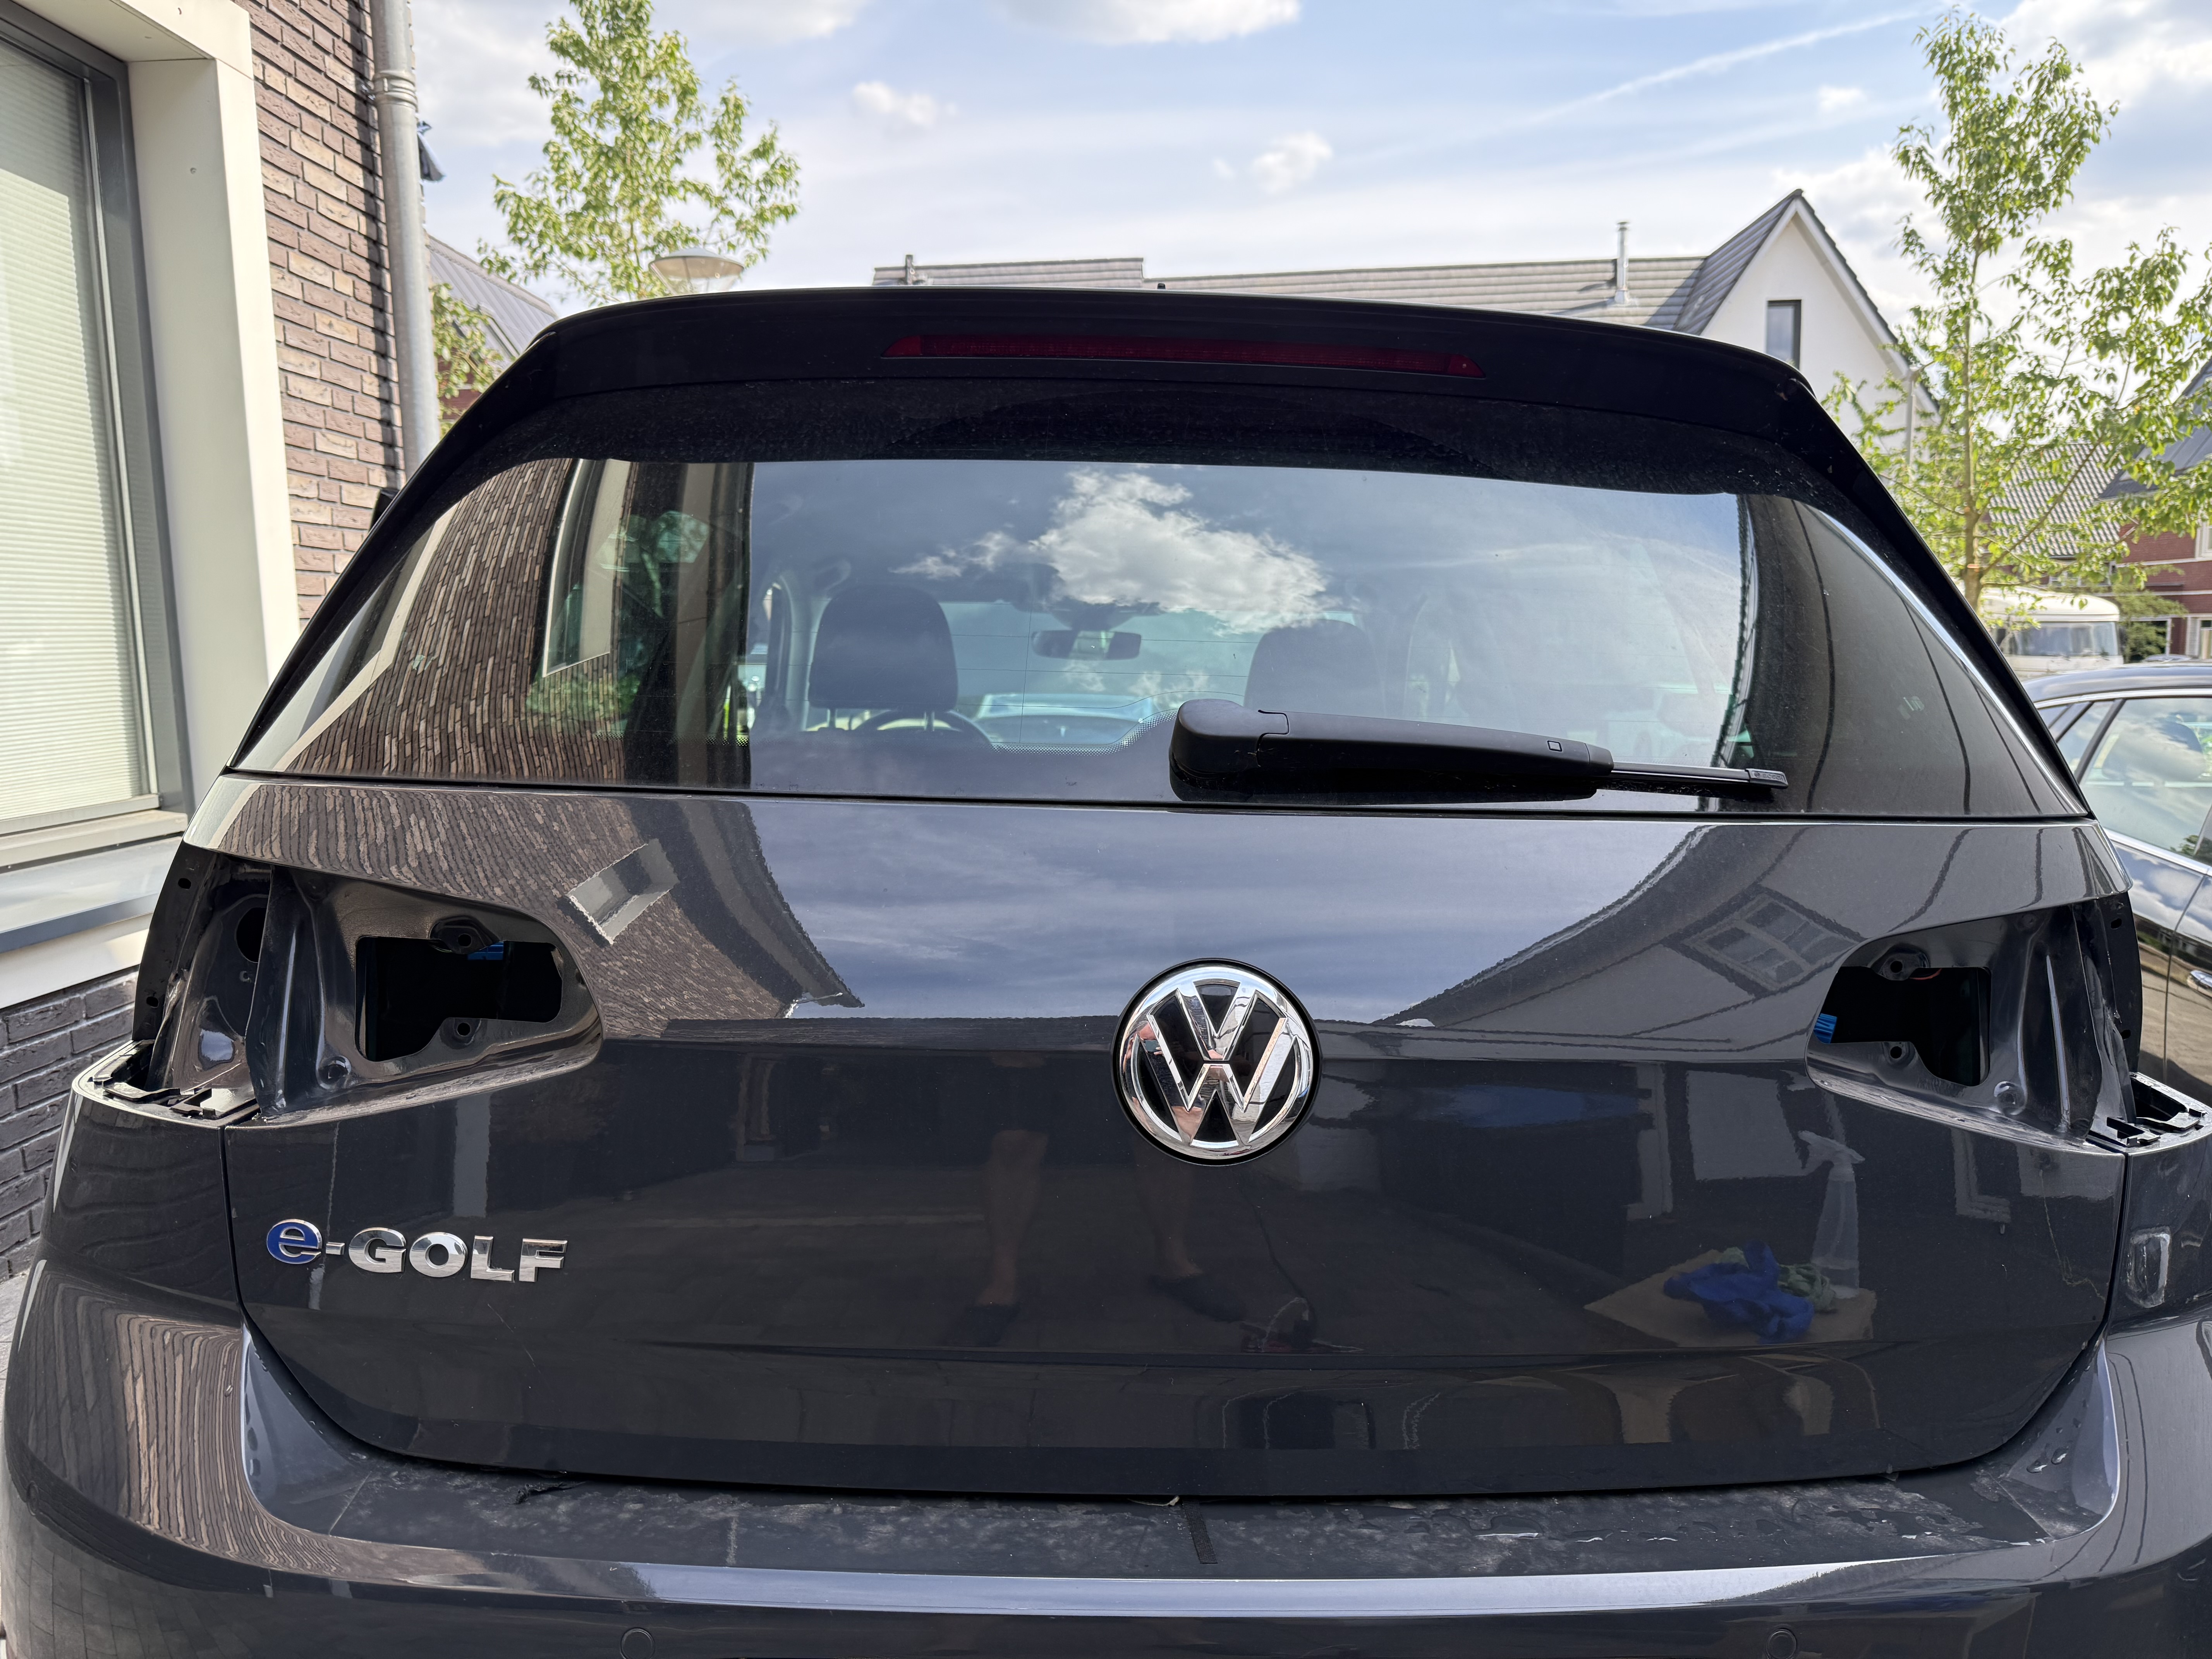
And finally, I could remove remove and install the tail lights. This is pretty straight-forward. The inner lights have two nuts on each side. The outer ones have a plastic spring bolt that you can remove. A bit of foam ensures that no water can enter the trunk. I made sure to clean the area around thetail lights before installing the new ones, so the foam would not capture any dirt.
I still need to align the tail lights so they sit flush with the chassis. There are two screws on the outer tail lights that allow you to adjust the position, but I do not have the proper screw driver to do this, yet.
BCM wiring
The wiring on the BCM is straigh-forward, or so I thought. The instructions were simple:
- Connector T73c:
- remove pin 9.
- remove pin 3, move it to pin 9.
- move pin 9 to pin 3.
- add the additional wire to pin 6.
Removing T73c is not that hard. If your remove part of the dasboard trim, you can easily access the foremost connector. Unlock the connector and pull it forward. There is no need to remove the whole BCM. Then the connector can be disassembled, revealing two strips with pins.
The instructions states that you need to swap pin 3 and 9, but the wire for pin 3 is too short to reach pin 9. I did not want to strip down the cloth tape and maybe get some additional length, so I figured that I would swap the pins on the trunk lid coupling point instead (they are not spliced inbetween). Both wires are white and have the same thickness. You need to swap T10d/6 and T10d/8 on the black connector.
While I was at it, I also prepared the wire for ambient lighting. This additional wire is connected to T73c/29.
SVM Coding
The lights do work without coding, but when I turn on the main lights, the turn signal on the left inner tail light lit up. This is not road legal. Also the dynamic effect does not work.
To fix this, I needed to code the car using ODIS-S and enter the provided
Software Version Management (SVM) code (3EC1A). This code tells ODIS-S which
coding procedure to run. This took about ten minutes, and required online
access.
The procedure completed without problems. As expected, it would completely overwrite all my adaptions and bring it back to the factory defaults with the added dynamic tail lights. I did make a backup of the adaptions, so I have to restore them manually. What surprised me was that the lights still did not work properly, but it turned out to be a repinning issue. On the inner tail light, I put one pin in the wrong place. This also resulted in a fault reported by the BCM. After fixing the problem, the light started to work, but still without the dynamic effect.
It was only after clearing all errors when the dynamic effect started to work. This made me realise that this additional wire to the BCM is actually responsible for toggeling this effect, probably as a safety feature. If one of the turn signals does not work, disabling the effect ensures that the turn signal is properly visible (and not just a ‘flicker’ of the outer tail light).
I really like how it turned out. It really stands out, especially at night. As a bonus, the backup light is now also a bit brighter (or at least it feels like that).
Autoscan
I did an autoscan before and after the installation, because I already expected that the BCM would be reset to factory defaults. You can find the before and after here. The before scan also includes other additions and adaptions until today.