Water ingress (part 1)
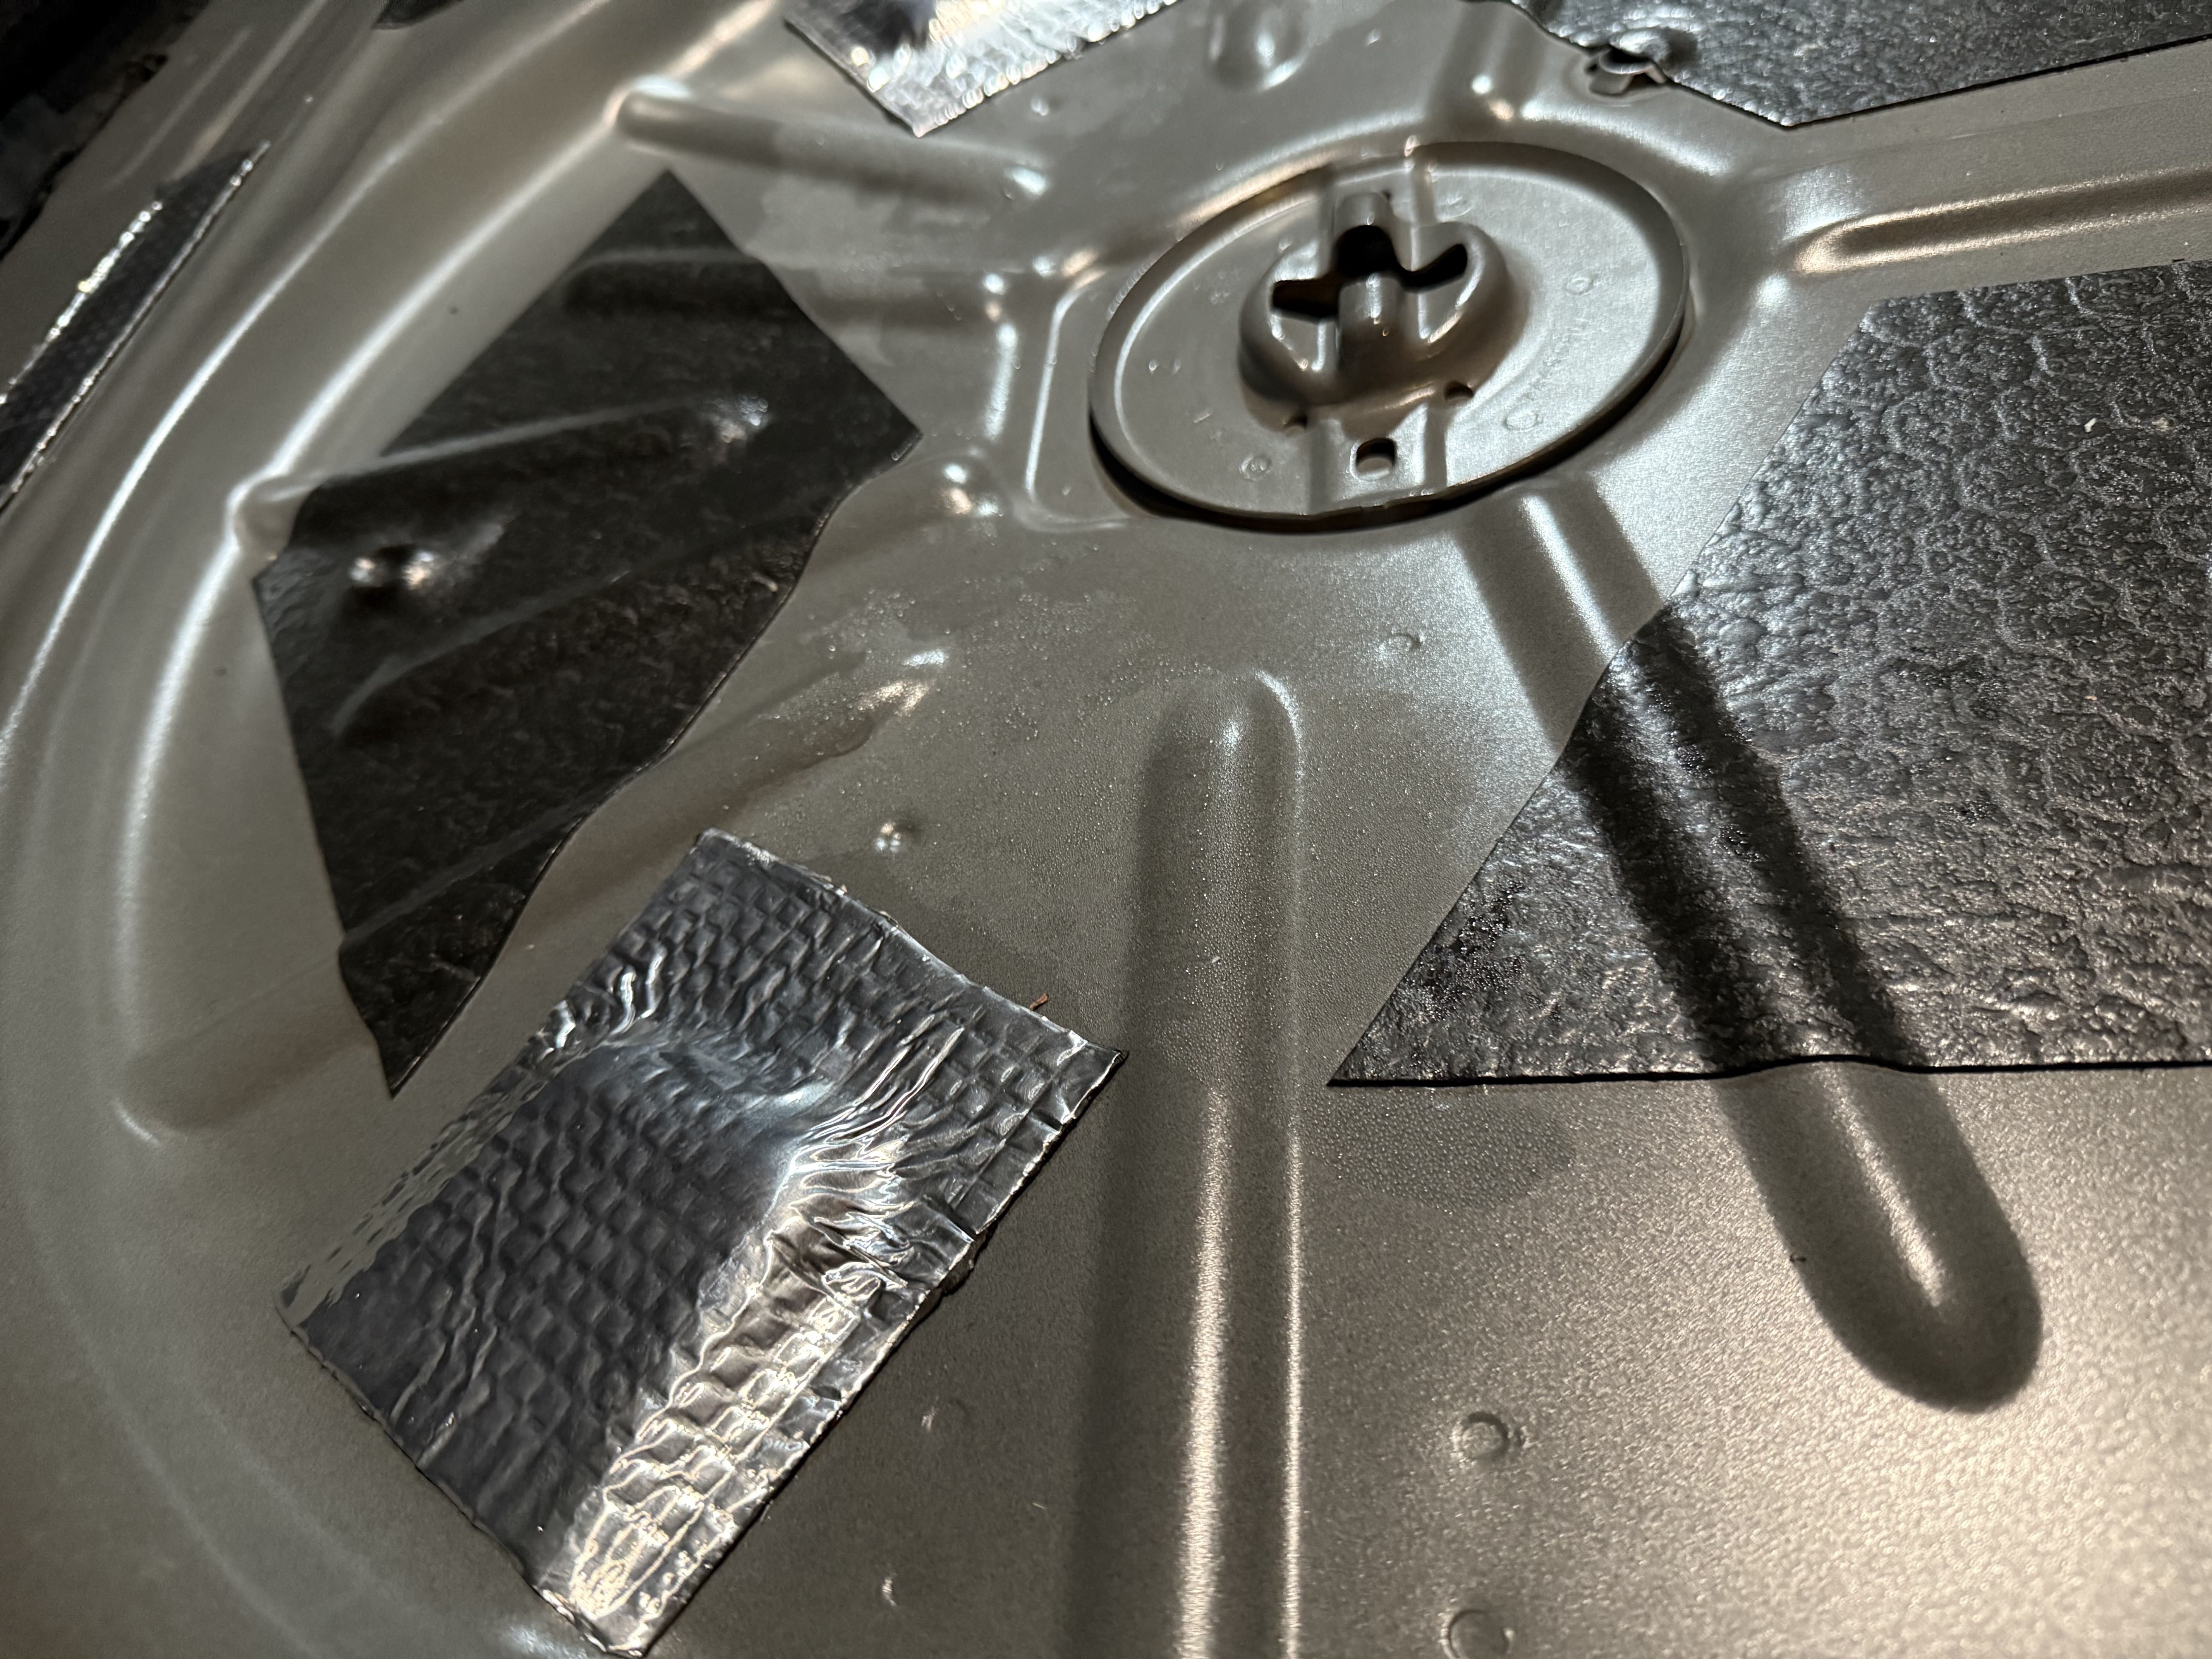
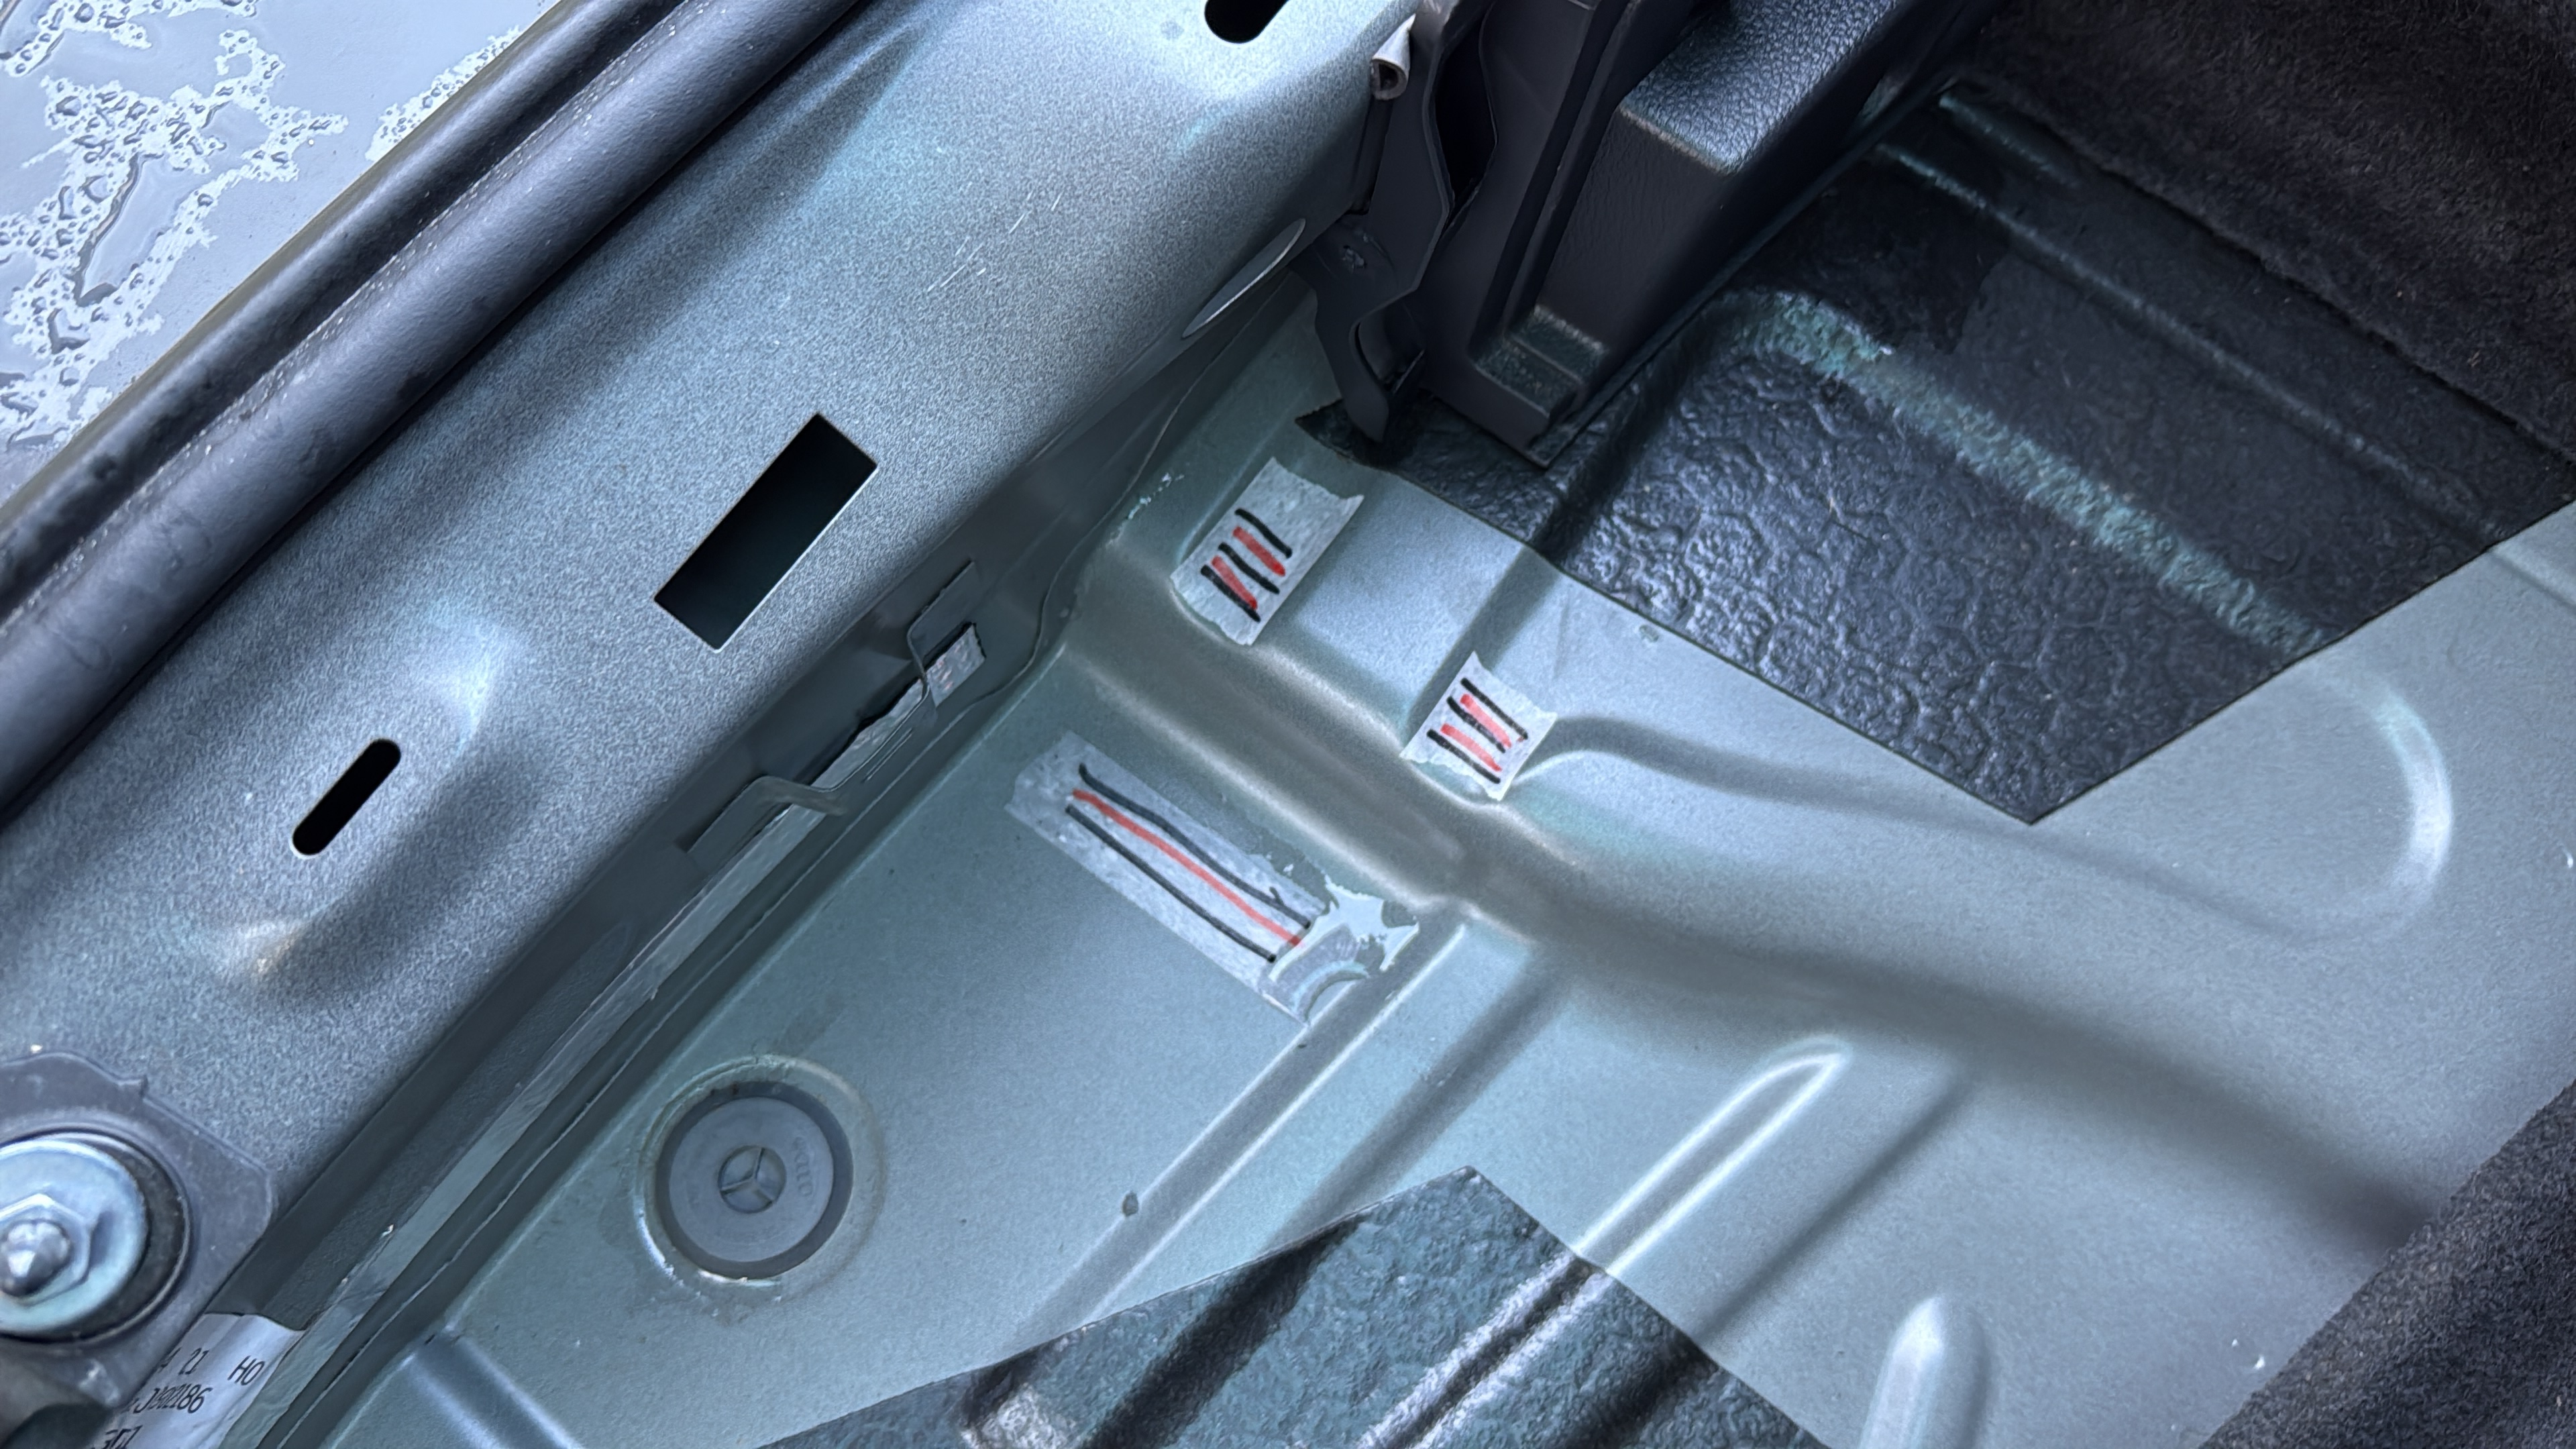
A few weeks ago, I noticed that the carpet in the trunk of my car was damp on the other side. Since I did not notice any water ingress traces, I figured it was probably some water that came off the charging cable: I do not dry the cable if it is wet, and that water needs to go somewhere. But I was not fully sure, so I decided to add some tape with some markings to the bottom, to hopefully see where water was coming from. The idea was that water would run along the markings and leave a trace on the tape.
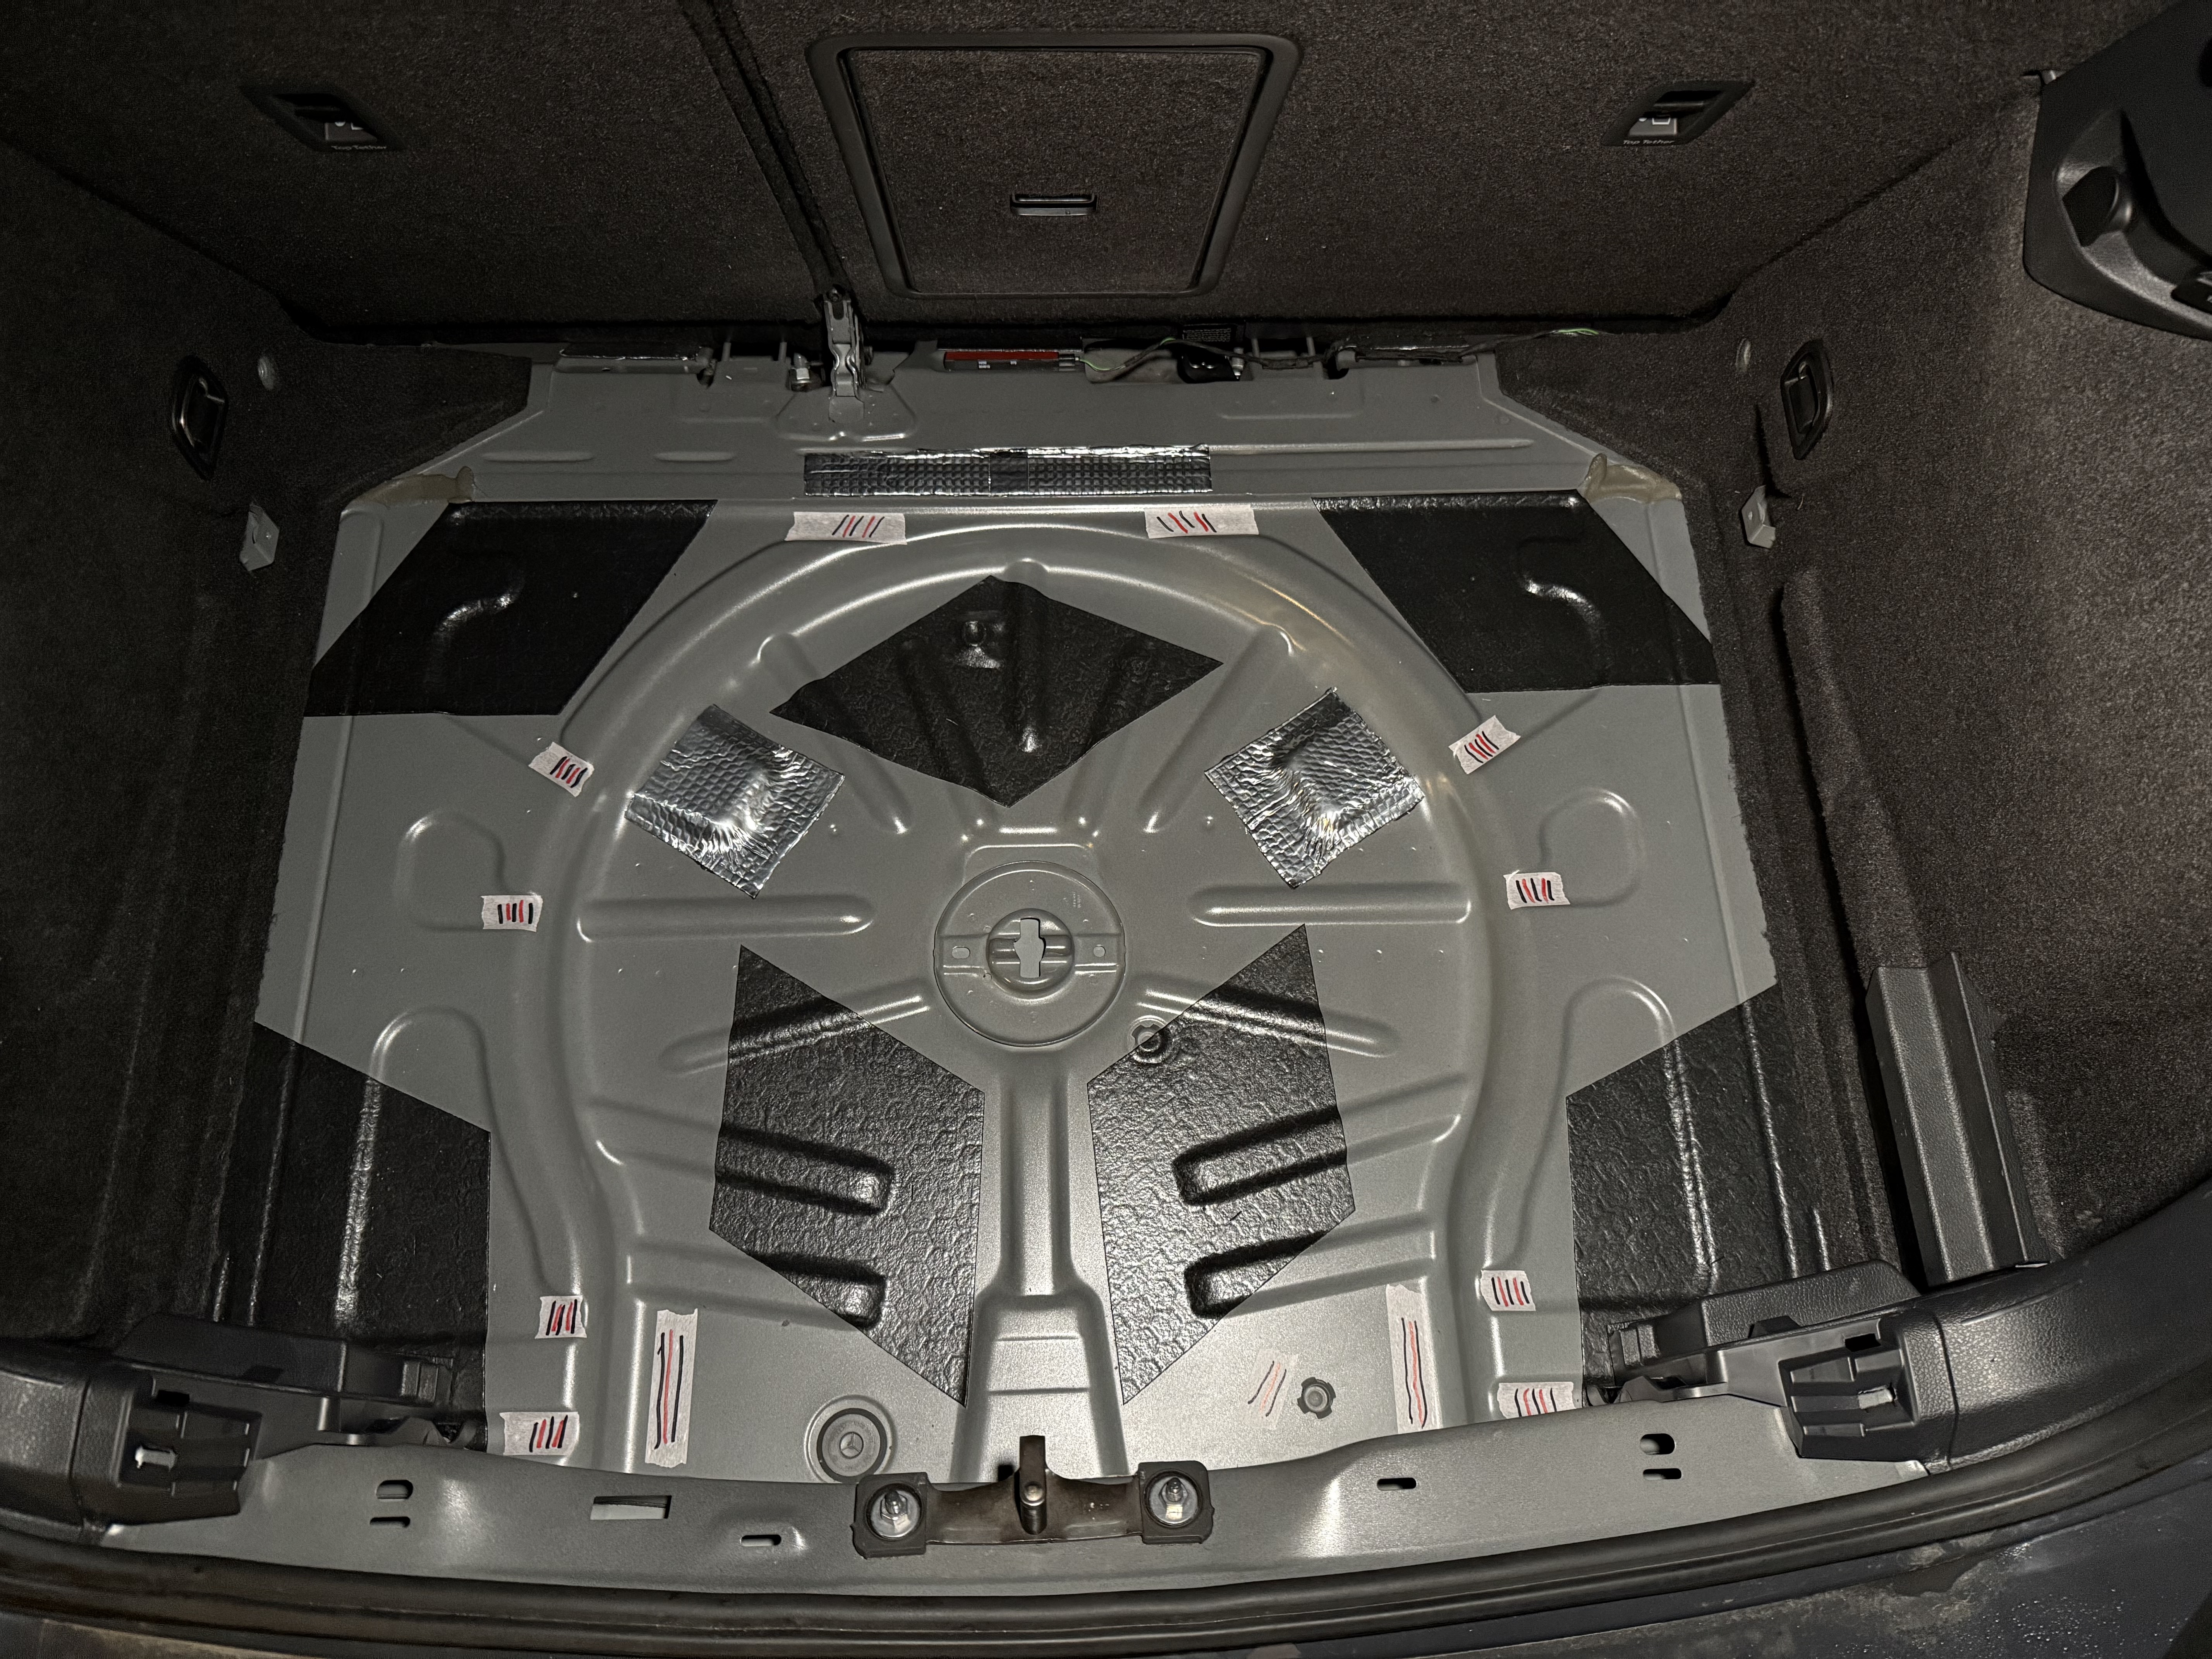
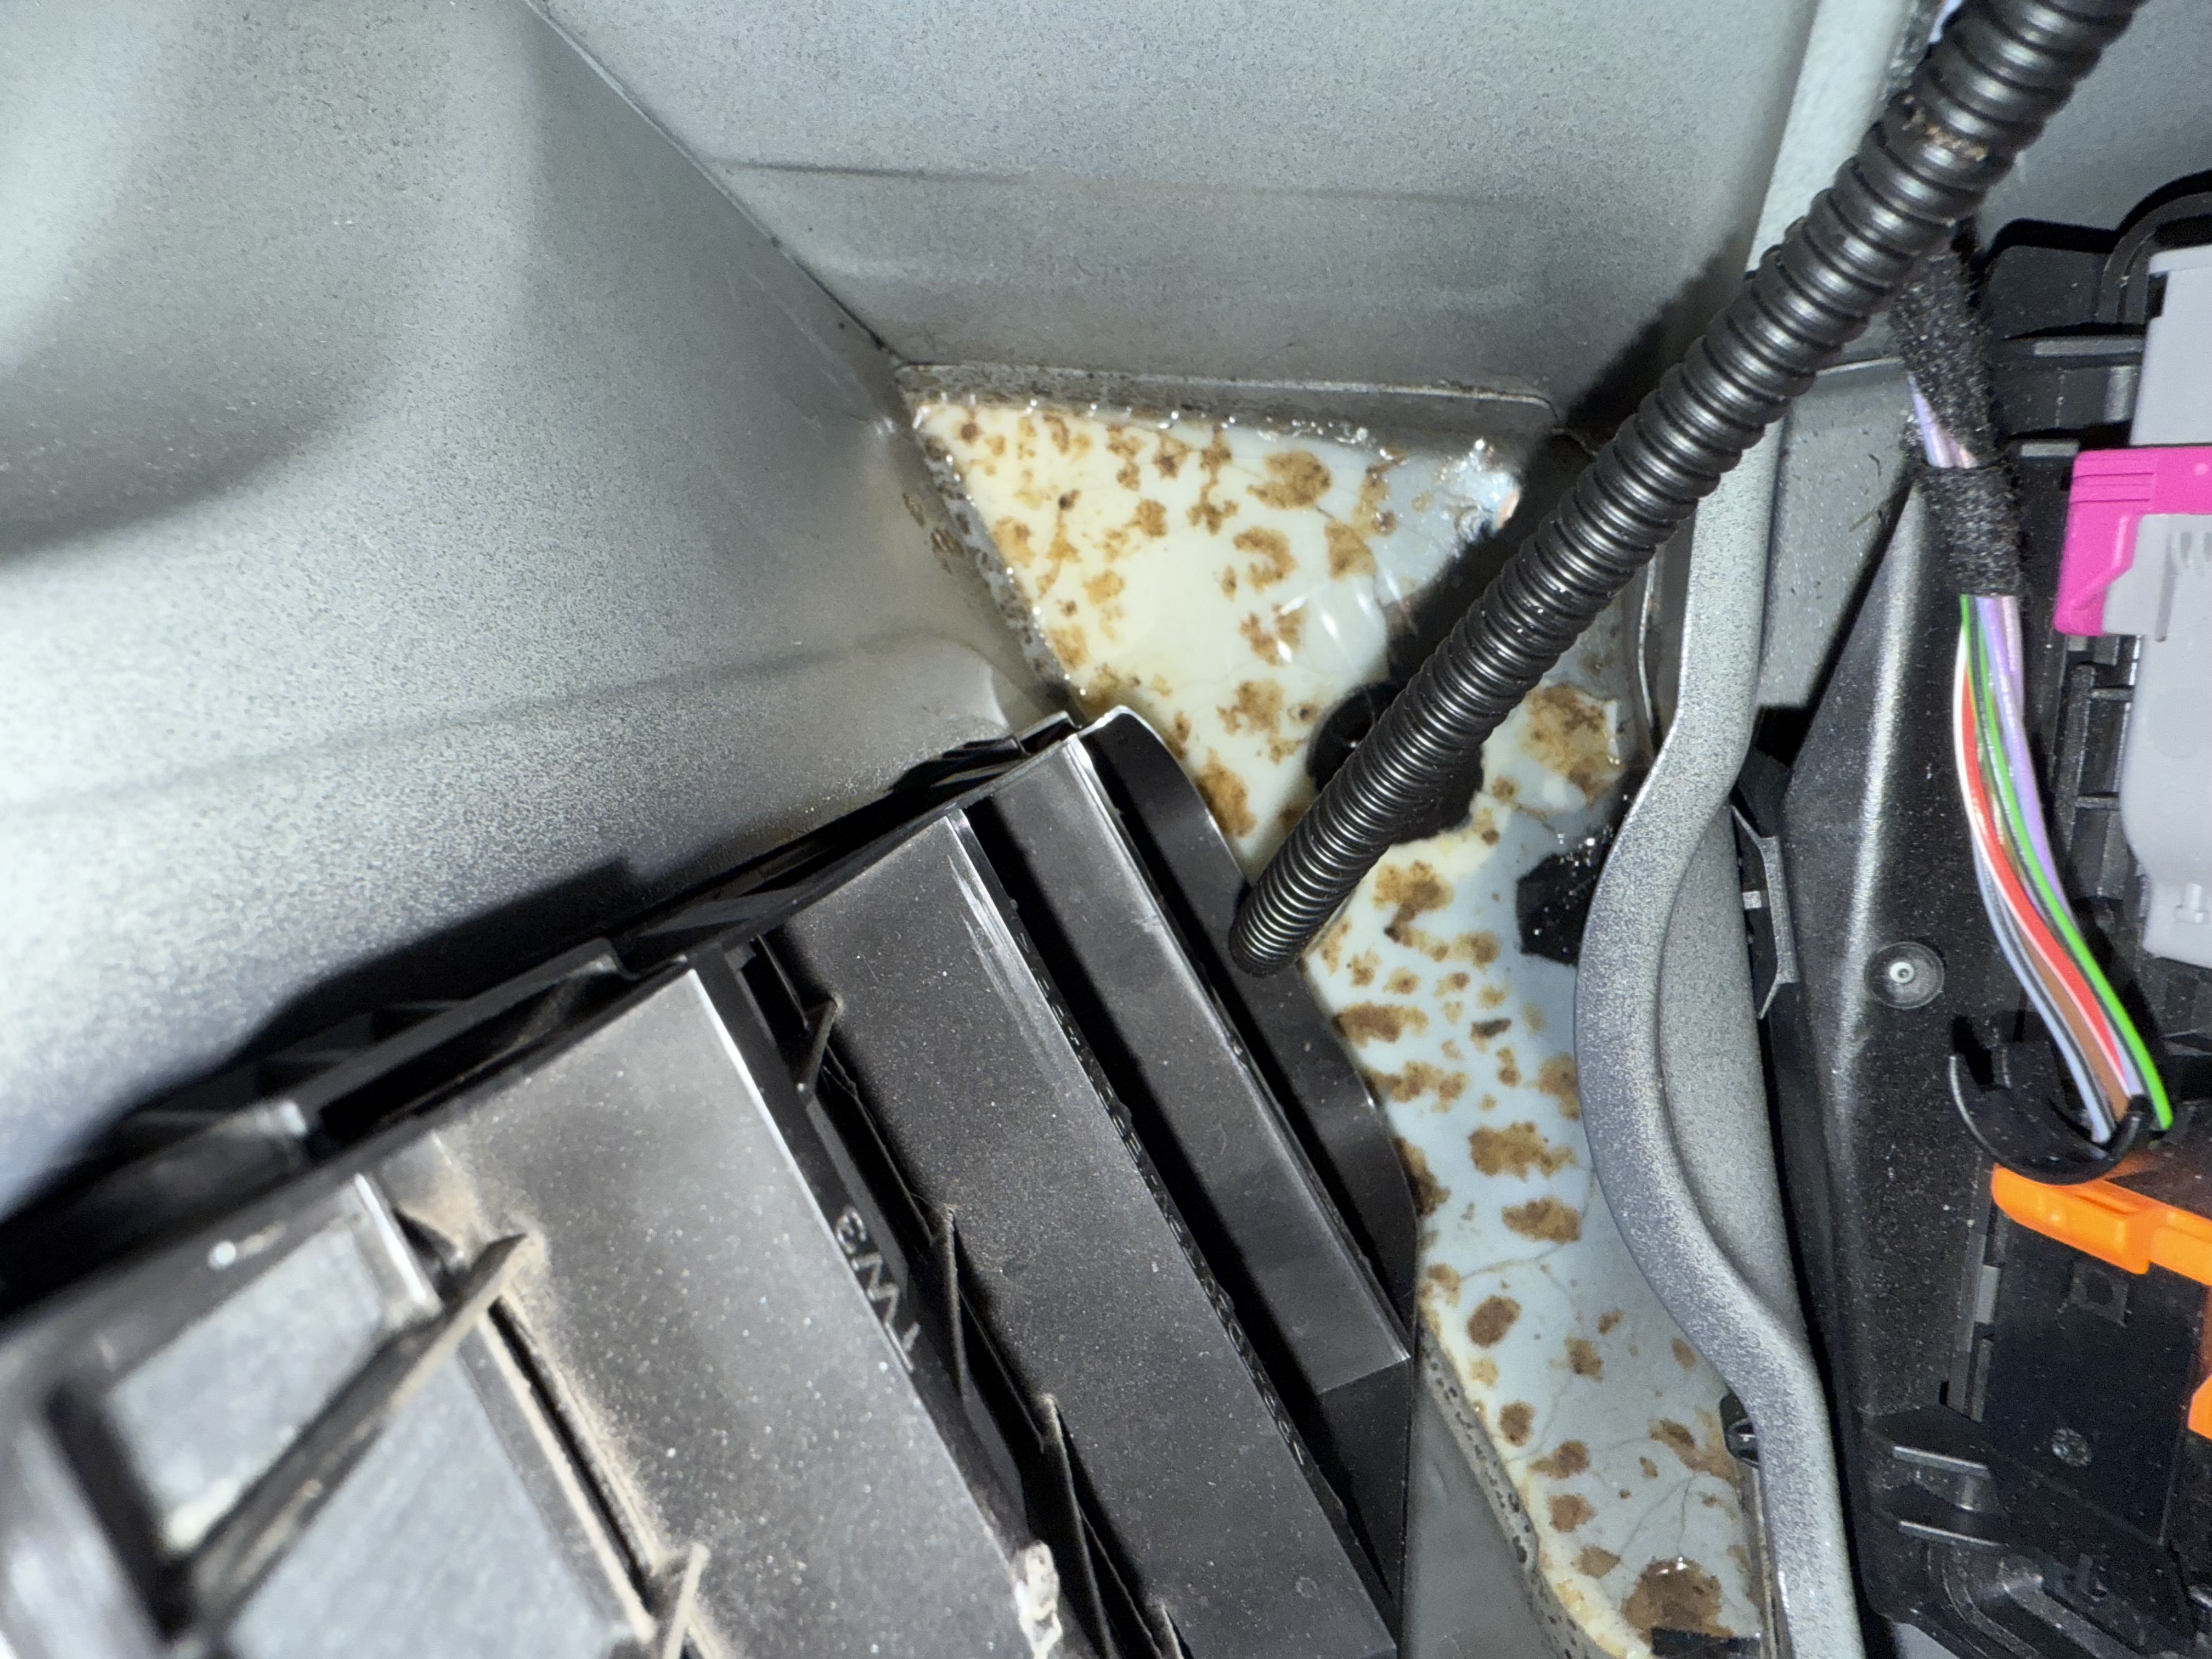
A few weeks went by, and I checked regularly. There was no sign of water, even though there was some rain during that time. I did not install back all the trim pieces, so removing the carpet was easy. Then, this week a lot of rain fell, so I checked again. This time, I found a small trace of water in the front left part of the trunk. Although my idea with the markings did not work, I was clearly able to trace the water ingress to the left bumper mount where the pressure vent is installed. After some googling, this seems to be a common issue.
Pressure vents
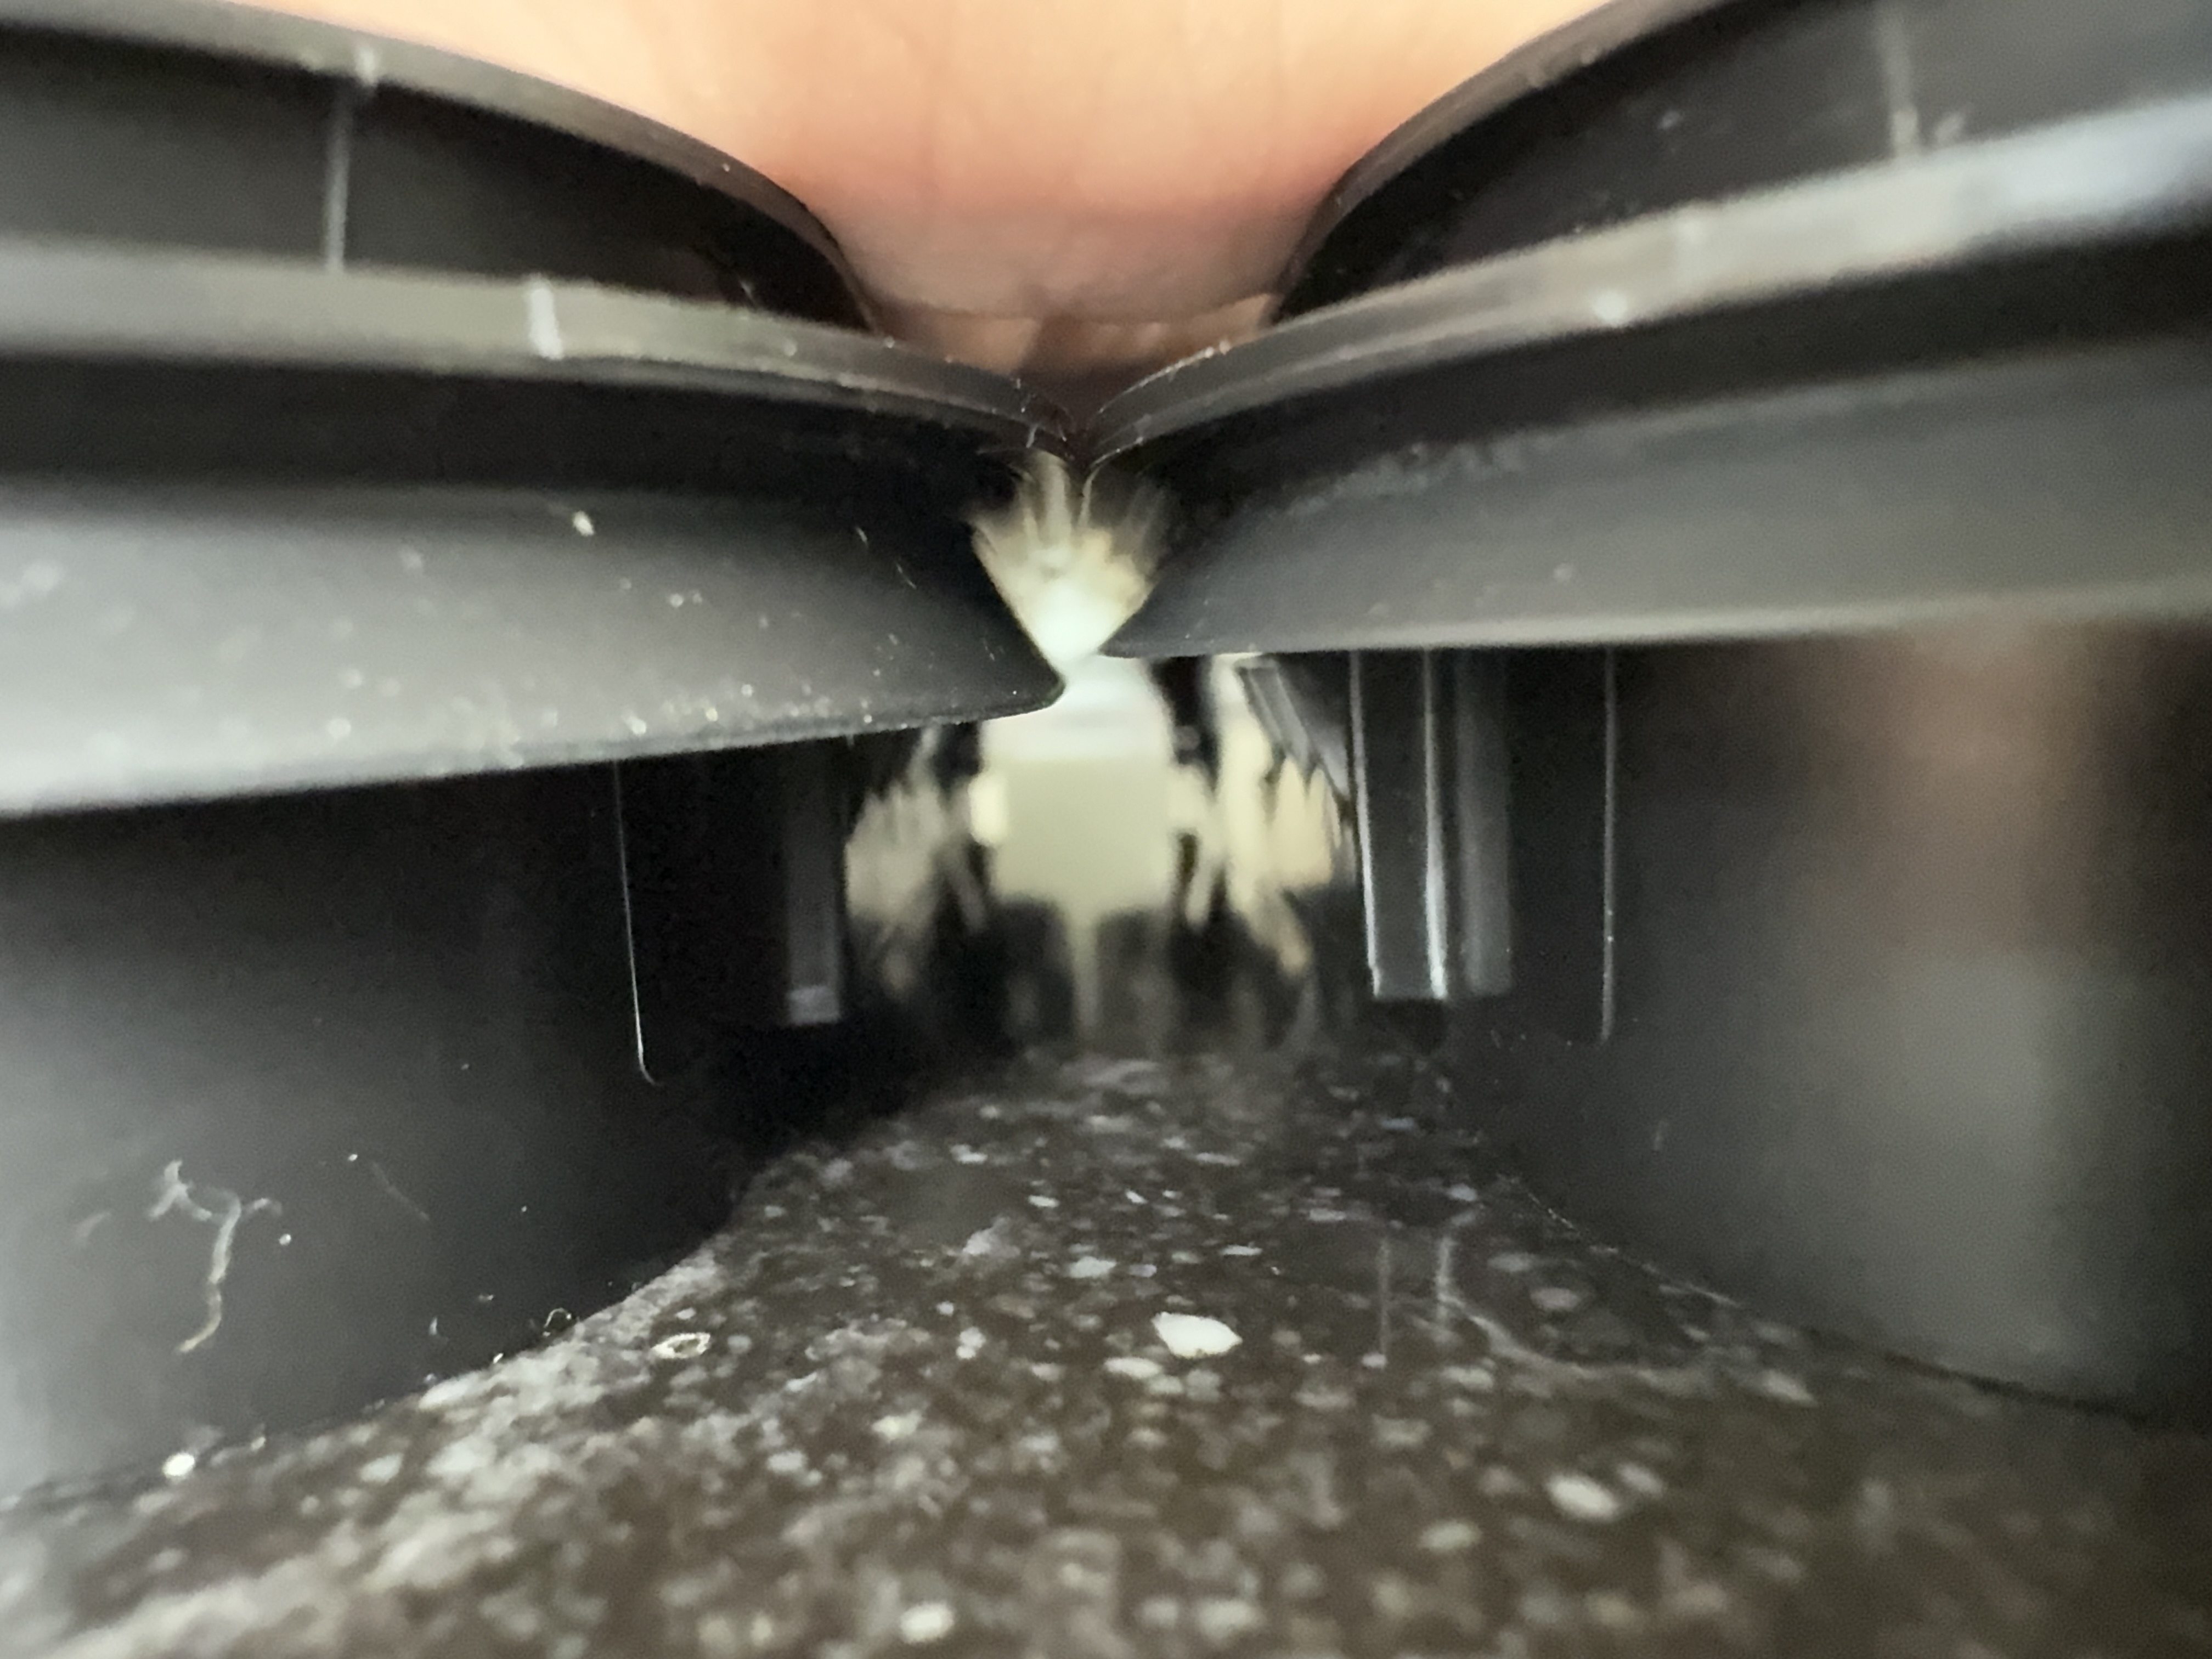
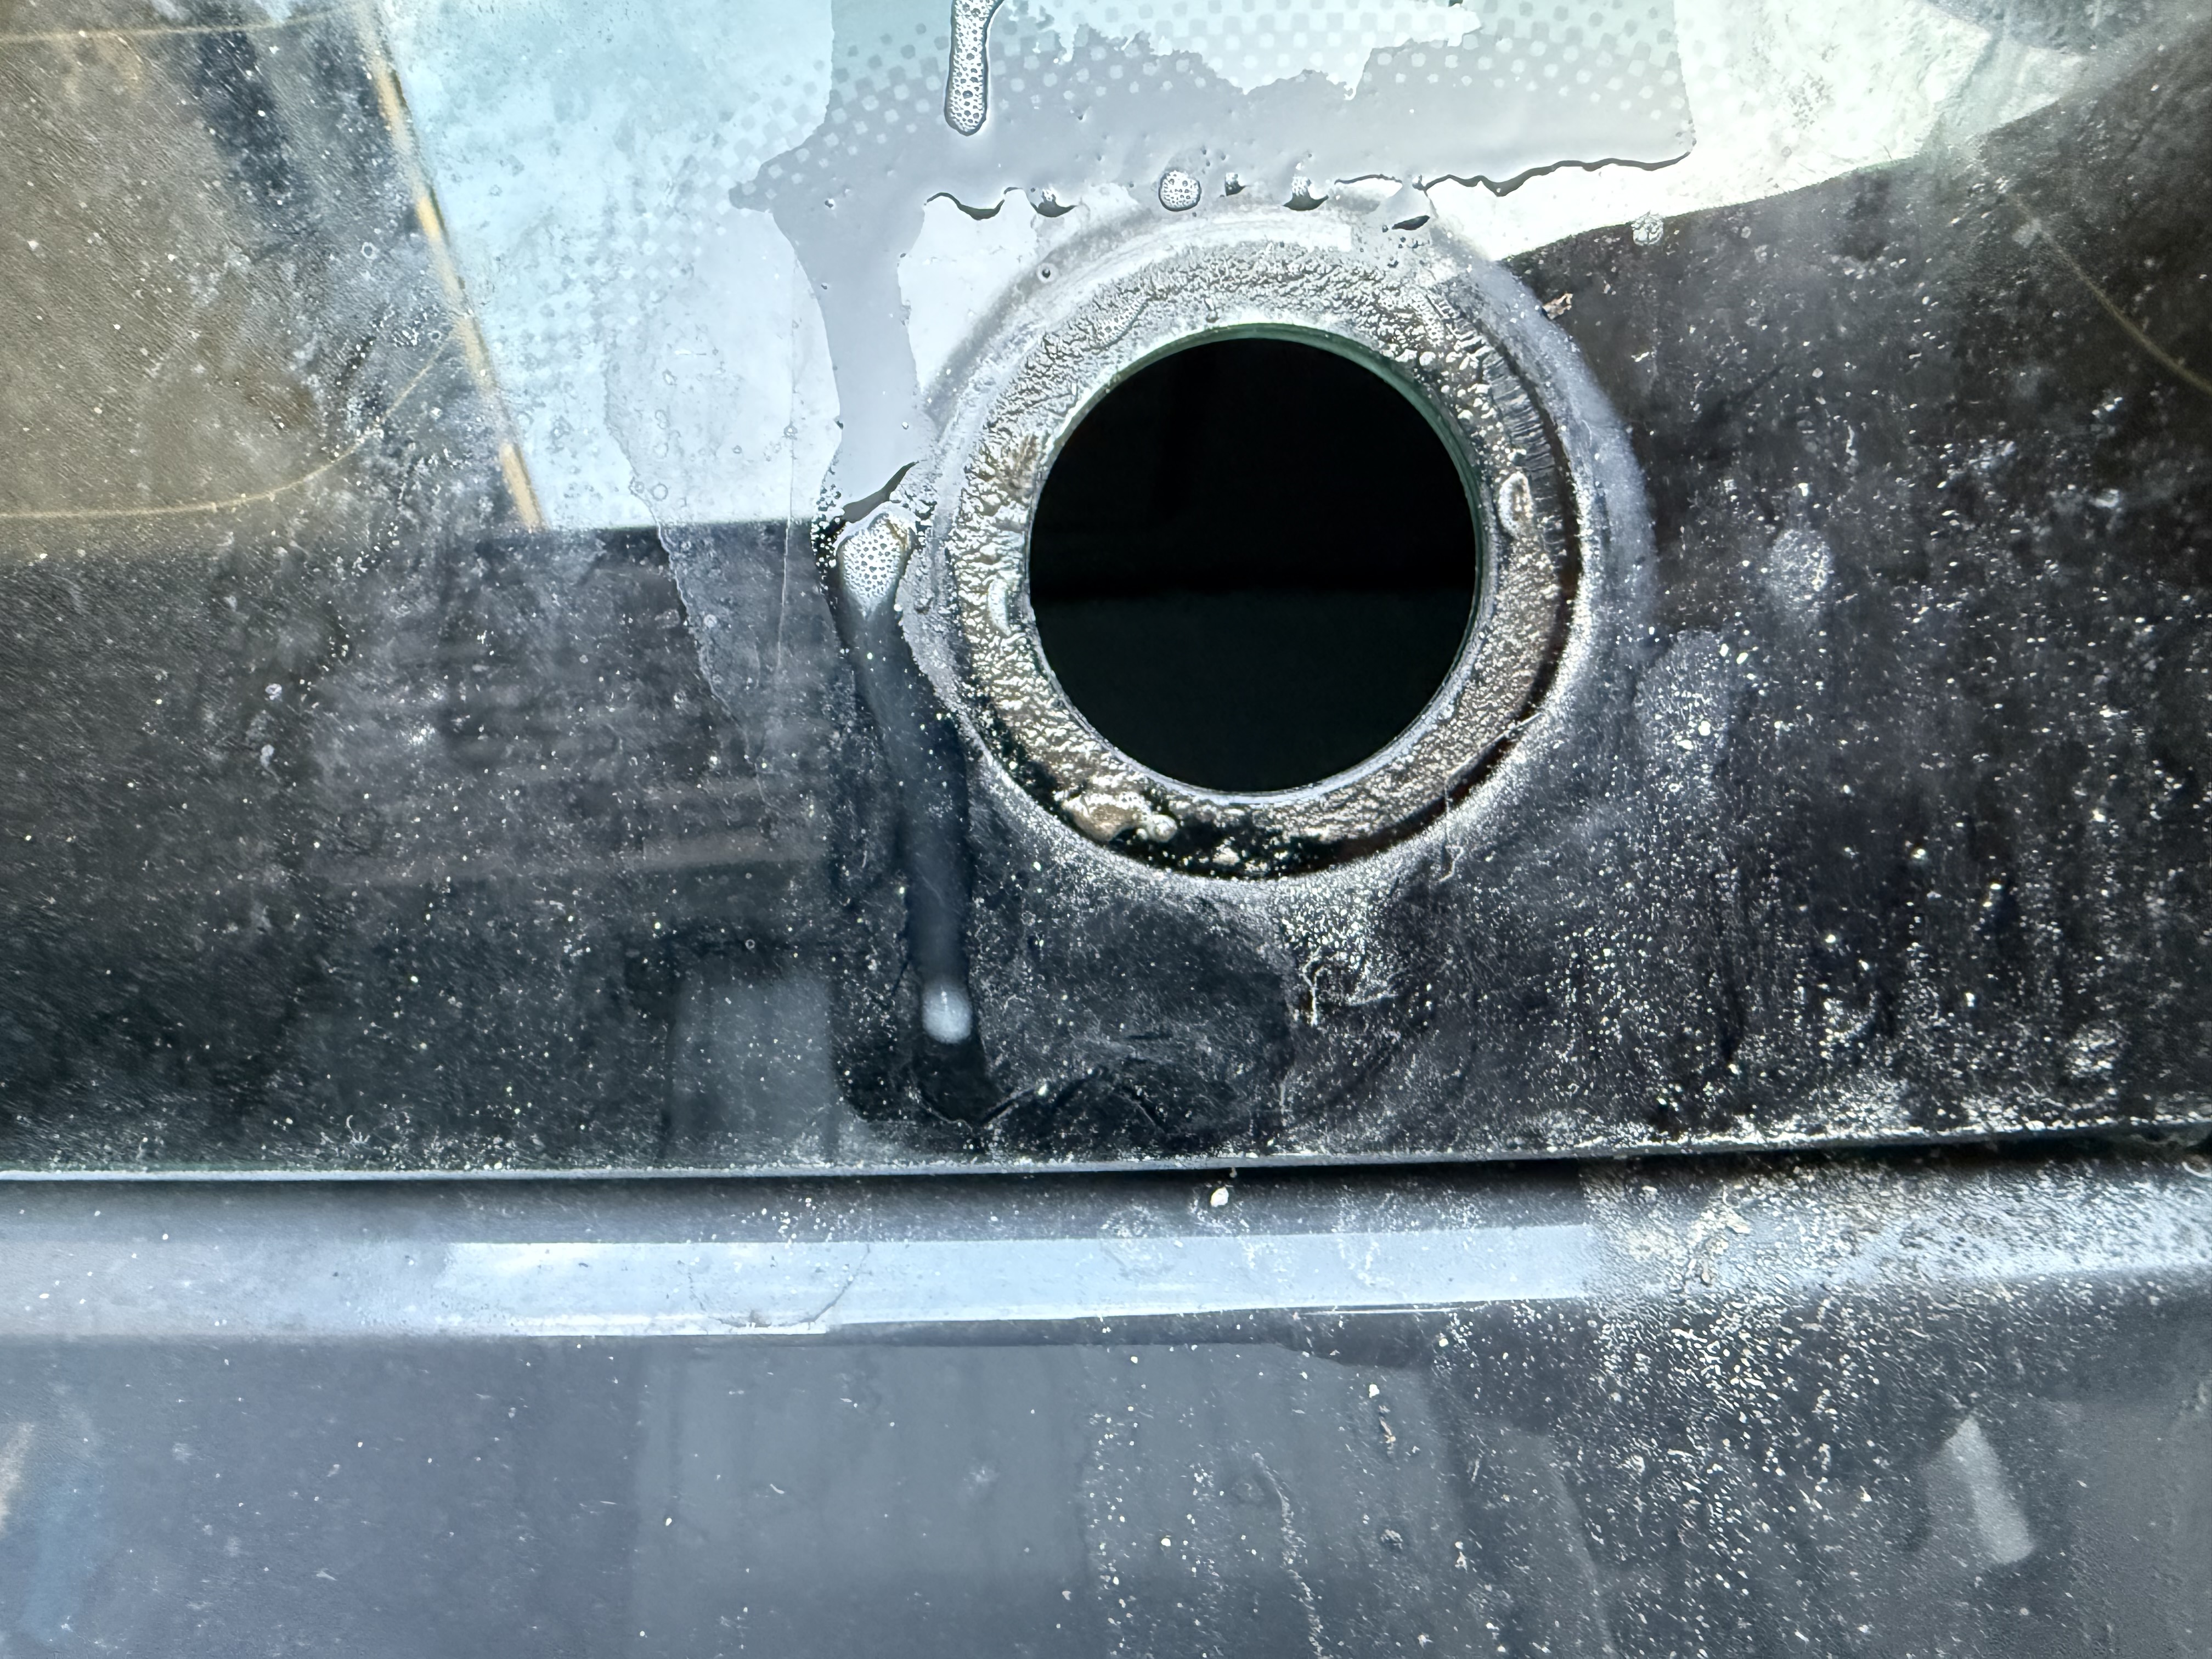
The pressure vent is a raster that is installed on both bumper sides. Whenever you close the door, or enable air ventilation, the excess air needs to go somewhere. The flaps in the pressure vent allow air to escape. These vents are clipped into the chassis, and seal against the chassis with a V-shaped rubber seal.
It is possible to remove this vent by pressing the clips on the side, tilt it inside the bumper and then pull it out. This way, you do not have to remove the bumper. This works on both sides of the bumper, albeit the left side is easier.
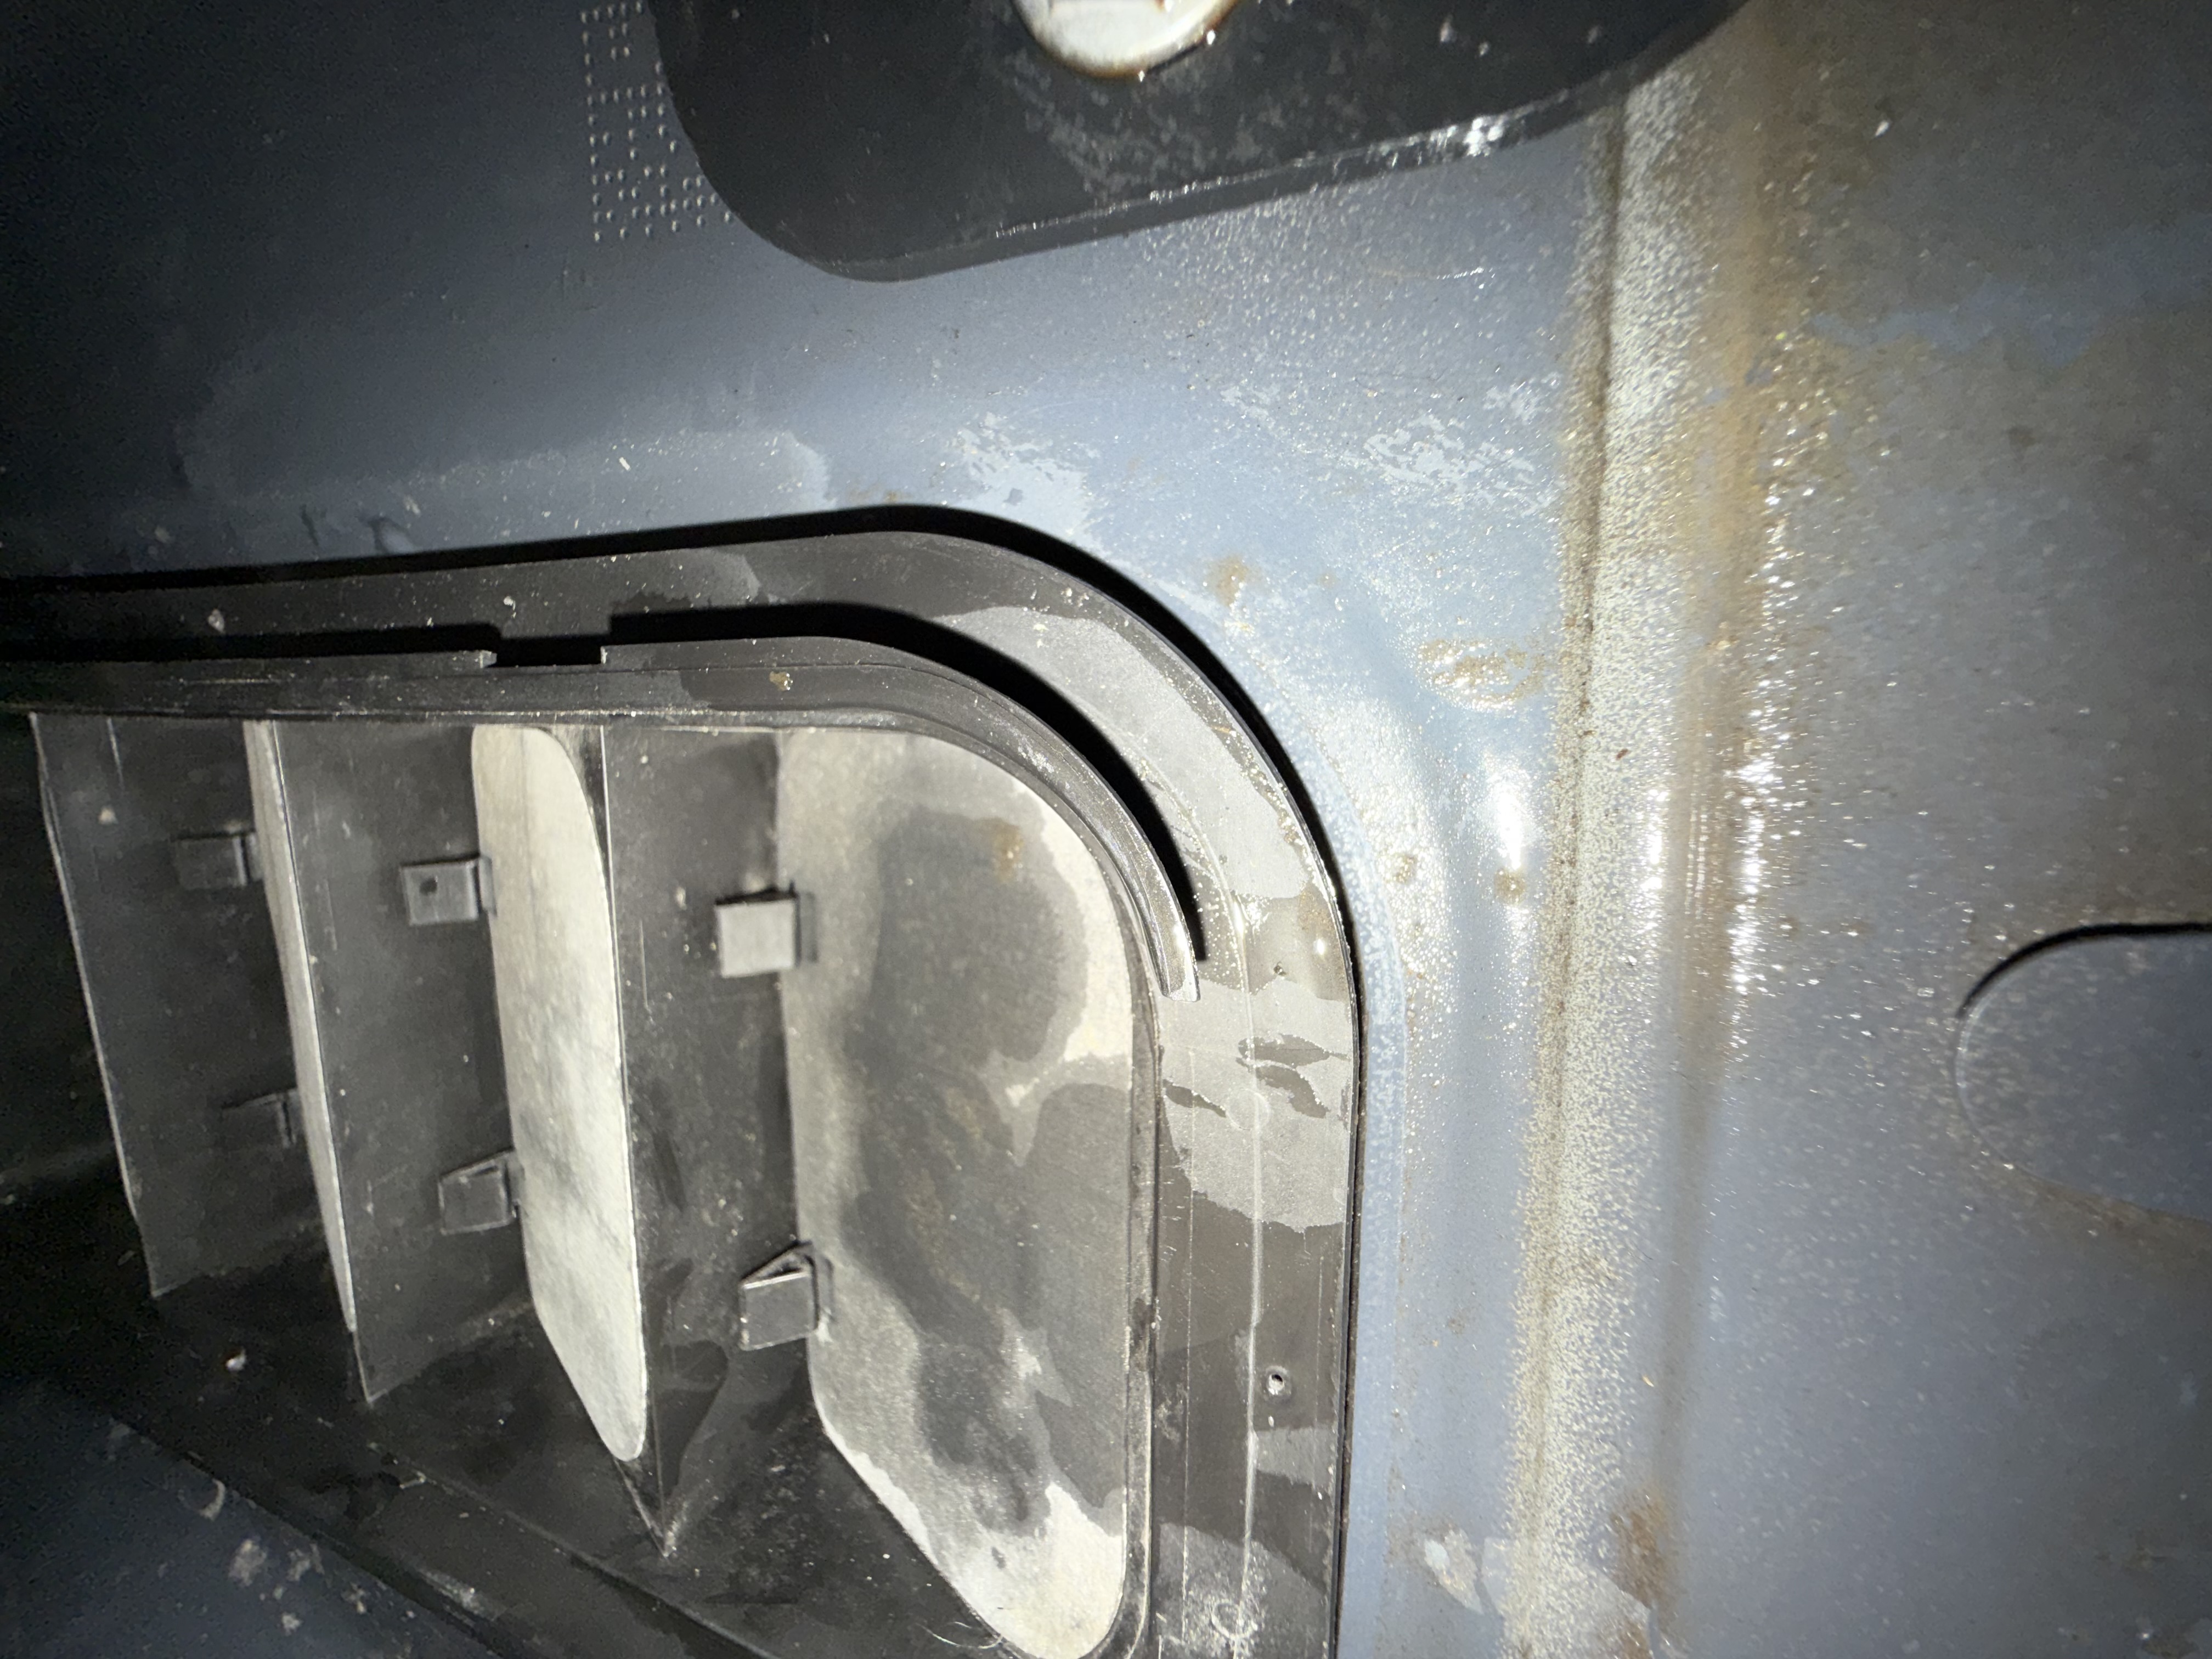
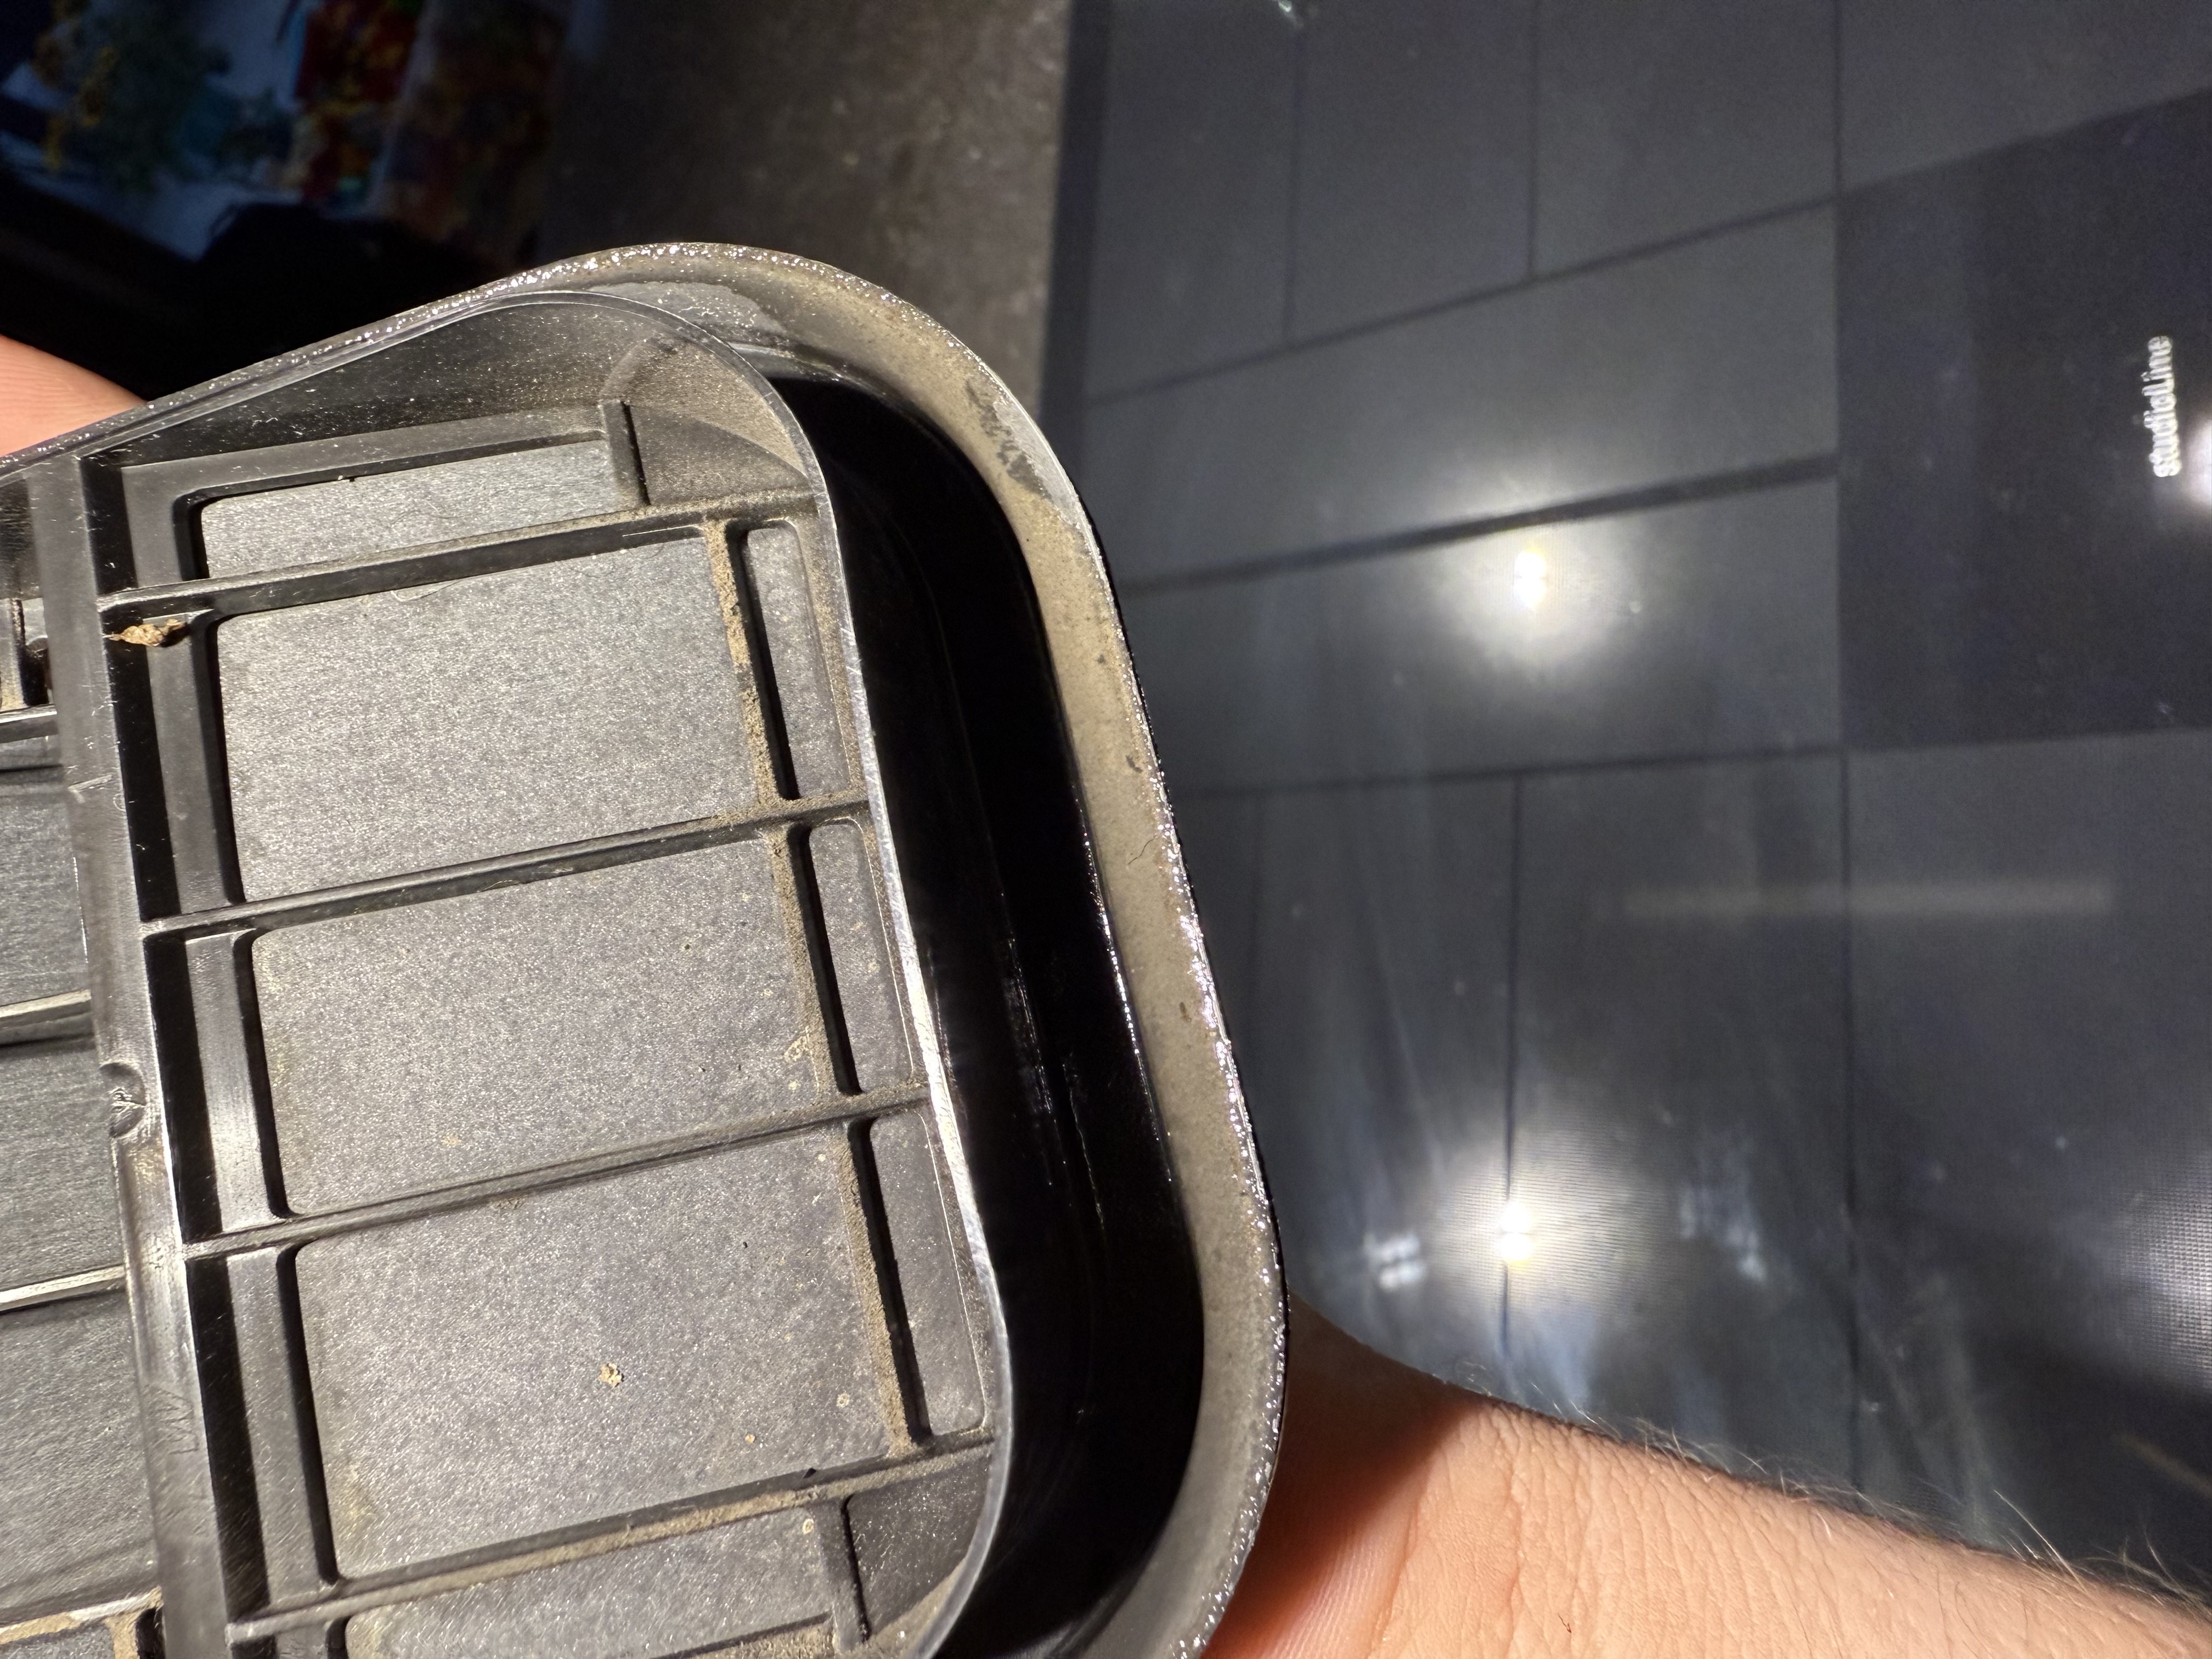
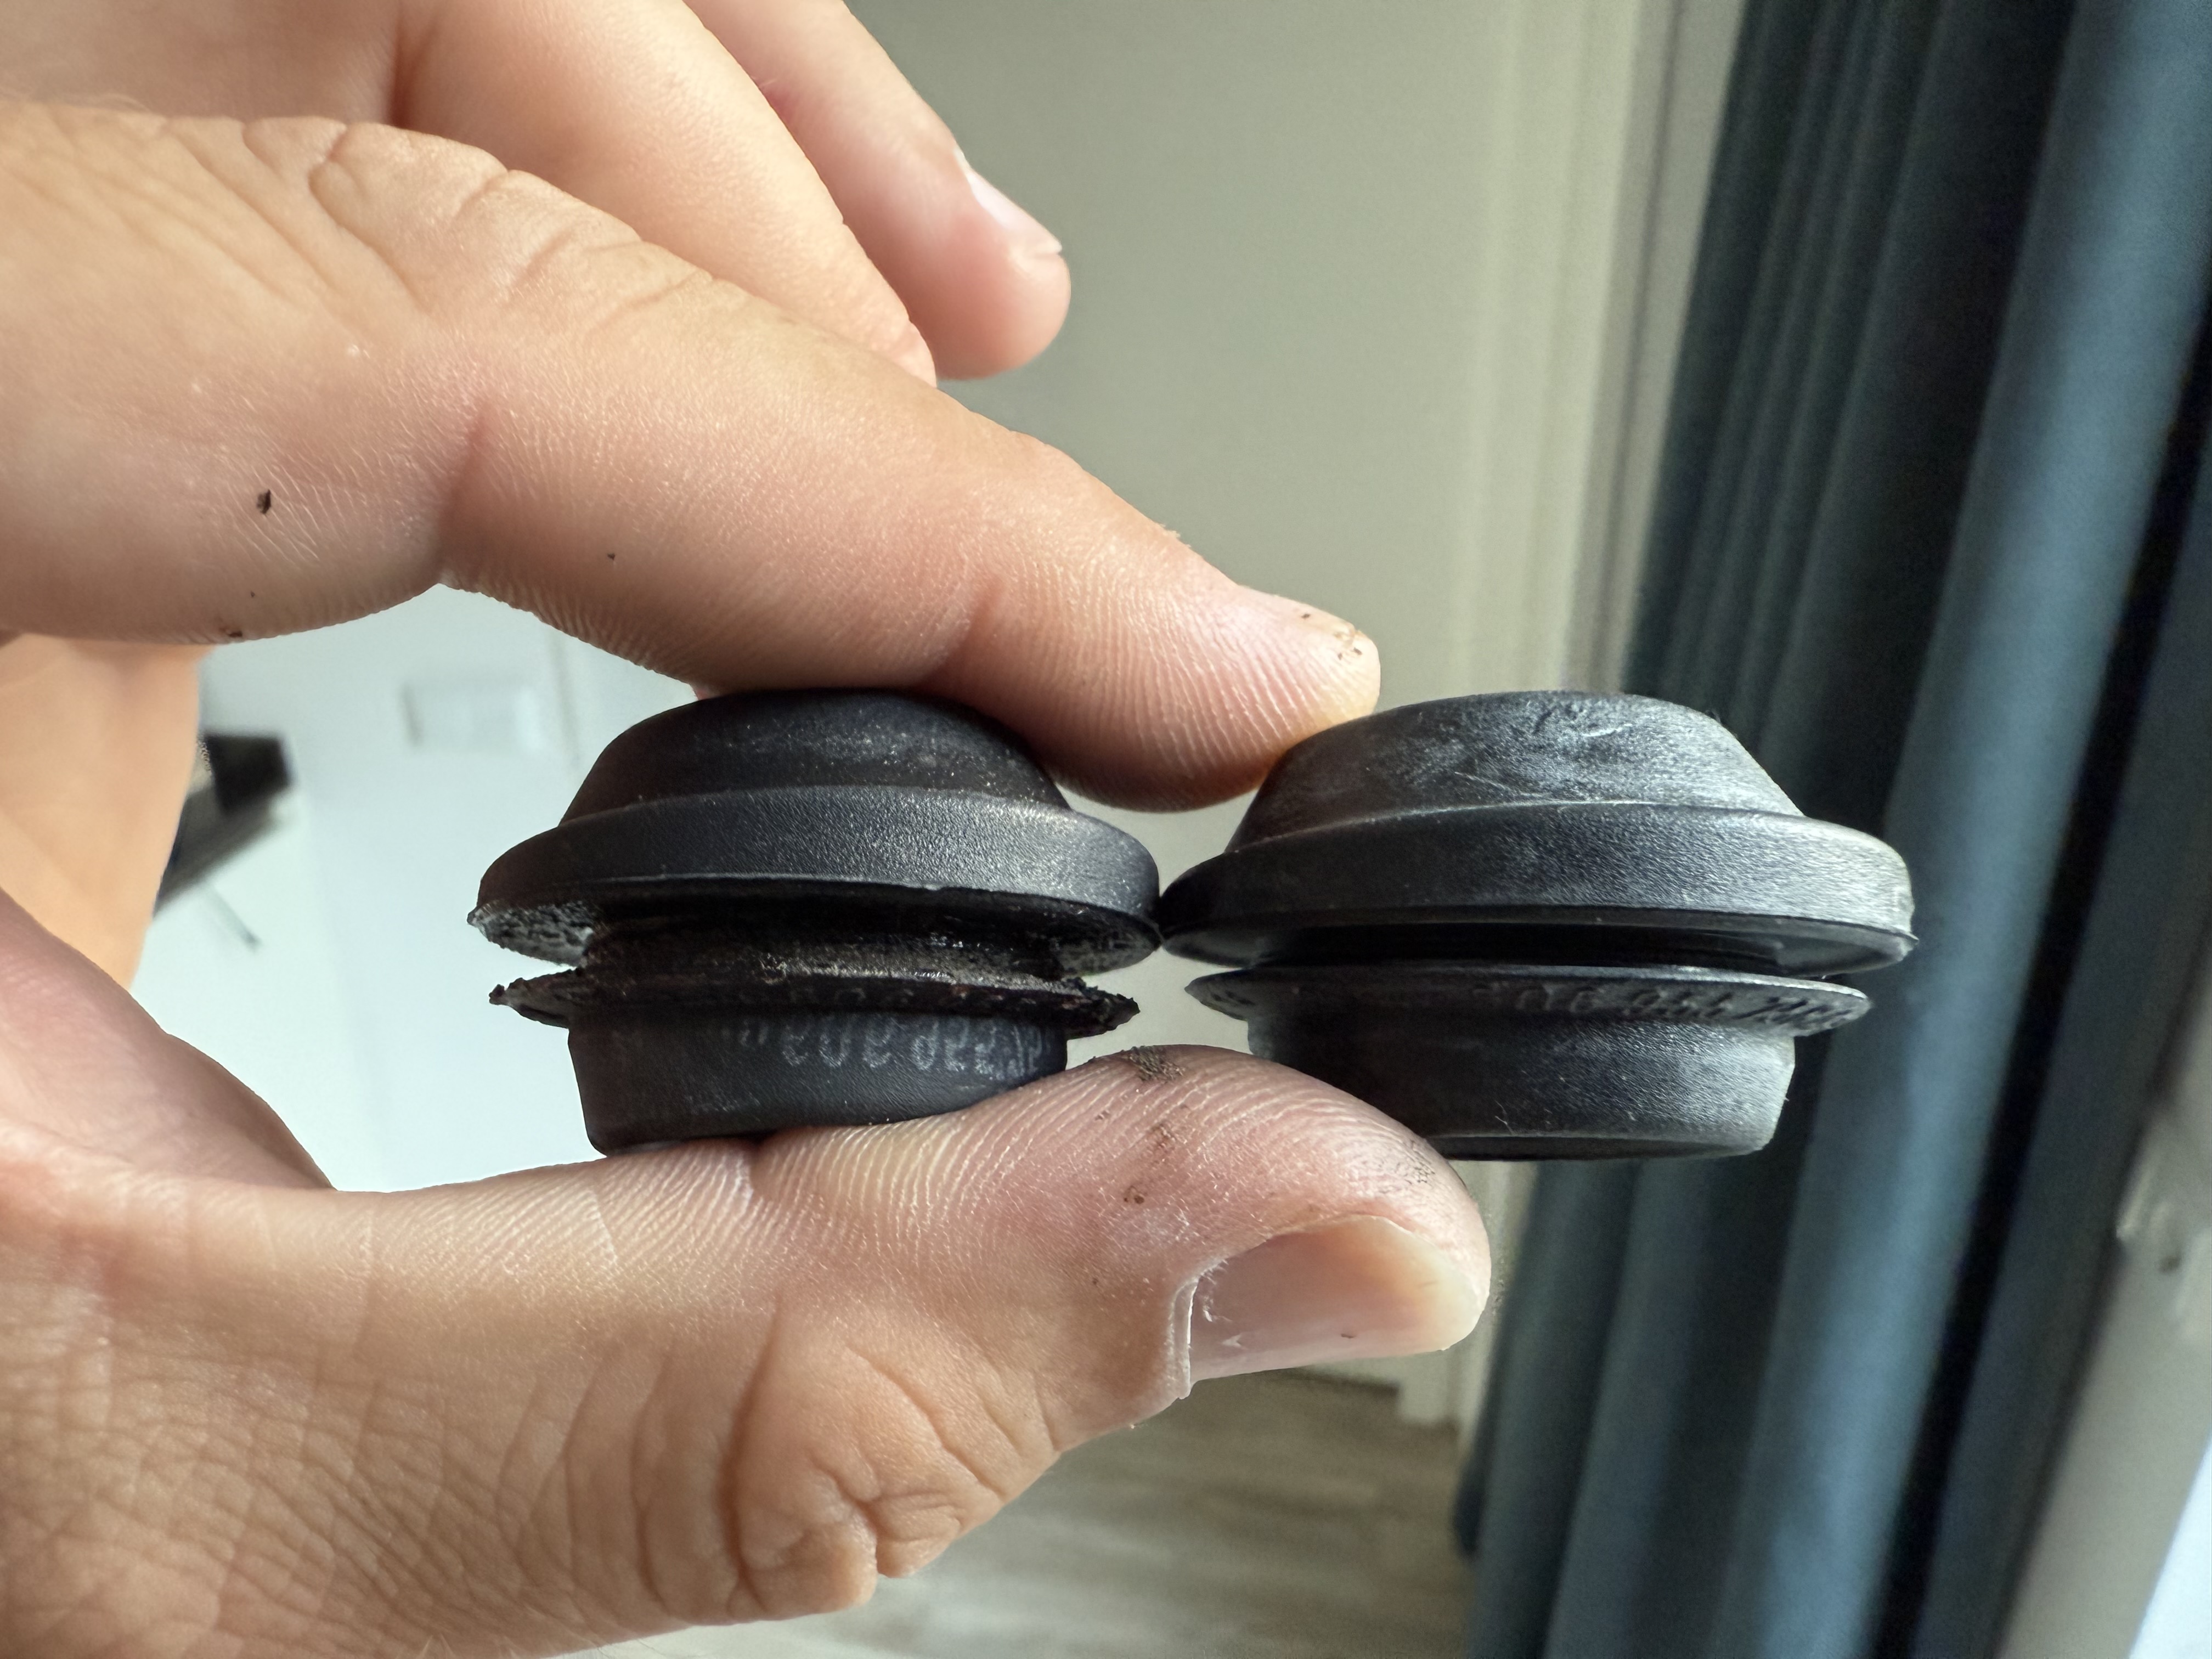
The rubber seal was quite dirty, and it is this part that should seal against
the chassis. This means that water (and dirt) certainly got behind the seal.
If enough dirt builds up, it will not be water tight anymore. I cleaned the
seal and the chassis, then re-installed it. But I also discovered that this
part (7N0 819 465 E) got replaced with an updated part (7N0 819 465 F).
According to the VW Forum, the upgrade from index D to index F was a
taller seal. But according to a YouTube video, the part with index E
already had the thicker seal.
Nonetheless, I decided to buy new pressure vents. I still had not installed all the trim pieces, so I wanted to replace both pressure vents rather now than later. I was able to buy the new parts at the local Volkswagen dealer, and they had them in stock. I compared both parts, and the new part has a thicker seal. However, I cannot tell if the old one was simply worn out or not. What I do know is that the new ones are a tighter fit, and they do not have any wiggle room once installed.
Rear wiper
Another common water ingress point is the rear wiper. The rear wiper motor is installed in the rear hatch, and it has a rubber seal. This seal can wear down over time, and then dirt and water can get in. My car had this problem too, and the seal was dirty. I do not believe that it was leaking that hard, because I did not find any traces of (past) water.
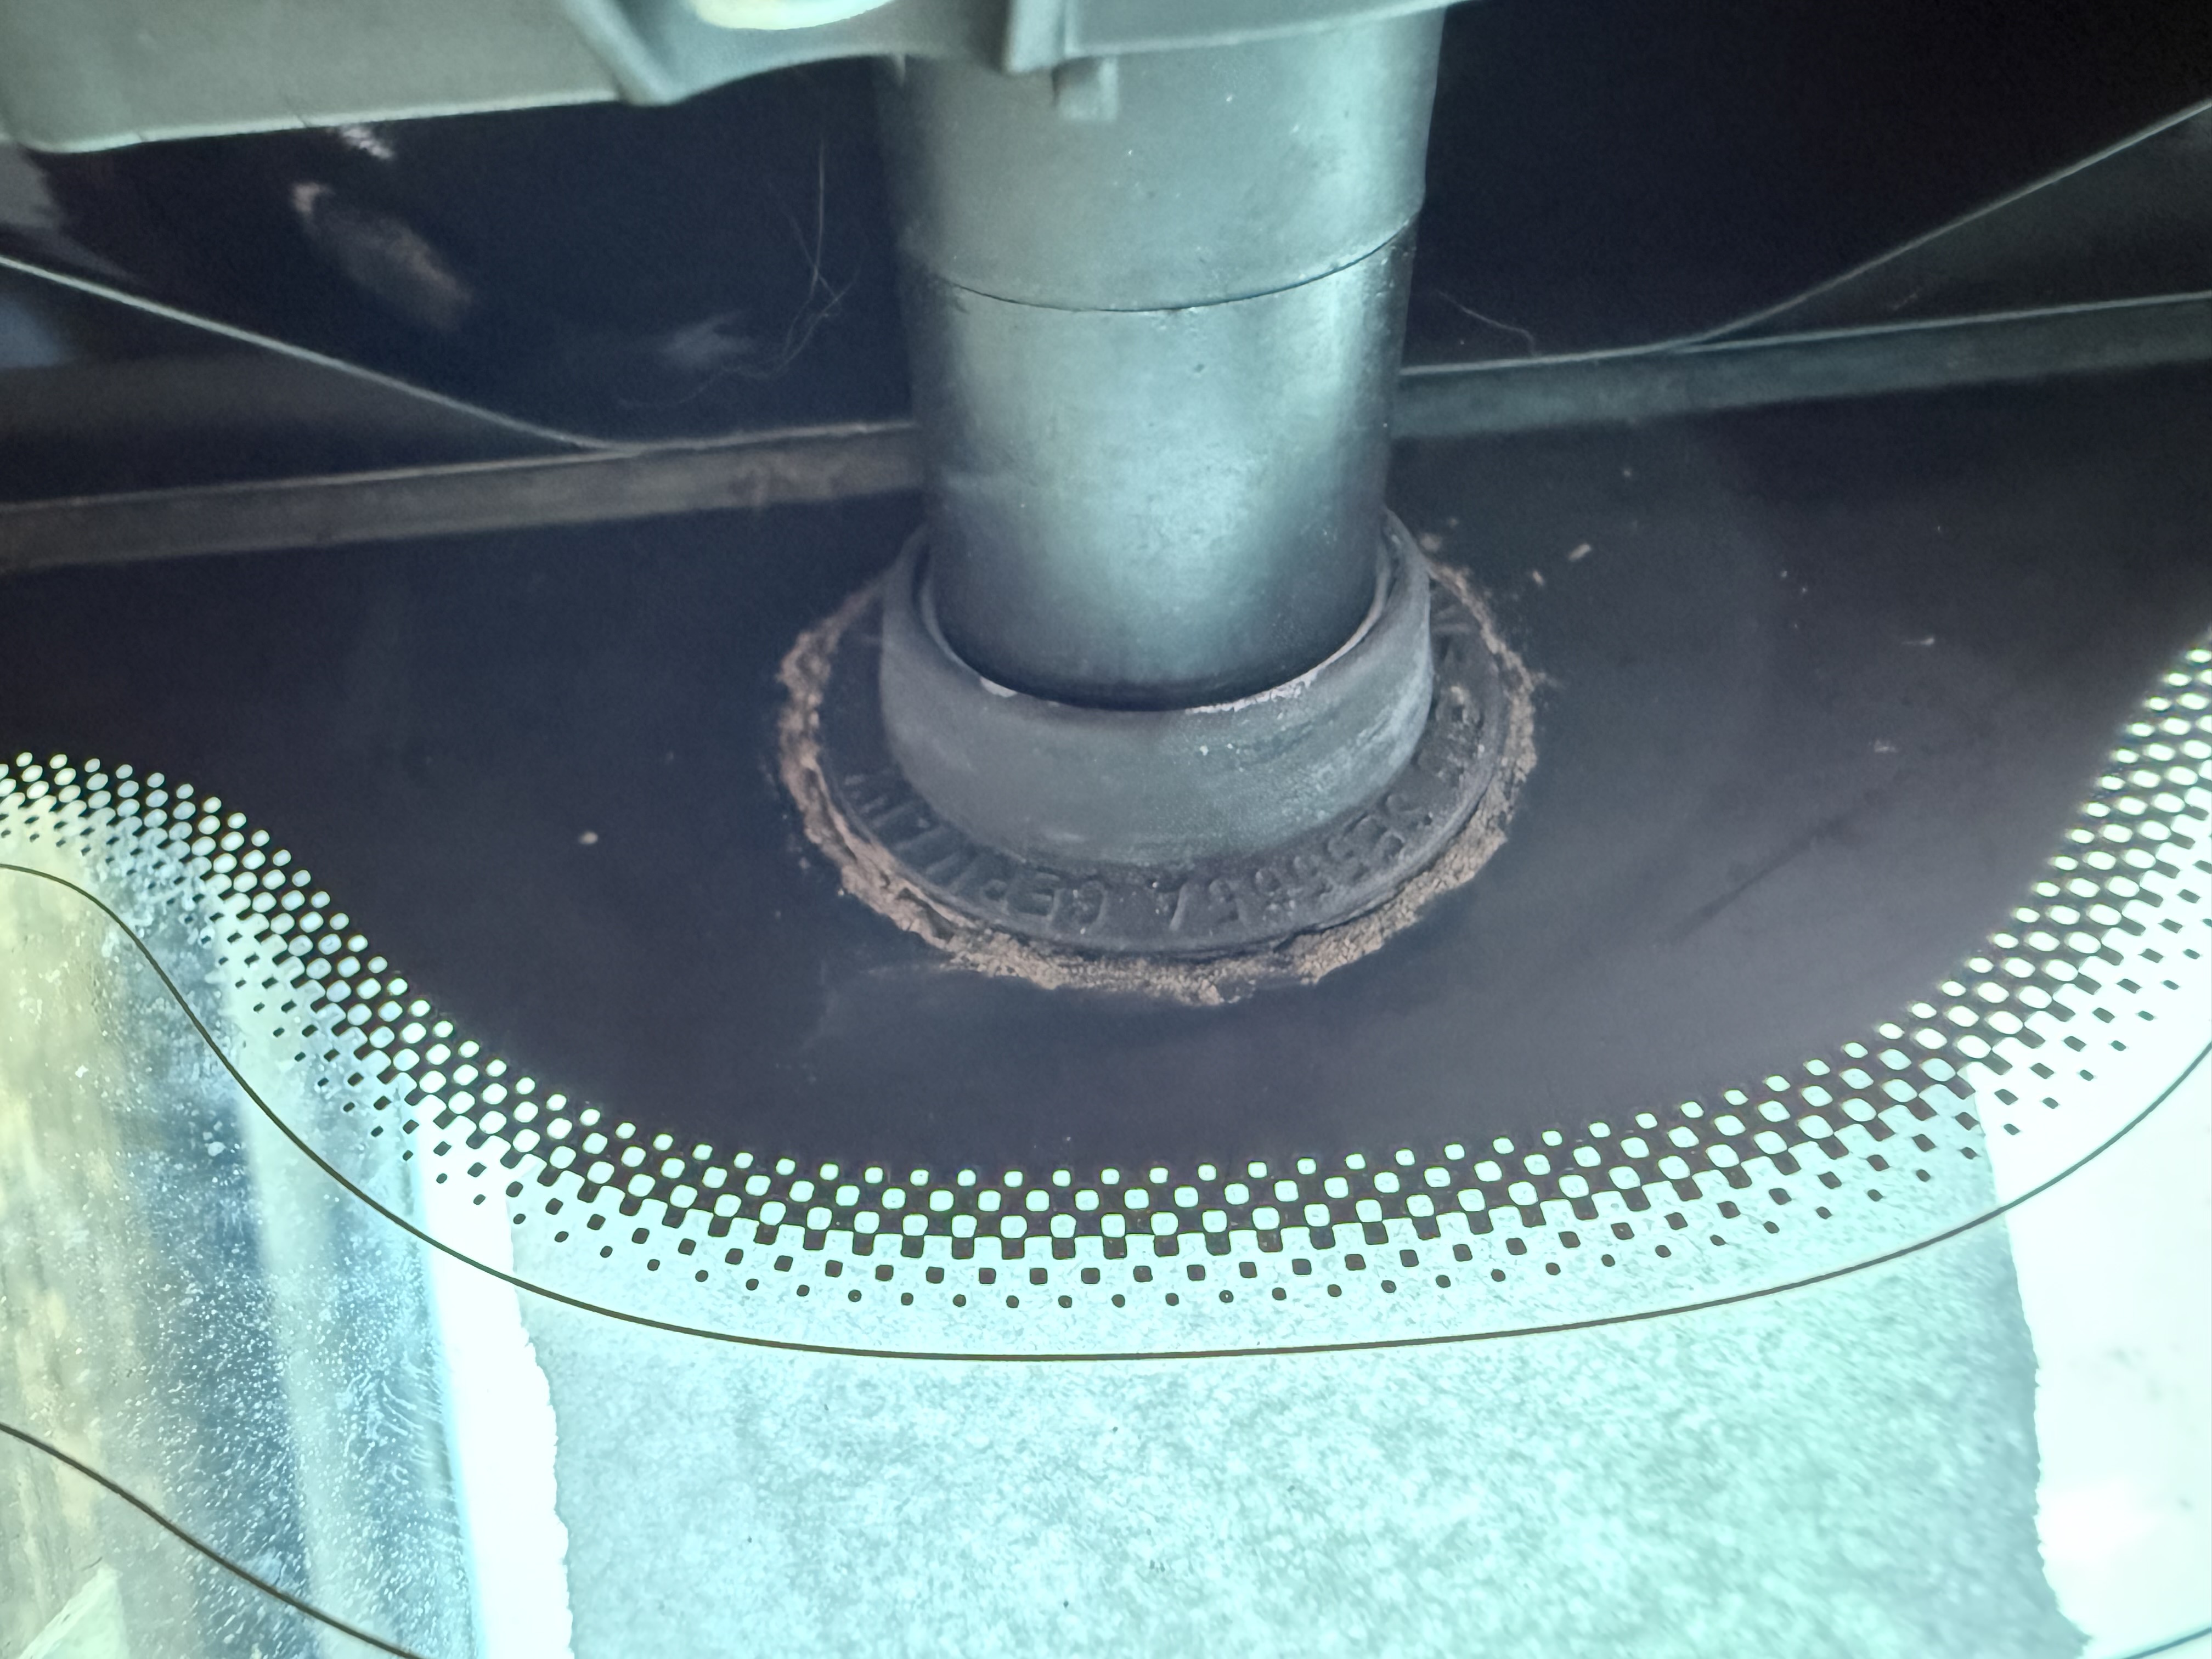
Replacing this seal (part number 6Q6 955 758 A) is not that hard. Again, the
trim pieces on the inside of the trunk lid were still removed, so it is a
matter of removing the wiper arm with a 13 mm socket, pulling the wiper off
using a wiper puller, disconnect the motor, removing the motor with 10 mm
sockets and then replacing the seal adding a bitof acid-free silicone grease.
The hardest part is probably aligning the wiper arm.
From the photo, you can definitely see how worn out the old seal was.
For reference, the torque for the wiper arm nut is 12 Nm, and 8 Nm for the three bolts that hold the wiper motor in place. The wiper arm should be about 33 mm from the center of the wiper arm tip to the edge of the glass. Or just algign it with previous wiper marks on the rear window.
